7
For more cool Wattage products visit our website at http://watt-age.globalhobby.com
❑
# 1 Phillips Head Screwdriver
❑
Needle Nose Pliers
❑
Paper Towels
SECTION 1: MOTOR BREAK-IN (OPTIONAL)
YOU'LL NEED THE FOLLOWING SUPPLIES:
❑
Trinity Break-In Drops
❑
Emerald Motor Spray
❑
Rubber Bands
Step 1: Removing the Motor Assembly
❑
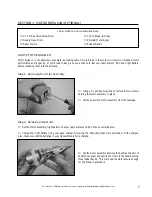
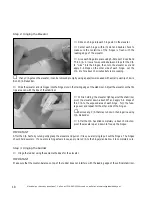
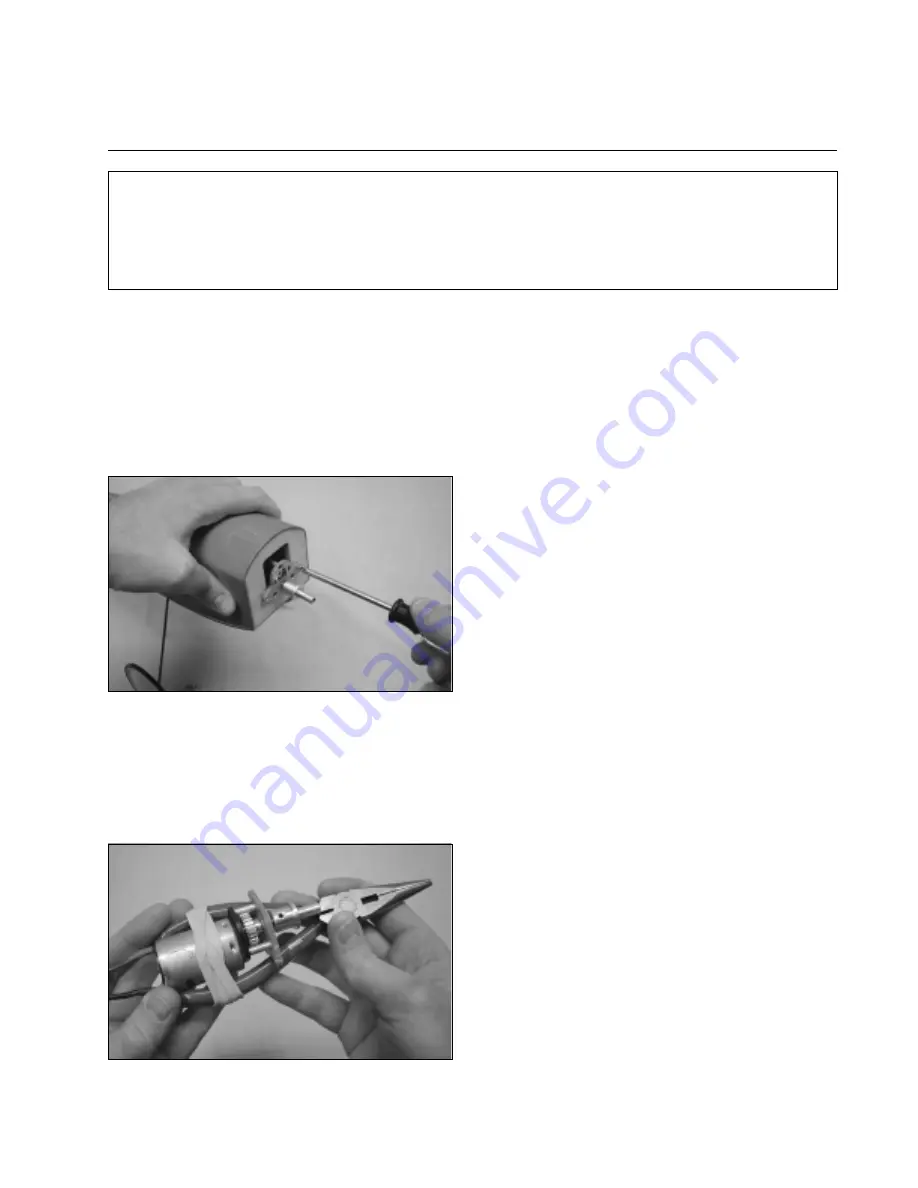
Using a # 1 phillips screwdriver, remove the two screws
holding the motor assembly in place.
❑
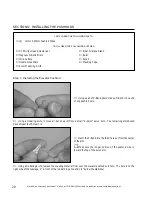
Carefully pull the motor assembly from the fuselage.
❑
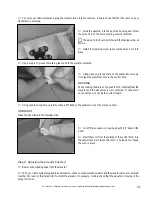
Set the motor assembly, flight battery, charger, radio system and ESC onto your workbench.
❑
Charge the flight battery using your peak charger, following the instructions that were provided with the charger.
Also, make sure that the batteries in your transmitter are fully charged.
Step 2: Breaking In the Motor
❑
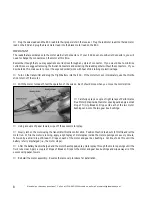
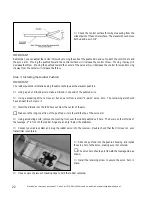
Set the motor assembly between the handles of a pair of
needle nose pliers and secure the motor to the handles using
three rubber bands. This will keep the motor secure enough
for the break-in procedure.
A NOTE TO THE MODELER:
Motor break-in is not absolutely necessary, but taking some time to break in the motor will result in increased motor
performance and longevity. Motor break-in also gives you a chance to test your radio system, ESC and flight battery
before installing them into the airplane.


