17
For more cool Wattage products visit our website at http://watt-age.globalhobby.com
❑
Kwik Bond Thin C/A
❑
Kwik Bond Thick C/A
❑
Kwik Bond C/A Debonder
YOU'LL NEED THE FOLLOWING PARTS:
❑
{2} Plywood Control Horns
SECTION 7: HINGING THE CONTROL SURFACES
YOU'LL NEED THE FOLLOWING SUPPLIES:
❑
Excel Modeling Knife
❑
Ernst Airplane Stand
❑
Paper Towels
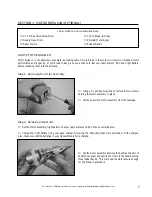
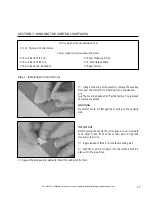
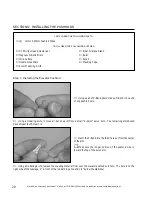
Step 1: Installing the Control Horns
❑
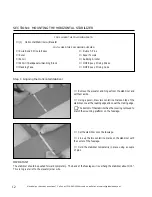
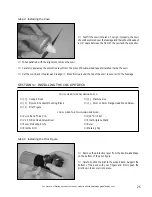
Using a modeling knife, carefully remove the covering
from over the control horn mounting slot in the elevator.
☛
The covering has been "slit" at the factory. You just need
to remove the excess.
WARNING
Be careful not to cut through the covering on the opposite
side.
IMPORTANT
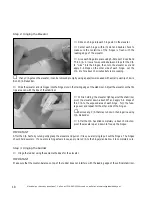
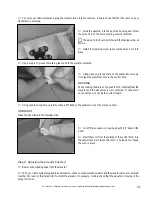
Before gluing the control horn into place, you will need to
cut a notch in the front of the control horn to clear the
elevator joiner wire.
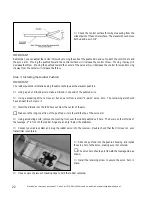
❑
Apply a bead of thick C/A into the mounting slot.
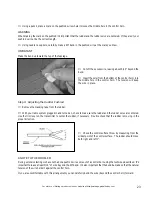
❑
Push the control horn down into the slot and hold it in
place until the glue dries.
❑
Repeat the previous procedures to install the rudder control horn.

