20
Need help or have any questions? Call us at 1-714-963-0329 or send us an Email at [email protected]
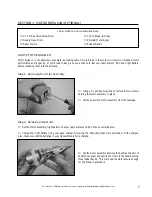
Step 1: Installing the Elevator Pushrod
❑
# 1 Phillips Head Screwdriver
❑
Magnum Z-Bend Pliers
❑
Wire Cutters
❑
Needle Nose Pliers
❑
Excel Modeling Knife
YOU'LL NEED THE FOLLOWING PARTS:
❑
{2} 1mm x 445mm Pushrod Wires
SECTION 9: INSTALLING THE PUSHRODS
YOU'LL NEED THE FOLLOWING SUPPLIES:
❑
Ernst Airplane Stand
❑
Ruler
❑
Pencil
❑
Masking Tape
❑
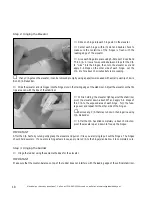
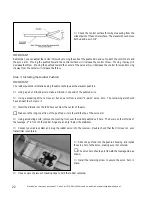
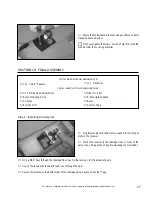
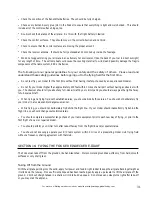
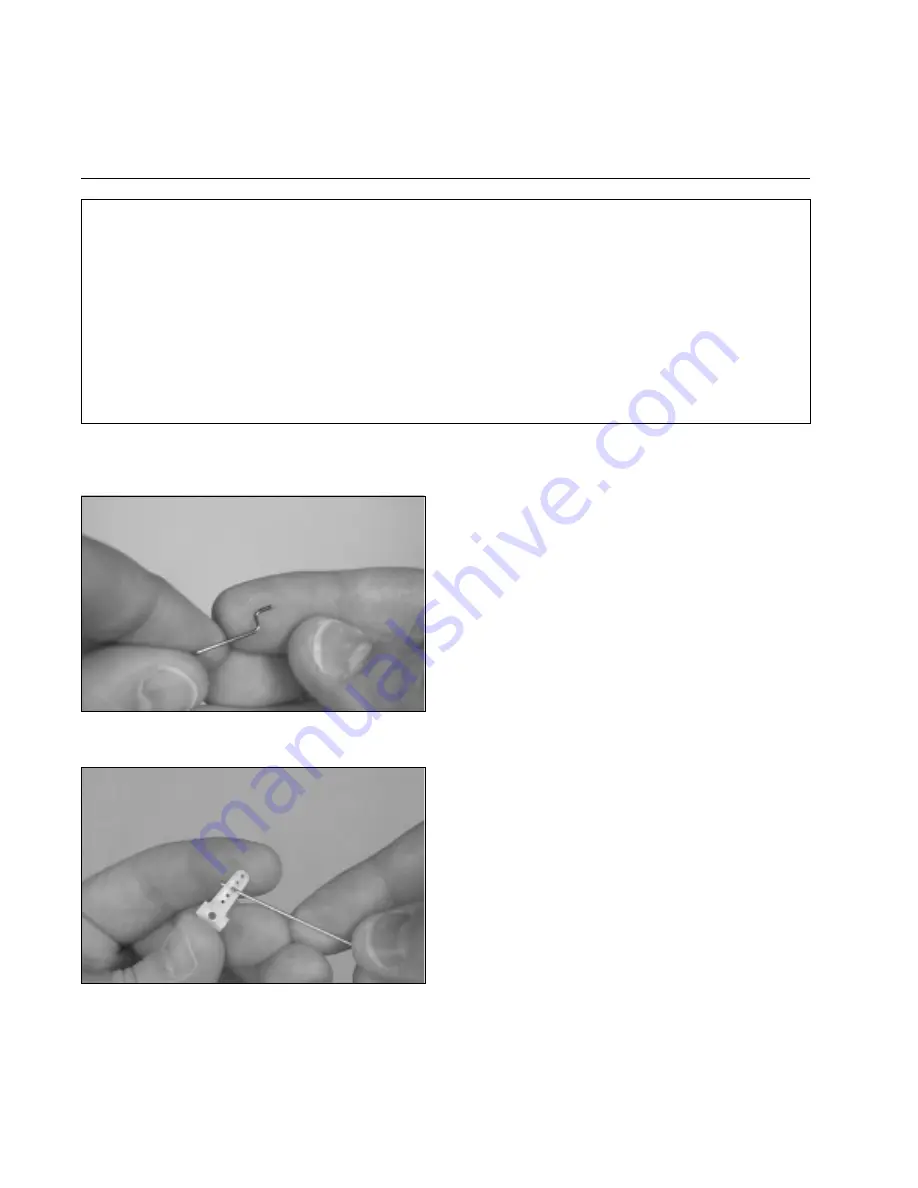
Using a pair of Z-Bend pliers, make a Z-Bend in one end
of one pushrod wire.
❑
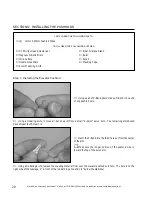
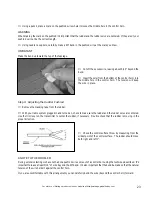
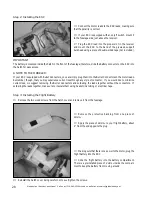
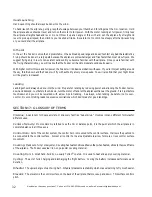
Using a modeling knife, remove all but one arm from a small "4-point" servo horn. The remaining arm should
have at least four holes in it.
❑
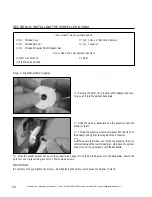
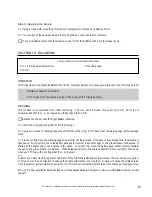
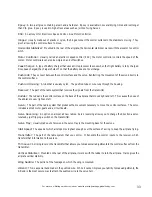
Using a modeling knife, remove the covering material from over the elevator pushrod exit hole. The hole is on the
right side of the fuselage, 2" in front of the rudder hinge line and 1/2" below the stabilizer.
❑
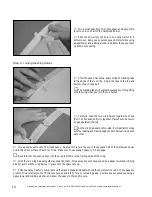
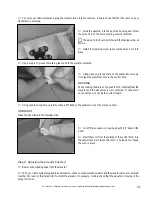
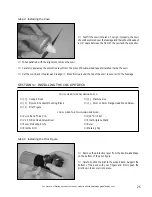
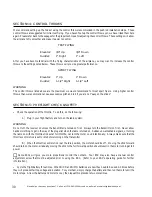
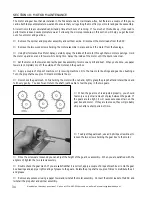
Insert the Z-Bend into the third hole out from the center
of the arm.
☛
Make sure the longer portion of the pushrod wire is
toward the top of the servo arm.

