PROBOIL 2 to PROBOIL.2X Upgrade Installation Guide v1b
6
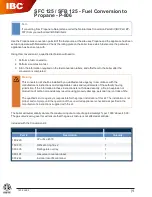
2.1.2
Removing the existing PROBOIL2
PROBOIL2
PROBOIL2
PROBOIL2 boiler:
Remove the boiler:
1.
Turn power off, take
the plug out.
2.
Turn on the tap until water runs cold,
then fully turn off (approximately 3
litres).
3.
Firmly pull up black rubber hose
(a)
,
press collar
(c)
down and pull pipe
(b)
out simultaneously. Prepare for small
spillage.
4.
Unhook boiler from
brackets (if mounted to
cabinet wall),
5.
Open the drain on front of the unit.
Drain fully into a suitable container or
sink.
6.
Once drained close the unit and place
the boiler to one side.
EITHER: Bypass the existing Proboil 2 black tundish assembly (This is the preferred option)
1.
Unscrew tundish
(E3) from hose (D1)
using spanners as
shown.
2.
Connect hose (D1) to 8mm
barbed stem (L) ensuring
washer (D2) is in place.
Now connect outlet tube (K)
to 8mm barbed stem (L).
⚠
You must not connect
hose (D1) directly to the
male boiler outlet (C).
3.
Pull black rubber
boiled water
outlet pipe (E2)
from tundish
(E3).
4.
You can additionally
remove the tundish
assembly (E3 & E4) but the
dishwasher connection
MUST
be blanked/capped
off (see above).
D1
D2
L
Dishwasher
connection
Blanking
Cap