Note/Illustration
Action
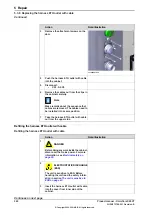
xx1900001926
Loose the attachment screws locking the
cable.
3
Remove the terminals (X1&X2) of the
cable from the lamp.
4
Turn the MON_LAMP screw anti-clock-
wise to remove the screw.
5
Take the LED indicator out.
6
Refitting the LED indicator
Refitting the LED indicator
Note/Illustration
Action
DANGER
Before doing any work inside the cabinet,
disconnect the mains power. For more
information, see
1
ELECTROSTATIC DISCHARGE
(ESD)
The unit is sensitive to ESD. Before
handling the unit read the safety inform-
ation in section
2
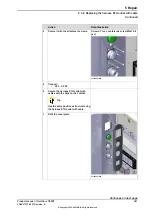
Insert the LED indicator into the cover
from outer side of the door and the screw
from inner side and screw them up.
3
Continues on next page
346
Product manual - OmniCore C90XT
3HAC073706-001 Revision: E
© Copyright 2020-2021 ABB. All rights reserved.
5 Repair
5.3.9 Replacing the LED indicator
Continued
Содержание OmniCore C90XT
Страница 1: ...ROBOTICS Product manual OmniCore C90XT ...
Страница 2: ...Trace back information Workspace 21B version a6 Checked in 2021 05 31 Skribenta version 5 4 005 ...
Страница 36: ...This page is intentionally left blank ...
Страница 50: ...This page is intentionally left blank ...
Страница 360: ...This page is intentionally left blank ...
Страница 420: ...This page is intentionally left blank ...
Страница 428: ...This page is intentionally left blank ...
Страница 452: ...This page is intentionally left blank ...
Страница 456: ......
Страница 457: ......


