24
4.
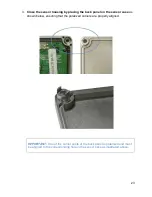
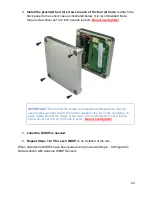
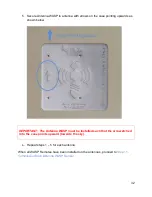
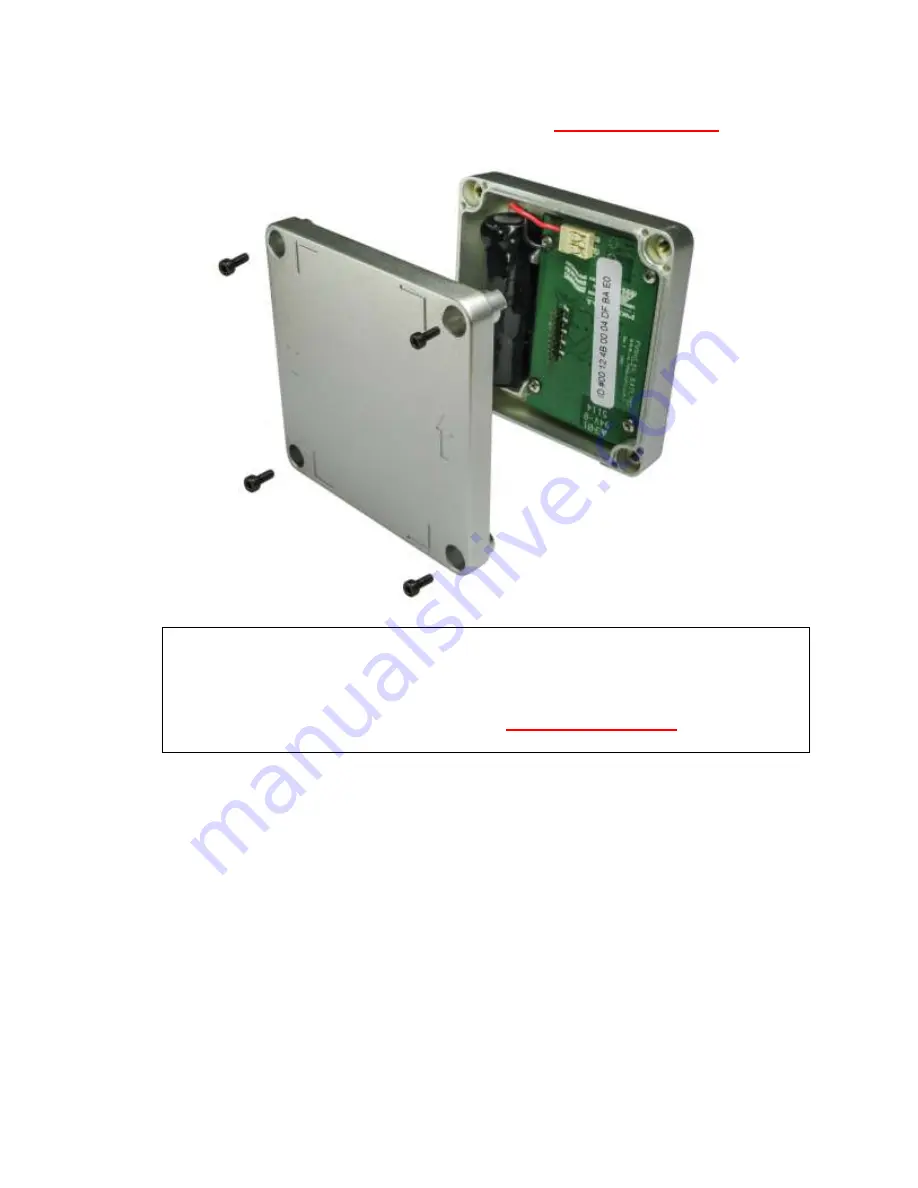
Install the provided four (4) screws in each of the four (4) holes
to attach the
back panel to the sensor case as illustrated below. It is recommended that a
torque screw driver set to 8 inch pounds is used.
Do not overtighten!
IMPORTANT:
Ensure that the screws are tightened sufficiently so that the
case makes a proper seal to the rubber gasket in the lid. There should be no
gaps visible around the edges of the case. It is recommended that a torque
screw driver set to 8 inch pounds is used.
Do not overtighten!
5.
Label the WASP as needed.
6.
Repeat Steps 1 to 5 for each WASP
to be installed at the site.
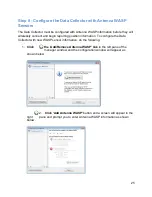
When all Antenna WASPs have been powered on proceed to
Data Collector with Antenna WASP Sensors
Содержание Antenna W.A.S.P.
Страница 1: ...Antenna W A S P User s Guide...
Страница 5: ...5 CE Mark Conformity...
Страница 59: ...59 Technical Support Contacts...


