


VISIX Stereoscopic People Counting Camera | Quick Start Guide |
VX-VSS-20
12000 Pecos Street, Suite 290, Westminster, CO 80234 | www.3xlogic.com | (877) 3XLOGIC
12
4.4
Interfacing People Counting Rule with VIGIL Server via Analytics Bridge
After adding the camera to VIGIL Server, the final step required is to interface the camera’s people counting rule
with VIGIL Server. This will allow the VIGIL Server to receive the people counting data from the camera and insert it
into the VIGIL database. To begin:
1.
Navigate to
Start > All Programs>VIGIL
and click
VIGIL Analytics Bridge
. If the Analytics Bridge is not
installed, contact a 3xLOGIC support representative to receive the latest version.
The Analytics Bridge main screen is pictured below. All configuration of the Analytics Bridge takes place from this
screen.
Figure 4-7
Figure 4-3: VIGIL Analytics Bridge Main UI
To begin configuration of the VX-VSS-20 camera within VIGIL Analytics Bridge:
1.
Click
Add
Device
.
Figure 4-8
Adding a Device to VIGIL Analytics Bridge
The
Add/Edit Camera
window will appear, shown below.
1.
Select the VIGIL Server camera channel associated with the VX-VSS-20 camera from the
VIGIL Camera
drop-down.
2.
Set the
Device Type
to
3xLOGIC VISIX-IP.
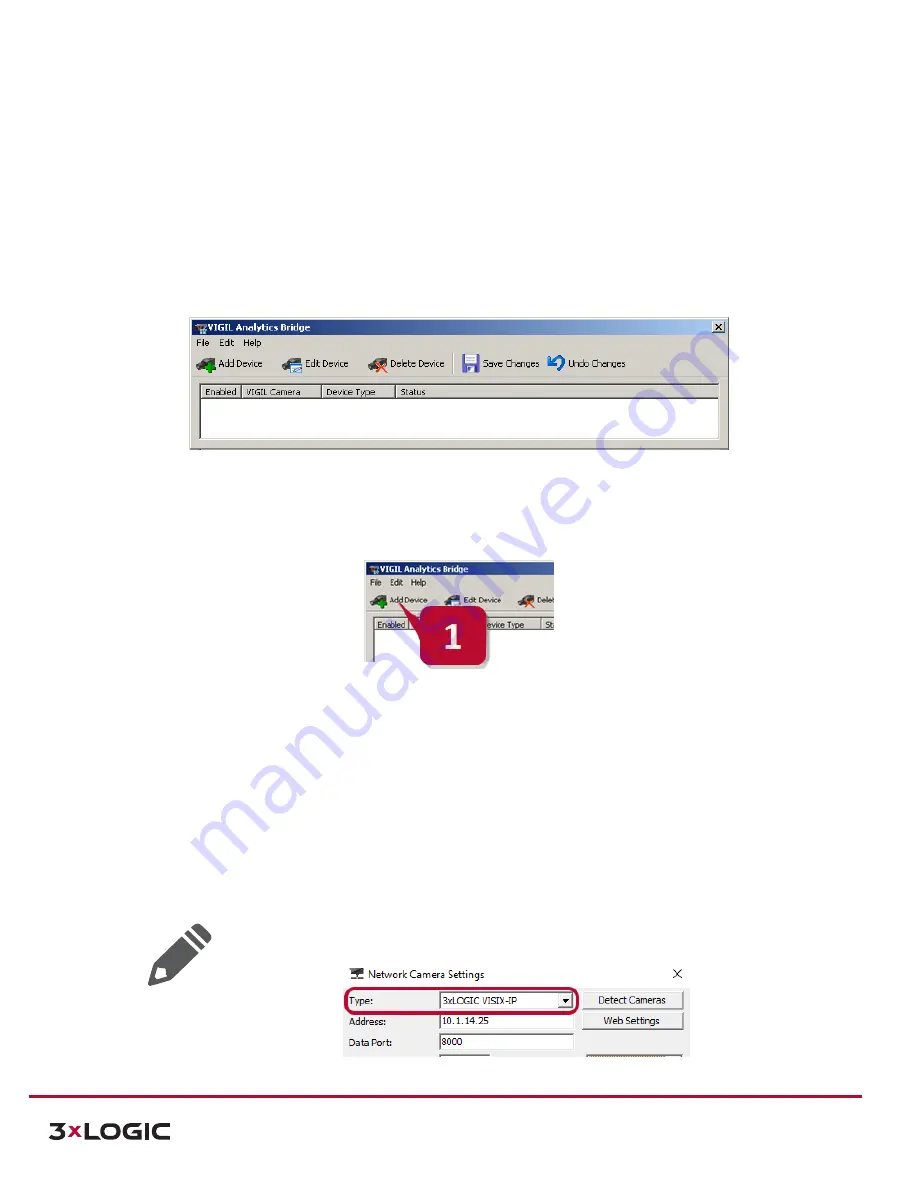
NOTE:
The
Device Type
setting must correspond with the
Type
setting configured for this
device in VIGIL Server
’
s
Network Camera
settings (see Fig 4-3). These values must be set to
3xLOGIC-VISIX-IP
in both VIGIL Analytics Bridge and VIGIL Server to allow for successful
operation. This setting should be automatically configured in VIGIL Server when adding the
camera with the VISIX IP Setup Utility but if you are experiencing issues, confirm the device
type settings are set to
3xLOGIC VISIX-IP
in both applications.
Figure 4-9
VIGIL Server
–
Network Camera Settings