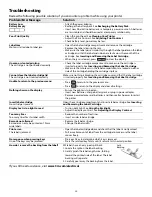
background image

20

Troubleshooting

Review the following possible solutions if you encounter a problem while using your printer.

If you still need assistance, visit 

www.3m.com/electrical

.

Problem/Error Message

Solution

Battery Low


Battery Empty


• Attach the power adapter. 
• Recharge the battery pack. See 

Recharging the Battery Pack

.

• Insert new AA alkaline batteries as a temporary power source. AA batteries 

are less stable and should be used as a temporary solution only.

Poor Print Quality

• Clean the print head. See 

Cleaning Your Printer

.

• Adjust the Print Contrast. See 

Adjusting Print Contrast

.

• Check battery level; power may be low.

Label Jam

Motor is stalled due to label jam.

• Open the label cartridge compartment and remove the cartridge. 
• Remove the label, clearing the jam.
• Make sure the label passes smoothly through the label guides on the label 

cartridge and that the label and ribbon are taut across the mouth of the 
cartridge. See 

Inserting and Removing the Label Cartridge

.

• When the jam is cleared, press 

 to clear the display.

Uneven or slanted printing

The cartridge is not positioned correctly.

• Check the label cartridge compartment to make sure the cartridge is 

inserted properly. See 

Inserting and Removing the Label Cartridge

.

• Make sure the two levers in the label compartment are locked on either 

side of the cartridge holding the cartridge in place.

Cannot close the label cartridge lid

The cartridge is not inserted correctly.

Make sure nothing is blocking the cartridge cover and that the label cartridge 
is inserted properly. See 

Inserting and Removing the Label Cartridge

.

Unable to return to the previous menu

• Press 

 to return to the previous menu.

• Press 

to return to the display and clear all settings.

Nothing shows on the display

• Ensure the printer is turned on.
• Insert new batteries, charge battery pack, or plug in power adapter.
• Remove power adapter and batteries, and then reattach power to restart 

the printer.

Insert label cartridge

No cartridge is present.

Open the cartridge compartment and insert a label cartridge. See 

Inserting 

and Removing the Label Cartridge

.

Display text is too light to read

• Turn  on  backlight.  See 

Using the Backlight

.

• Adjust the display contrast. See 

Adjusting the Display Contrast

.

Too many lines

Too many lines for this label width.

• Reduce the number of text lines.
• Insert a wider label cartridge.

Barcode not allowed

Barcodes can only be printed on 19 mm 
wide labels.

• Replace the label cartridge.
• Change the label width.

Print error...

The label is jammed.

• Open the label cartridge door and check that the label is not jammed.
• Pull a small amount of label from the cartridge to make sure the label 

moves freely.

No response when pressing keys

One of the keys may be jammed.

• Press each key to determine which key is jammed.
• Press the jammed key firmly until it returns to its normal position.

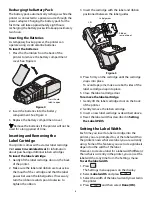
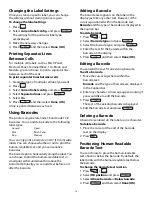
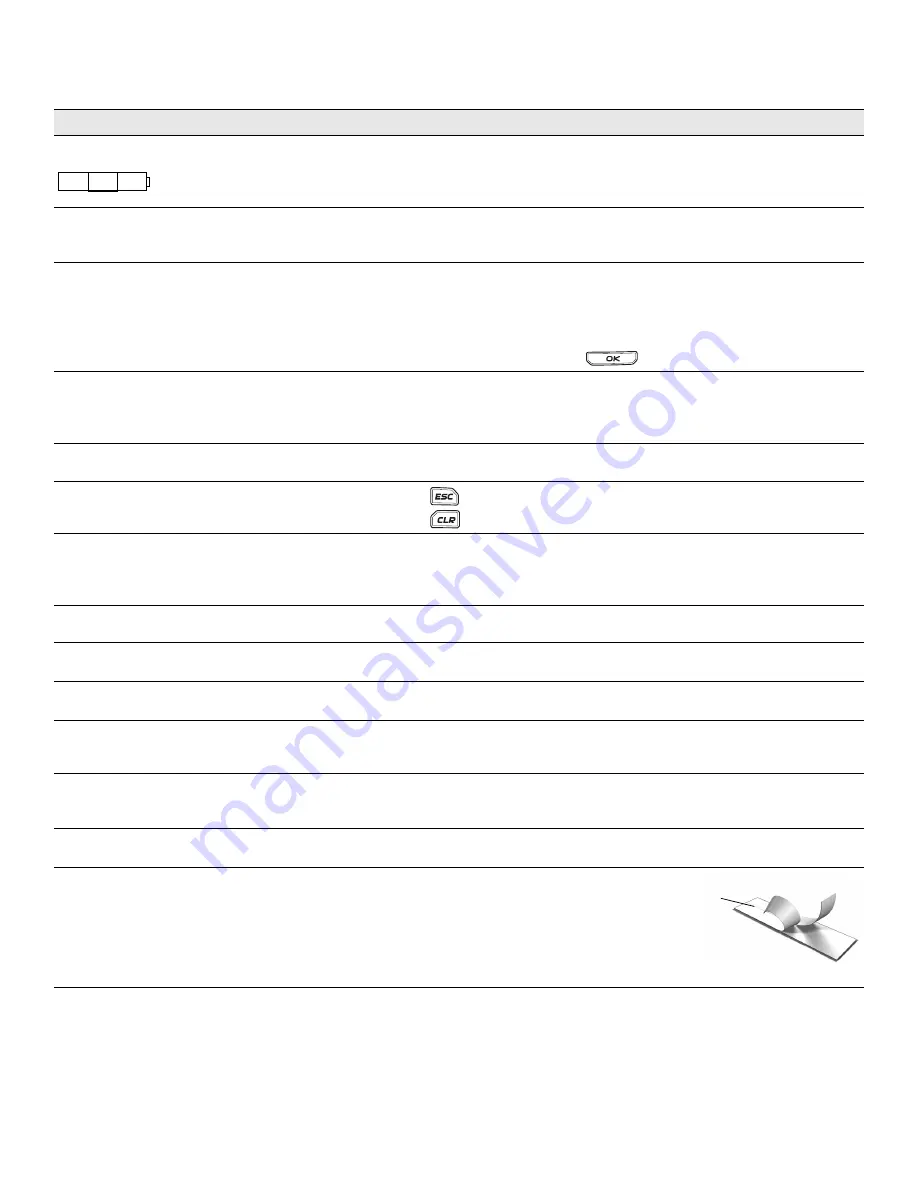
How do I remove the backing from the label?

3M labels have an easy-peel split back.
1. Locate the split on the label backing.
2. Gently pinch the label length-wise, folding 

toward the printed side of the label. The label 
backing will separate.

3. Carefully peel away the backing from the label.

Split 
backing

Содержание PL200

Страница 1: ...Portable Labeler PL200 User Guide...

Страница 2: ...ar Key 8 Cutter Button 8 Hot Keys 8 Working with Label Files 8 Creating a Label File 8 Adding Labels to a Label File 8 Removing Labels from a File 9 Printing a Label File 9 Formatting a Label 9 Changi...

Страница 3: ...ng Symbols 15 Using the Text Library 15 Adding My Library Text 15 Inserting Library Text 15 Deleting My Library Text 15 Creating a Series of Labels 15 Using Simple Serialization 16 Using Simultaneous...

Страница 4: ...S T F I H S BKSP PL200 Feed Print of copies Escape Backspace Shift Size CAPS Backlight Serialization Label exit LCD display Save Insert Hot Keys Navigation keys Space bar Power Clear OK Recall Remove...

Страница 5: ...ation on obtaining an optional rechargeable battery pack The printer can operate with six AA alkaline batteries for power however alkaline batteries should only be used as temporary backup power To sa...

Страница 6: ...tween the label guides If necessary turn the ribbon rewind spool clockwise to tighten the ribbon 3 Insert the cartridge with the label and ribbon positioned between the label guides Figure 5 4 Press f...

Страница 7: ...ttings are remembered however the current label file is lost and you will need to reset the label width when you reconnect the power and turn on the printer LCD Display The LCD display includes a capt...

Страница 8: ...abel file can contain one or more labels When you create a new label you also create a new label file You can then insert additional labels remove labels and store a group of labels as a label file in...

Страница 9: ...d the type of label you are creating You can also select Auto as the text size When Auto is selected the best text size is automatically determined for the height and width of the label you are creati...

Страница 10: ...Labels A Cable label is placed around the width of a wire or cable You can enter up to five lines of text and the text is repeated as many times as possible depending on the size of the text and the l...

Страница 11: ...ce between each port and press The default distance is 0 6 12 mm 4 Enter or select the number of ports and press Each port is separated by a solid black line on the display 5 Enter the text for each p...

Страница 12: ...Block Labels A Terminal Block label is very similar to a Patch Panel label however the text is printed vertically for each block To create a terminal block label 1 Press 2 Select Terminal block and p...

Страница 13: ...o select the module number to adjust and press 6 Select the multiplier for that module 7 Press and then Done OK to return to the label Printing Empty Modules By default empty modules at the end of a M...

Страница 14: ...lly you can add text before and after the barcode Adding a Barcode The barcode text appears on the label in the display just like any other text However if the cursor is positioned within the barcode...

Страница 15: ...want and press The text is added to My Library Inserting Library Text Library text added to a label is the same as text entered from the keypad Library text can be edited formatted or deleted To add...

Страница 16: ...to create and press You can choose to create up to 99 labels A new label is added in the display for each label in the series Using Advanced Serialization Advanced serialization creates a series of l...

Страница 17: ...crements To advance the label 1 Press 2 Press to advance the label Adjusting Print Contrast Depending on the label material you choose you may need to lighten or darken the print on the label To adjus...

Страница 18: ...then press to clear the memory location Cleaning Your Printer Your printer is designed to give you long and trouble free service while requiring very little maintenance Clean your printer from time to...

Страница 19: ...19 Symbols The following tables show the default symbols by category Electrical Voice Data Warning Punctuation Brackets Arrows Numbers Currency _...

Страница 20: ...rtridge cover and that the label cartridge is inserted properly See Inserting and Removing the Label Cartridge Unable to return to the previous menu Press to return to the previous menu Press to retur...

Страница 21: ...llow the specified conditions Do not connect directly to an electric outlet or cigarette lighter charger Do not use or store battery close to fire or inside the car where temperature may be over 60 C...

Страница 22: ...22...

Страница 23: ...loss or damage arising from this 3M product regardless of the legal theory asserted This product is CE marked in accordance with the EMC directive and the low voltage directive and is designed to con...

Отзывы: