


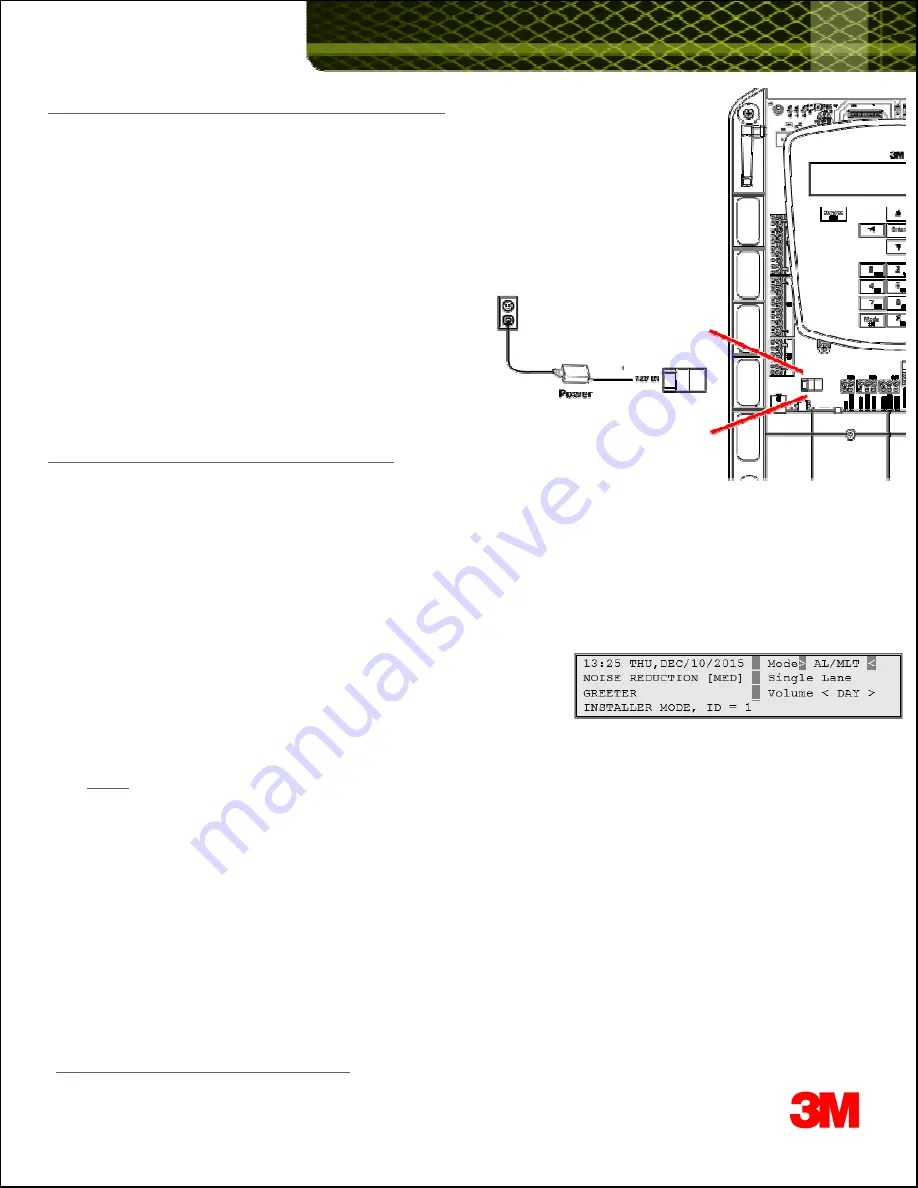
8. Power up the G5 Basestation and close the Basestation cover
You may now power up the system by plugging in the Power Supply’s barrel
connector to the 12V input terminal on the Basestation, as illustrated:
To replace the base station cover:
-- Verify there are no obstructions (tools, etc.) in the way of the cover being closed.
-- Align the top edge of the cover with the base.
-- Swing the bottom half of the cover down into place and gently push it against the base
until it locks into place.
Tighten the two screws located at the bottom of the cover.
9. Register (G5 and/or XT-1) Headsets to the basestation
In order to register headset(s) to the G5 Basestation, you will have to:
•
Enter the Configuration mode on the basestation
•
Register headsets from the Registration option on the System Menu
Enter Configuration Mode
:
Configuration mode is a passcode-protected area that contains most of the configuration options for the G5 Basestation system.
Configuration mode is a passcode-protected area that contains most of the configuration options for the G5 Basestation system.
Using the access provided for users, it is possible to set up all of the functionality of the system.
To enter the configuration mode:
1. From the Run mode screen, enter your user passcode.
2. Press
Mode
. The display will show the user name and ID number
(e.g., Installer1ID = 1 or User1ID = 1)
3. Press
Mode
again and the system will display the Main Menu with options to
select
System Menu
or
Greeter Menu
4. Use keypad’s arrow keys to navigate to
System Menu
and press
Enter
.
Notes:
The default Installer password is 12345 and the default User password is 1234
Register Headset(s)
:
From the System Menu
•
Select
04 Registration
>
1 Add New Headsets
.
•
Power on the headset when prompted.
Or in the case of a G5 headset, insert he battery to automatically power on the headset.
•
Wait up to two minutes for {
Headset xxxxxxx Has Been Registered!
} to appear at the bottom of the display.
•
Repeat the steps above for additional headsets.
•
Press
Mode
when finished.
10. Connect laptop to G5 Basestation Web Server
Please refer to the document, “TB-160 Logging onto G5 Basestation Web Server.pdf”.
9


