2
GETTING STARTED
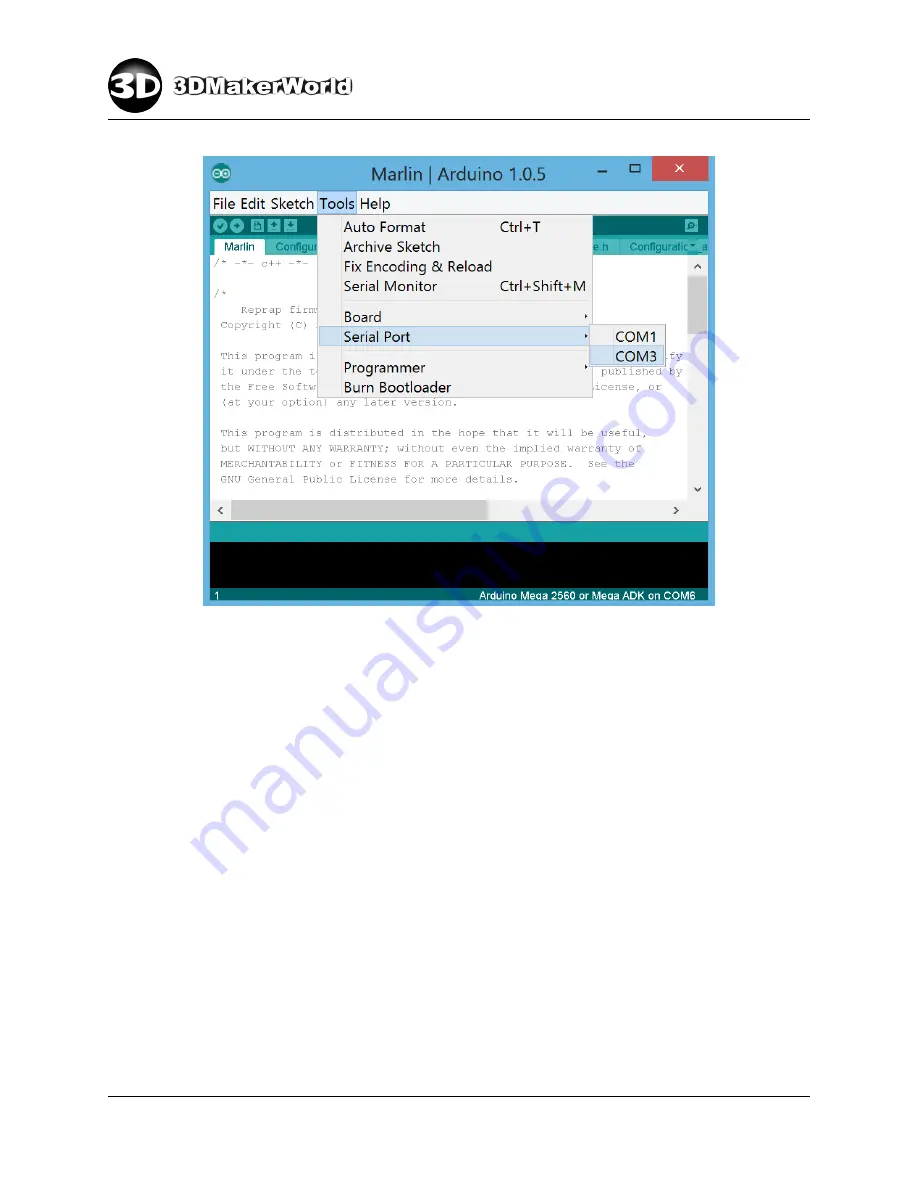
Figure 2.16: Select the serial port of Artifex 2 electronics
•
Select “File
→
Upload” to upload the Artifex 2 firmware to its electronics (Fig-
ure 2.17). Before uploading, the Arduino IDE will first compile the firmware files.
The progress of compiling and uploading is shown in the bottom status window.
http: // 3dmakerworld. com
22
Содержание Artifex 2
Страница 8: ...1 INTRODUCTION Figure 1 7 The technical specifications of Artifex 2 http 3dmakerworld com 8...
Страница 45: ...2 GETTING STARTED Figure 2 47 Printed cute octopus 3D model http 3dmakerworld com 45...
Страница 57: ...3 SLICING 3D MODELS Figure 3 12 Previewing G code generated by CuraEngine http 3dmakerworld com 57...
Страница 66: ...6 PRINTING WITH DUAL EXTRUDERS Figure 6 2 Artifex 2 Duo Printer Settings Printer http 3dmakerworld com 66...
Страница 67: ...6 PRINTING WITH DUAL EXTRUDERS Figure 6 3 Artifex 2 Duo Printer Settings Extruder http 3dmakerworld com 67...
Страница 68: ...6 PRINTING WITH DUAL EXTRUDERS Figure 6 4 Artifex 2 Duo Printer Settings Printer Shape http 3dmakerworld com 68...


