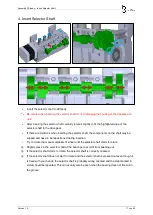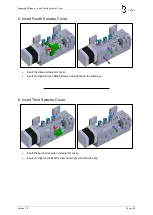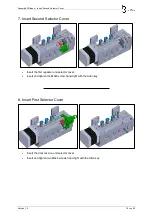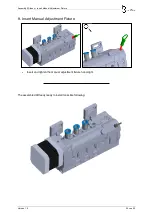
Assembly 3Dfeedy » Marriage: Connect Extruder Drive Motor to 3Dfeedy
Version 1.0
16 von 25
3.
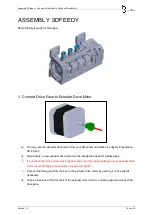
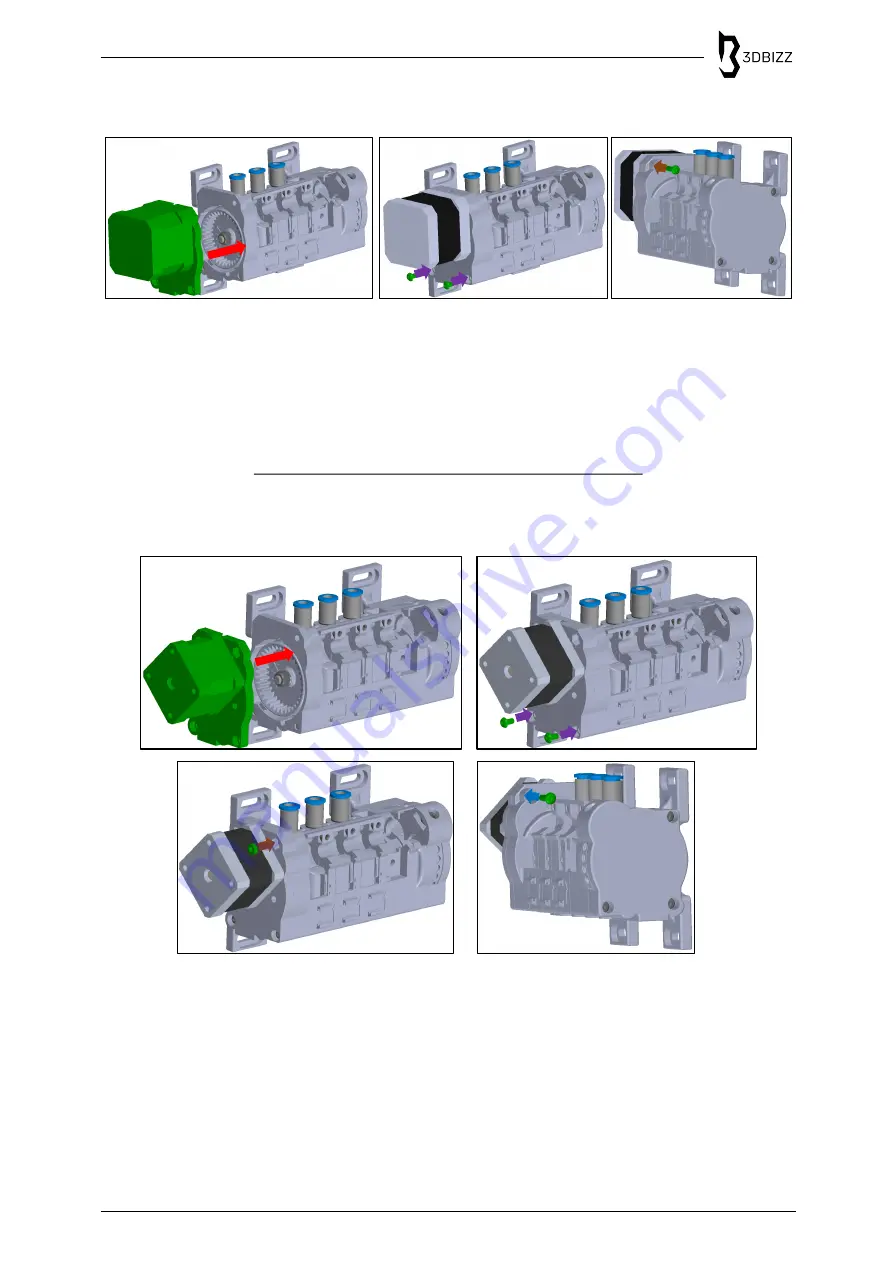
Marriage: Connect Extruder Drive Motor to 3Dfeedy
•
Connect the extruder drive motor with the drive unit cover to 3Dfeedy.
•
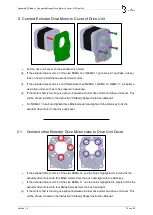
Insert and tighten two M3x6 screws hand-tight with the Allen key.
•
Insert and tighten the M3x12 screw from the box hand-tight with the Allen key.
i
If the extruder drive motor is of the size NEMA 14 or NEMA 11, follow the steps 3.1.
3.1.
Marriage: Connect other Extruder Drive Motor sizes to 3Dfeedy
…
•
Connect the extruder drive motor with the drive unit cover to 3Dfeedy.
•
Insert and tighten the two M3x6 screws hand-tight with the Allen key to fix the extruder drive
motor to 3Dfeedy.
•
Insert a M3 hexagon nut from the box to the groove.
i
If the steps of the manual “3DFeedy Spacer Instruction Manual” has been followed, sometimes
the hexagon nut is already installed.
•
Insert and tighten the M3x6 screw from the box hand-tight with the Allen key.

