Preparation 3D-Printer » Remove Extruder
Version 1.0
7 von 25
3.
Remove Extruder
•
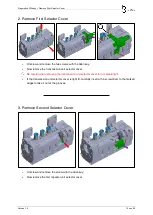
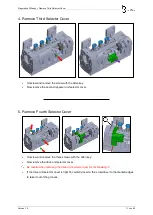
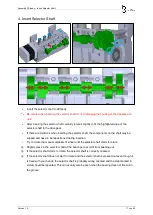
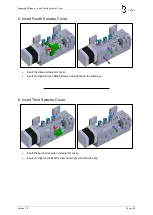
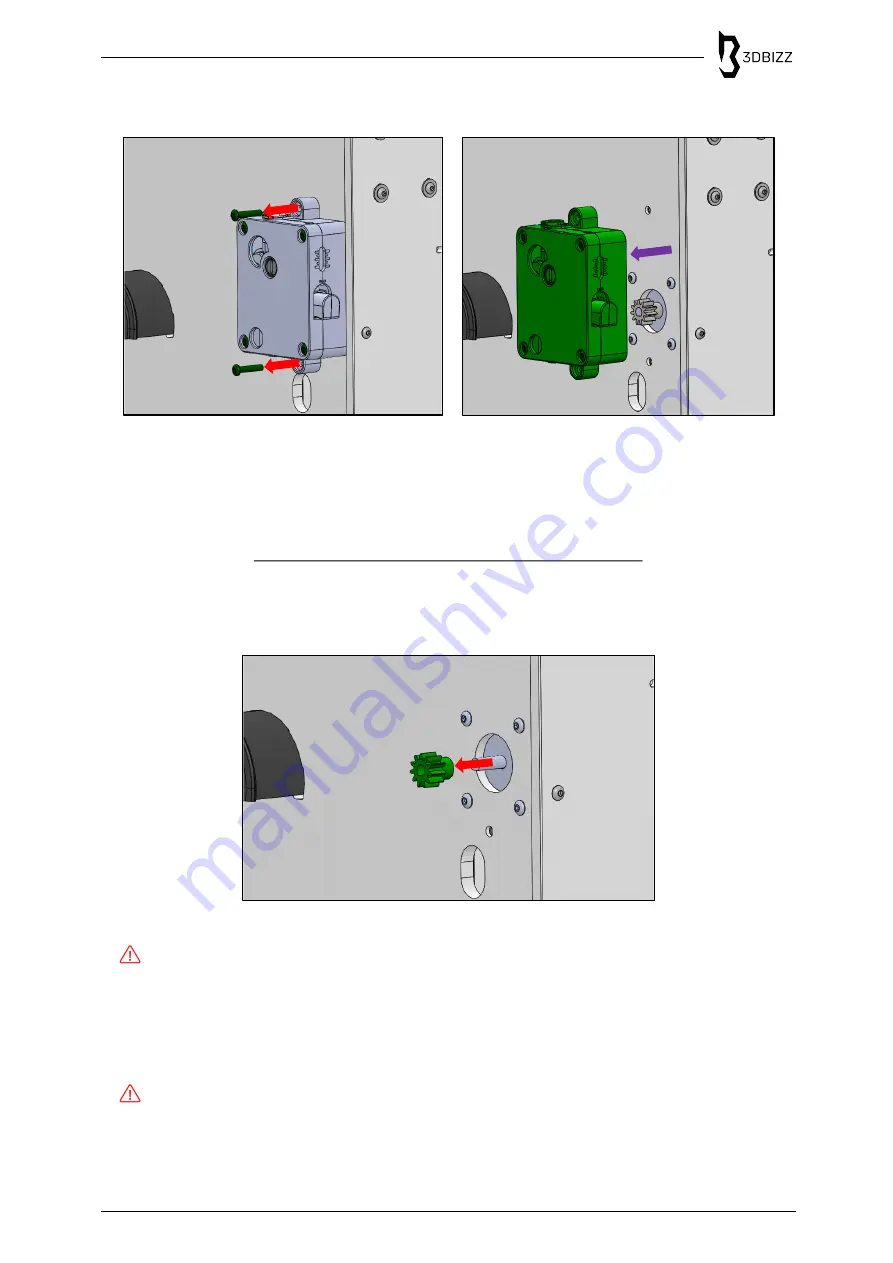
Unscrew the screws of the extruder.
•
Remove the extruder.
i
It could look different with your 3D-printer to the visualization shown above.
4.
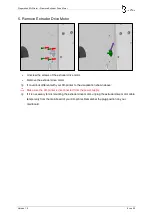
Remove Drive Gear
•
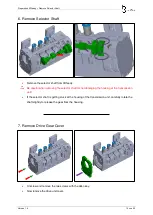
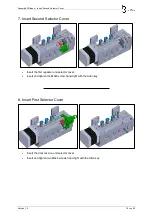
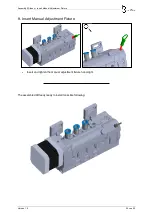
Remove the drive gear from the extruder drive motor.
In some cases, an additional stud screw has to be removed or loosened.
i
It could look different with your 3D-printer to the visualization shown above.
i
Sometimes, the drive gear already fits to the drive gear of 3Dfeedy (e.g. Ultimaker 2+), which
makes it unnecessary to change it. You can check this by comparing the additional drive gear
from the box with the mounted one of your 3D-printer.
If the drive gear is tight fit to the extruder drive motor, do not damage the extruder drive motor.
Please purchase a new extruder drive motor with equal settings of the existing extruder drive
motor.


