ProJet
®
x60
Pro
Series User Guide
Setup And Print The Build
3dscentral.3dsystems.com
21
All Rights Reserved
5/12/13
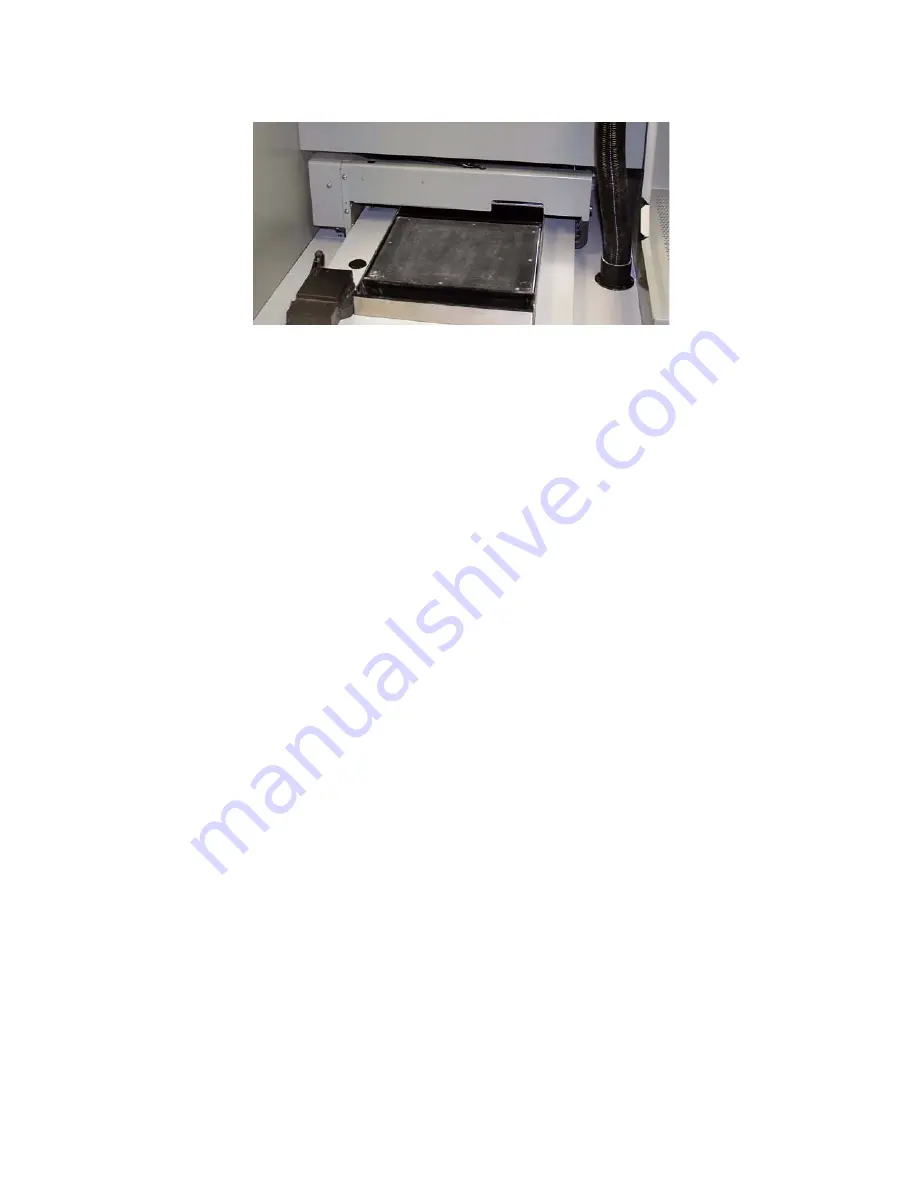
A clean, properly prepared Build Bed
2.6 Print the Build
1.
Select
Build >
on the Toolbar to display the Printing Options dialog.
•
Layer Print Range
allows you to print either the entire build or just a selected range of layers.
•
Delay Start Time
allows you to start the job at a specified later time.
•
Print Log
and
Detailed Report
generate log files that describe what happened during the print
job. These are very useful in troubleshooting printing problems, and we recommend you leave
them checked.
2.
Select
OK
when you have selected your options.
3.
The
Printer Status
dialog appears.
3DPrint checks the printer readiness and calculates the materials needed to complete the build. The
results are reported in the
Printer Status
dialog for you to check before starting the build.
•
The dialog shows
OK
for each item and the
button is enabled when the printer is ready.
•
If you see a message and the
button is not available for selection, see
Chapter 5 - Additional
Operations
for instructions on how to clear a message.
4.
Choose your options for the build in the
Print Job Options
section of the
Printer Status
dialog.
•
Delay Start Time
- Delays starting the build for a time period you specify.
5.
Check the
Printer Status
window to see what is currently displayed on the printer LCD menu. The
printer must be
Online
before you can start the print job.
6.
When all of the items in the
Print Head
,
Feeder
, and
General
sections show
OK
, the
button is
enabled. Click
to start the build. Before starting the build, the printer will:
•
Service the print head
•
Fill the Build Bed with Core and then spread one layer to make the top surface smooth
7.
The
Printing
dialog opens and tracks the following information for the duration of the build:
•
Estimated Finish Time
•
Estimated Time Remaining
•
Layer% Completion status bar
•
Starting Time
•
Elapsed Time
•
Pause Button - Click to pause the build. Click again to resume the build
•
Cancel Button - Click to cancel the build


