


23
3D Systems, Inc.
1 . Open the ProJet 1200 application . Double-click the
ProJet 1200
icon that was
placed on your desktop during the software installation .
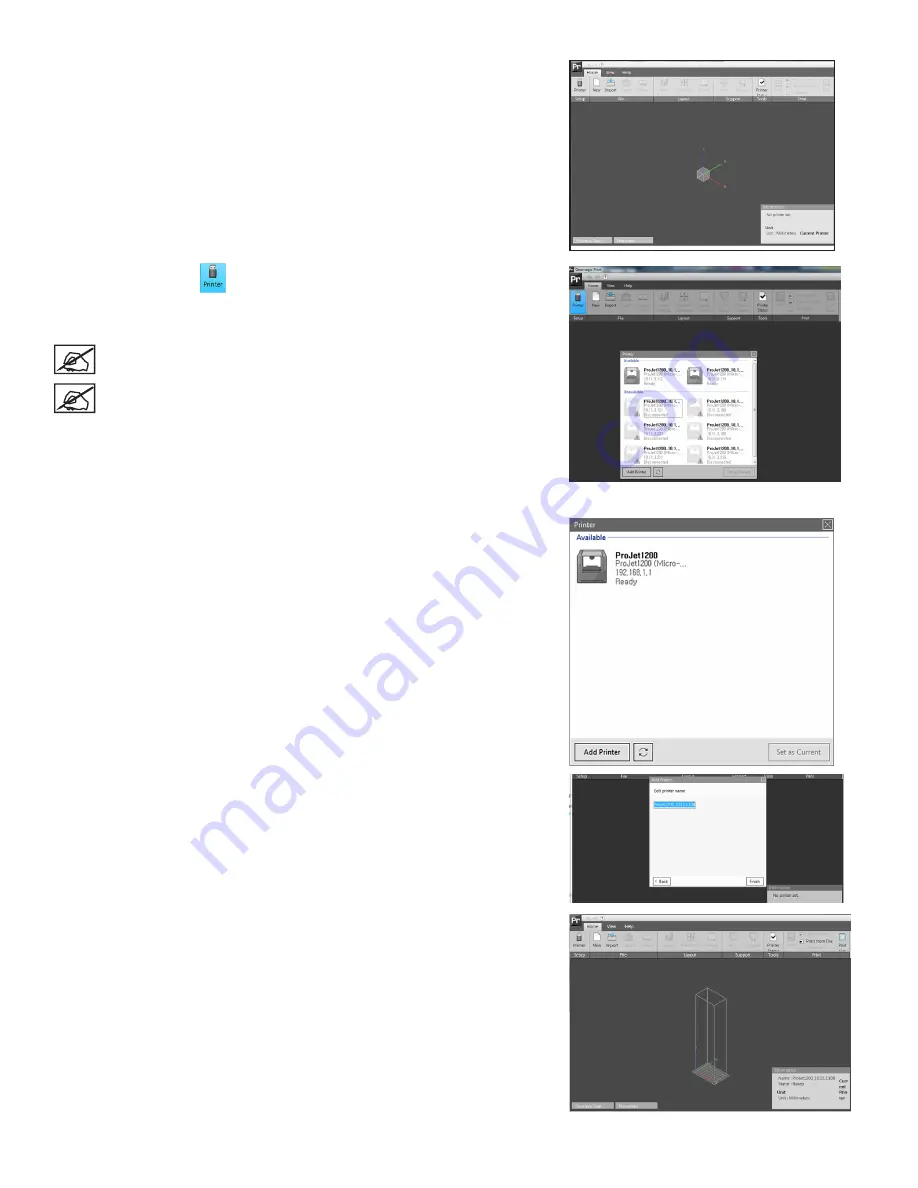
2 . Select Printer icon
from Home Tab .
3 . A list of available printers will pop up . Select the printer you wish to connect to
and click
Next
.
NOTE: If desired printer is not on the list, you can type the IP address
in the
Enter IP address directly
area and select
Validate
.
NOTE: Your company might be on a sub net . If this is the case,
contact your IT Administrator to find the IP address.
4 . Select the name of the printer from the list and select
Set as Current
.
5 . A screen will pop up that will allow you to change the printer name . This is
useful if you have multiple printers and you want something to identify them,
such as
printer_room202
might be the name you choose . If you don’t want
to change the name leave it alone and select
Finish
. If you wish to change it,
type in the new name and select
Finish
.
6 . When printer has been connected there should be an
Information
window
showing the basic printer information .


