24
Replacing the Hard Disk
Once you have received your new Hard Disk, you are ready to
replace the faulty one. The Hard Disk arrives pre-imaged with the
Operating System installed, so there is no need to format the
Hard Disk after installation.
CAUTION:
When you replace the Hard Disk, undo the screws
that secure the blanking plate and the Hard Disk with a suitable
tool. Keep the blanking plate and the screws in a safe place.
After replacing the Hard Disk, replace the blanking plate and
tighten the screws with a suitable tool.
Handling the Hard Disk
The Hard Disk can be easily damaged by electrostatic discharge.
To prevent damage, observe the following:
■
Always wear an anti-static wristband connected to a suitable
earth point.
■
Do not remove the Hard Disk from its packaging until you are
ready to install it into the Network Storage Server.
■
Do not touch any of the pins, connections or components on
the Hard Disk.
■
Handle the Hard Disk only by its edges and its supporting
tray.
■
Always store or transport the Hard Disk in anti-static
packaging.
Removing the Faulty Hard Disk
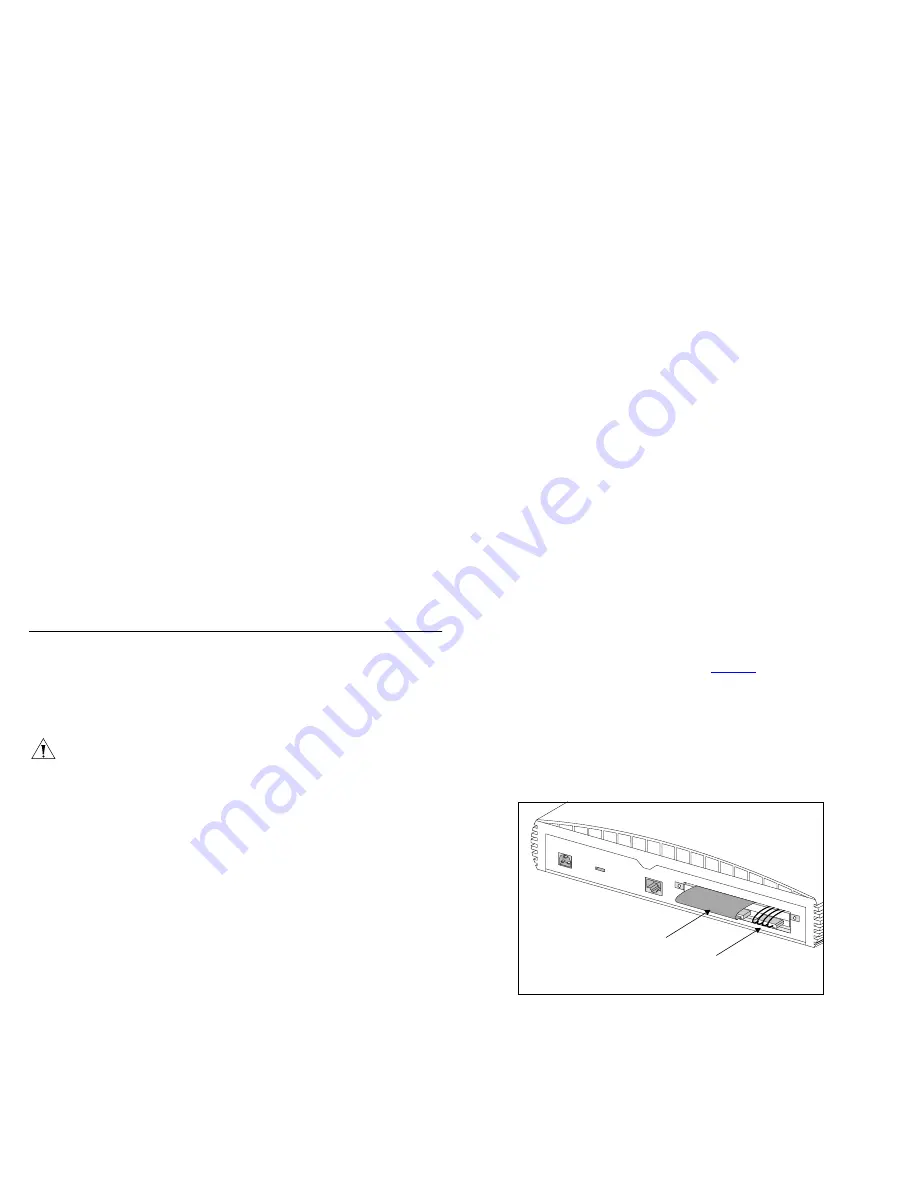
When you remove the blanking plate on the Network Storage
Server to replace the Hard Disk (see
Figure 5
), you will find that
the Hard Disk is attached to a metal supporting tray. Also, the
Hard Disk will have an IDE cable and an internal power supply
connector connected to it. These connections must be removed
before you remove the Hard Disk. Also, when you remove the
Hard Disk, you must remove the supporting tray with it.
Figure 5
Rear of the Network Storage Server
To remove the Hard Disk:
1
Ensure that the Network Storage Server has been powered down
and disconnected from the mains power supply. Ensure that you
are wearing an anti-static wristband connected to a suitable
earth point.
2
Ensure that the Twisted Pair cable has been disconnected from
the LAN port on the Network Storage Server.
12V DC
2A M
AX
12V DC
2A M
AX
LOCK
LAN
IDE Cable
Internal
Power Supply
Connector
Internal
Power Supply
Connector


