A-4
A
PPENDIX
A: S
OFTWARE
O
PTION
S
ETTINGS
7
Select Configuration and Diagnostic Program from the
next screen.
8
Do one of the following:
■
If you have a single adapter installed, the menu selection
Configure Adapter appears already highlighted. Press
[Enter].
■
If you have multiple adapters installed, use the arrow keys
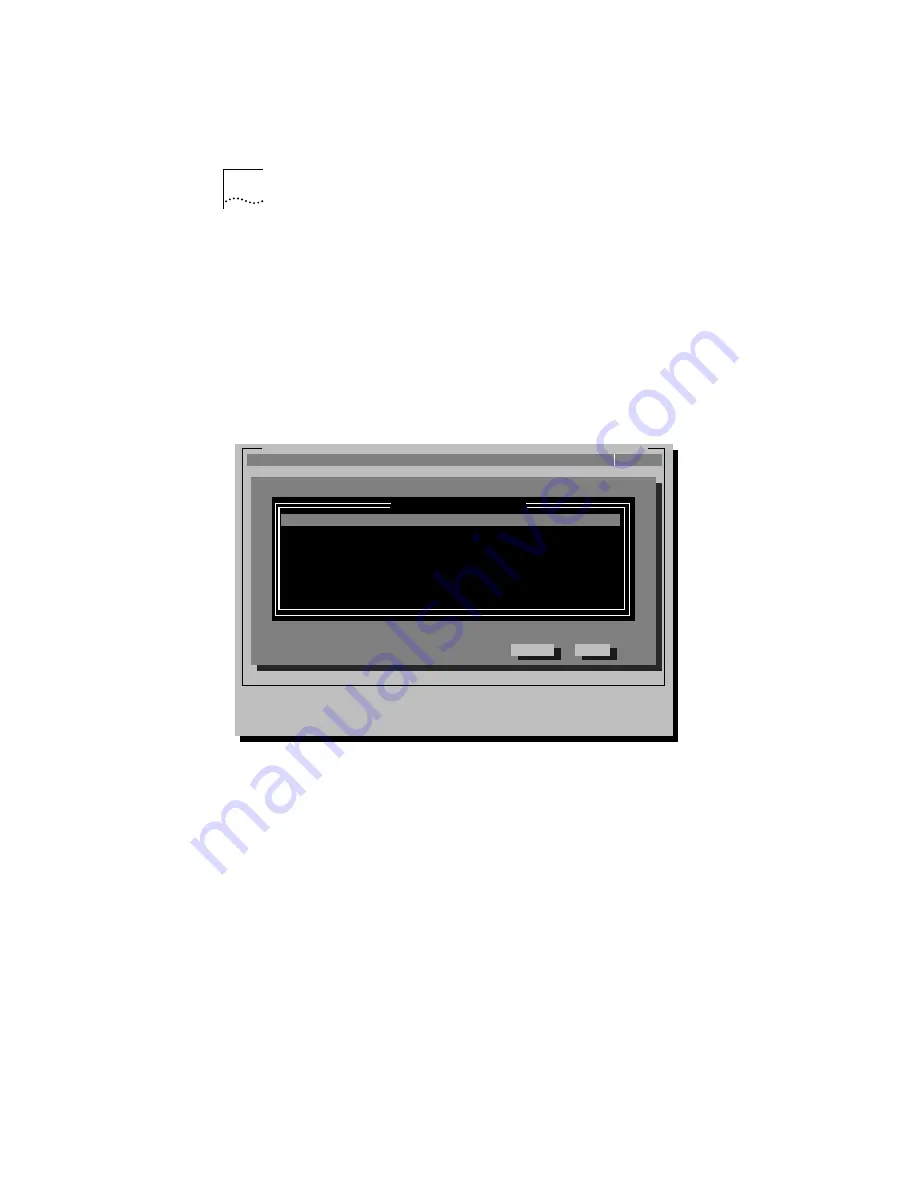
to select an adapter, as shown in Figure A-2. Press [Enter].
Figure A-2
Main Window with Multiple Adapters
9
When a screen identifying the adapter appears with the
Configure Adapter menu item highlighted, press [Enter].
10
Press [Shift]+[Tab] to highlight the first option in the
main dialog box, and use the arrow keys to highlight the
parameter you want to change.
Figure A-3 is an example of the adapter configuration dialog
box, showing both the automatically set configuration values,
which you cannot change (I/O Port Address and Interrupt
Request Level), and the default software option settings,
which you can change.
Initial Adapter Selection
Select
Quit
Select the adapter to be configured and/or tested.
[ENTER]=<Select>
[Alt]+<Highlighted Key>=Execute Function [
↑↓
]=Scroll
[TAB]=Next Field [SHIFT+TAB]=Previous Field [F1]=Help [ESC]=<Quit>
Installed Adapters
3Com 3C590-TP PCI Dev/Slot 12: Node Address = 00608C001358
3Com 3C590-COMBO PCI Dev/Slot 13: Node Address = 00608C001368
Install
Quit
View
Select
F1=Help
Test
EtherDisk for 3C59X Fast EtherLink/EtherLink III Bus Master Adapters v.X.X
(C) Copyright 1995, 3Com Corporation. All Rights Reserved
Содержание EtherLink 3C590
Страница 22: ...Using Auto Select Media Type 2 7 ...
Страница 23: ...2 8 CHAPTER 2 INSTALLING THE PCI ADAPTER ...
Страница 37: ...3 14 CHAPTER 3 INSTALLING THE NETWORK DRIVERS ...
Страница 49: ...4 12 CHAPTER 4 PERFORMING TROUBLESHOOTING AND DIAGNOSTIC TESTS ...


