


Content Page
General Description / Supplementary documents / Technical Specifications ..........................2
Safty Precautions .....................................................................................................................3
Care & Maintenance / Factory Settings / Functional Description /
Overview of transponder cards / ............................................................................................4
Additional functions with the Captos iCharge ..........................................................................5
Power Supply / Components of the locking system & package content ..................................6
Dimensions...............................................................................................................................7
General assembly instructions / Mounting on non-metal surfaces .........................................9
Cable management recommendations ..................................................................................12
Configuration and operation ..................................................................................................14
Instructions for operation and configuration .........................................................................15
Commissioning / Using the installation card / Programming the Master card ......................16
Programming the User Cards / Closing and opening .............................................................17
Unauthorised Transponders / Facility Manager Function / Emergency opening ...................18
Deleting Individual Transponder Cards ..................................................................................19
Deleting All Transponder Cards / Changing the operating mode ...........................................20
Deactivating and activating acoustic signals ..........................................................................21
Resetting to factory settings / Activation and deactivation of auto locking ...........................22
Deactivating and activating the Status-LED ............................................................................23
Disposal ..................................................................................................................................24
www.lehmann-locks.com
Operating Instructions
GB
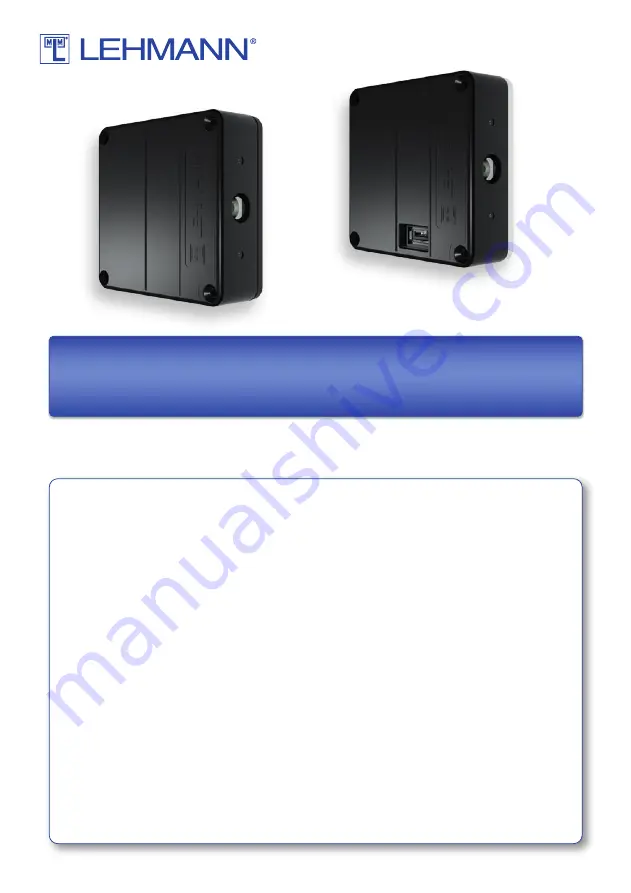
CAPTOS MIFARE /
CAPTOS iCharge MIFARE
BD
A CAP
TOS MIF
ARE / CAP
TOS iChar
ge MIF
ARE 22-09-22 (GB)
CAPTOS iCharge MIFARE
CAPTOS MIFARE


