


9
D0404SG0_B
KTD-404 Controller Keypad Installation and Operations Guide
Programming
Initial Programming
KTD-404 Programming
Use the following steps to program the KTD-404:
Step 1)
Supply power to the unit. The LCD will momentarily display the words Controller
Keypad or the type of keypad. Next, the normal operating display menu will appear:
Enter the access code
5
,
7
,
9
,
seq
. The display will automatically advance
to the next menu.
This section provides instructions for programming the KTD-404 keypad and for using it to
program other components in the DIGIPLEX system, including:
Pan/Tilt/Zoom Receiver Programming
Video Switcher Programming
Alarm Interface Programming
CyberDome Programming
P/T/Z receiver programming and initial entry into programming for other system components
is provided; please refer to component manuals for complete programming instructions.
Helpful Hint:
For large DIGIPLEX III systems, the KTD-311 Software Download Package
can be used to easily download camera titles.
For new installations, these instructions should be followed in the order in which they are
presented. If any programmed data needs to be changed at a later date, the menu associated
with that data can be accessed by entering the appropriate programming mode and using
the designated key(s) to advance to the menu.
The KTD-404 offers many programming choices which identify how it will function in the
system. A separate code is used to access the menus that describe these choices.
Programming choices for the KTD-404:
System Size
Camera Access
Multiplexer Type
Annunciation
Monitor Offset
Monitor Access
Multiplexer Views
Entry Verification
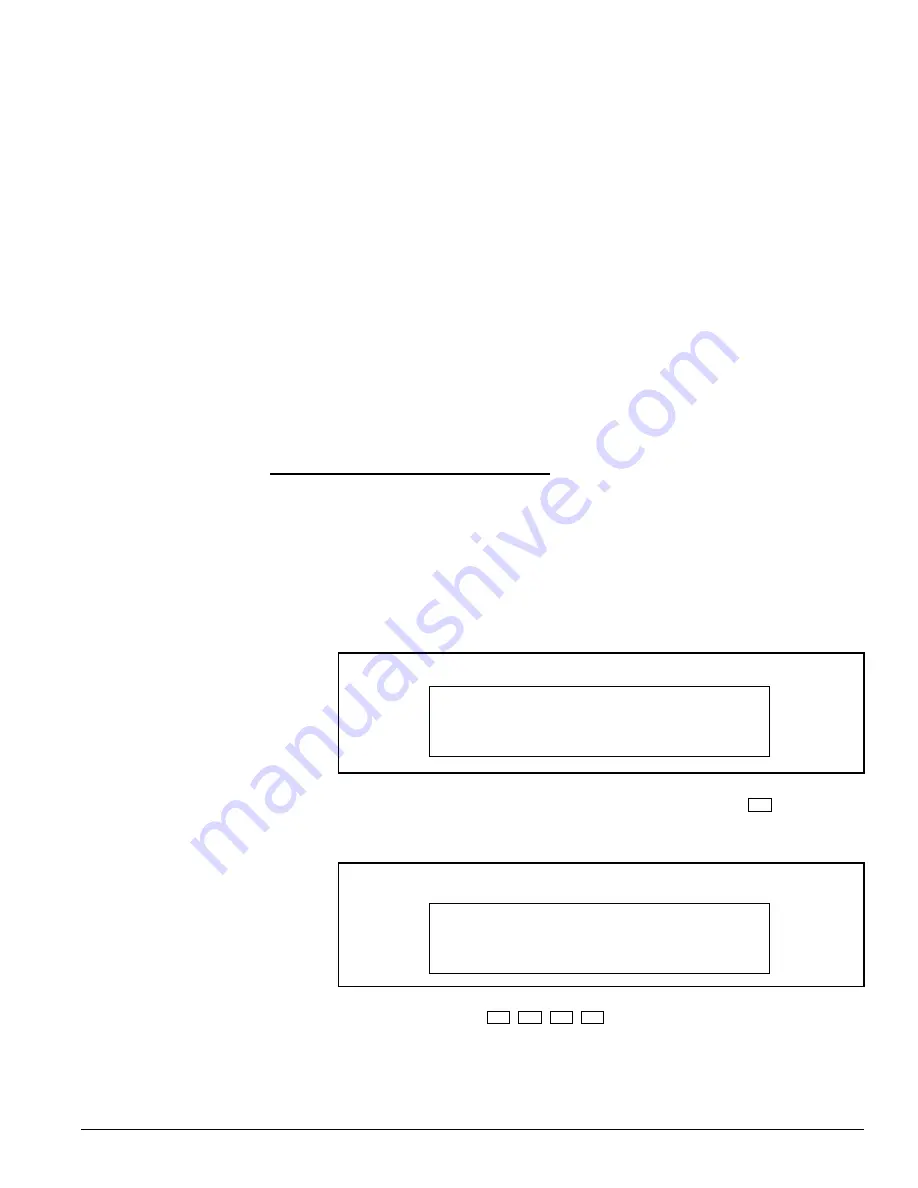
Step 2)
Enter the programming mode by pressing and holding the
set
key until the
following display appears:
Normal Operating Display
Figure 9: Code Entry Display
ENTER PROGRAMMING
CODE:
Figure 8: Normal Operating Display
CAMERA 000
MONITOR 01
Code Entry Display


