Quick Start Guide
www.zyxel.com
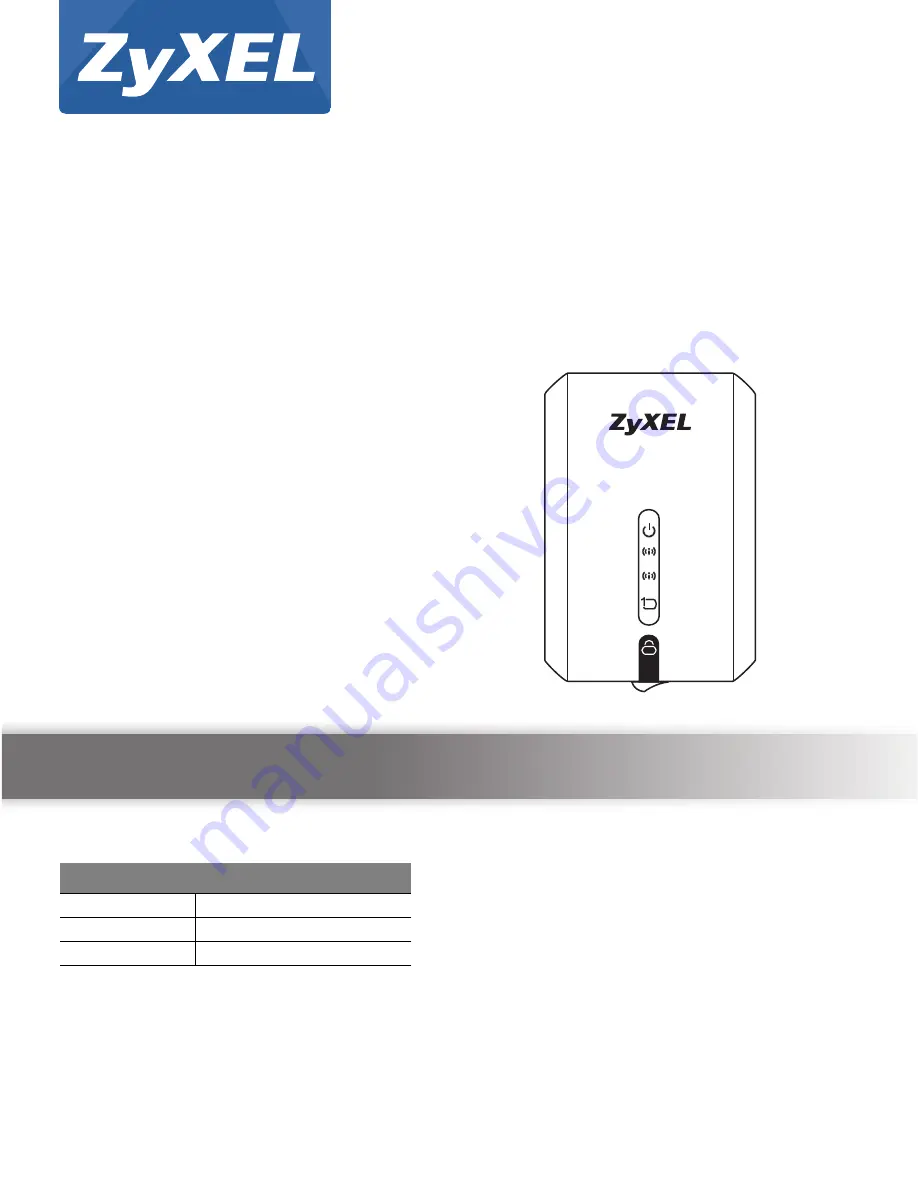
WRE6505
Wireless AC750 Range Extender
Version 1.00
Edition 4, 12/2015
Copyright © 2015 ZyXEL Communications Corporation
User’s Guide
Default Login Details
Web Address
http://zyxelsetup
User Name
admin
Password
1234
2.4G
2.4G
5G
5G


