HD-4002DM User Guide and Install Manual
Page 6
STEP 4
: Local Save
Once all parameters are set you are required to do a Local Save.
Notes on Changes:
Changes made to an individual setup tab may require the installer to perform a Local Save AND Upload and
Reboot to the device if you are only making changes to one parameter to the encoder.
Example: Installer is required to change only the output channel for the device (No other changes to the device are not required).
Once the channel has been changed, the installer is required to perform
1.
Local Save
and
2.
Upload and Reboot
.
Notes on Channel Selection:
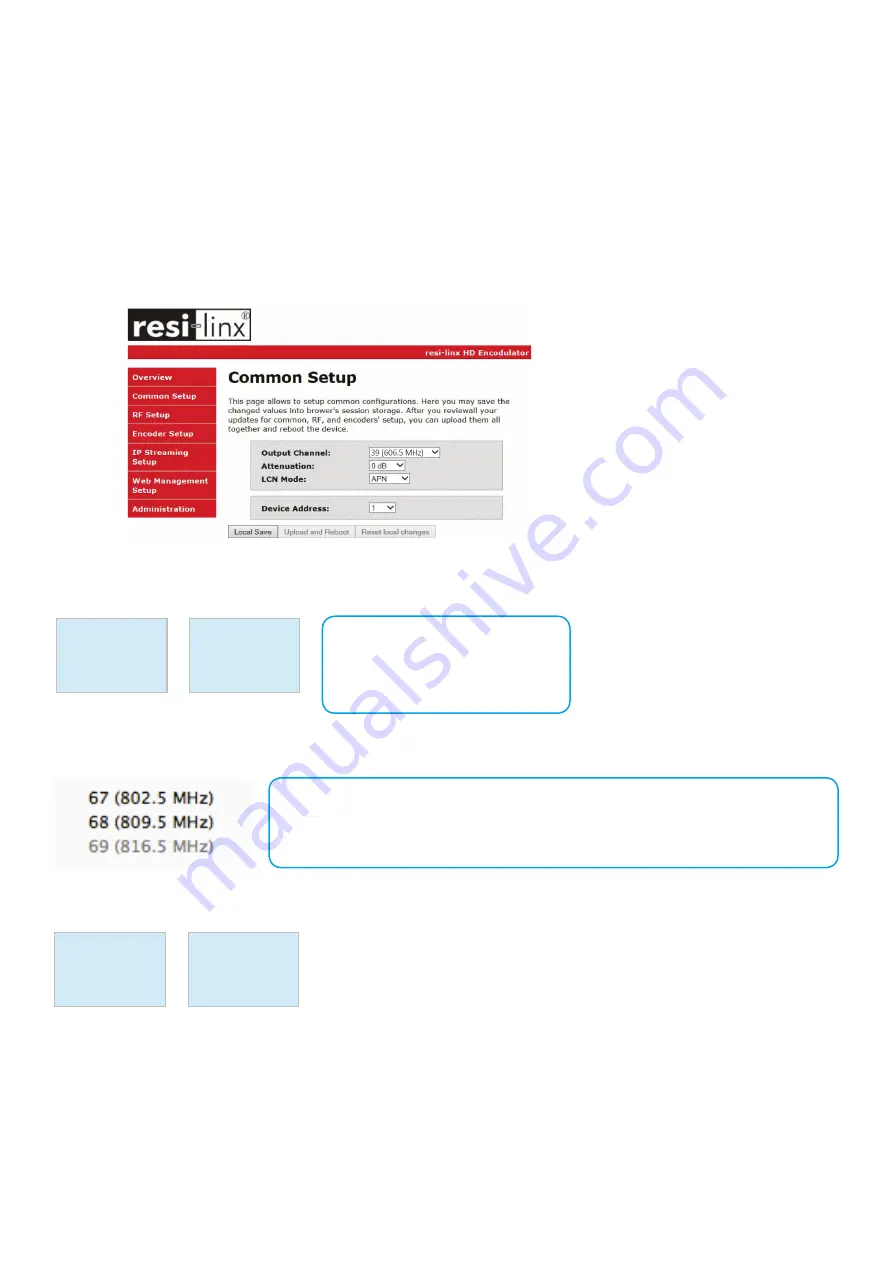
The image below shows the Output Channel is set to CH # 39. RF1 will output 1 QAM signal
carrying 2 digital audio/video channels (within your device’s Bandwidth settings).
The device will automatically set RF2 to Ch # 40
Using the above example the Physical Channel Outputs for the Quad Input device would be set: 38.1, 38.2 and 39.1, 39.2.
The below diagram depicts how each input on the Quad Encoder is placed in RF 1 or RF2.
The Quad Encoder prevents you from selecting the last channel in the device as the first physical channel for the device’s output
channel. Select CH # 68 (809.5MHz) for the output channel and the device will automatically set RF2 as CH # 69 (816.5MHz).
Setting the Output Channel to CH# 68 would result in the following RF1/RF2 configuration (see below)
NOTE:
Channel 68 is the last channel accessible to select. In this example CH #68 can be
selected as RF1 and the device will automatically set RF2 as CH #69. CH #69 can
not be set as RF1.
RF1
RF1
IN-1
IN-2
IN-1
IN-2
CH #39
CH #68
RF2
RF2
IN-3
IN-4
IN-3
IN-4
CH #40
CH #69
NOTE:
The RF2 Physical Channel Output
is determined by the selection of
output channel of RF1.


