Chapter 9 The System Configuration Screens
OX253P User
’
s Guide
92
9.4 Firmware
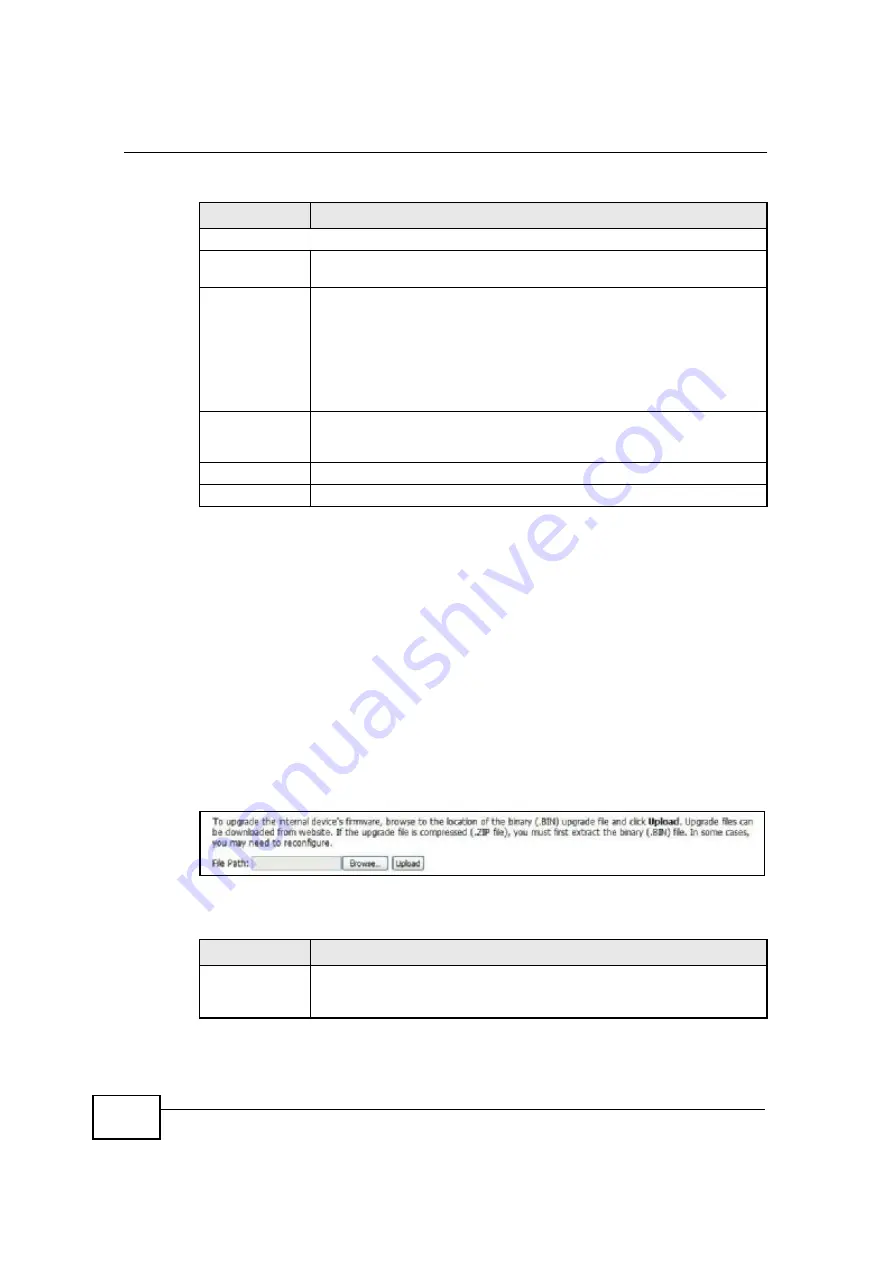
Click
ADVANCED > System Configuration > Firmware
to upload new
firmware to the OX253P. Firmware files usually use the system model name with a
"*.bin" extension, such as "OX253P.bin". The upload process uses HTTP
(Hypertext Transfer Protocol) and may take up to two minutes. After a successful
upload, the system will reboot.
Contact your service provider for information on available firmware upgrades.
Note: Only use firmware for your OX253P
’
s specific model.
Figure 35
ADVANCED > System Configuration > Firmware
The following table describes the labels in this screen.
IP Address Update Policy
Use WAN IP
Address
Select this if you want the OX253P to update the domain name with the
WAN port's IP address.
Dynamic DNS
server auto
detect IP
address
Select this if you want the DDNS server to update the IP address of the
host name(s) automatically. Select this option when there are one or
more NAT routers between the OX253P and the DDNS server.
Note: The DDNS server may not be able to detect the proper IP
address if there is an HTTP proxy server between the
OX253P and the DDNS server.
Use specified IP
address
Select this if you want to use the specified IP address with the host
name(s). Then, specify the IP address. Use this option if you have a
static IP address.
Apply
Click to save your changes.
Reset
Click to restore your previously saved settings.
Table 31
ADVANCED > System Configuration > Dynamic DNS (continued)
LABEL
DESCRIPTION
Table 32
ADVANCED > System Configuration > Firmware
LABEL
DESCRIPTION
File Path
Enter the location of the *.bin file you want to upload, or click
Browse...
to find it. You must decompress compressed (.zip) files
before you can upload them.
Summary of Contents for OX253P
Page 9: ...Contents Overview OX253P User s Guide 10 ...
Page 16: ...17 PART I User s Guide ...
Page 17: ...18 ...
Page 21: ...Chapter 1 Getting Started OX253P User s Guide 22 ...
Page 27: ...Chapter 2 Introducing the Web Configurator OX253P User s Guide 28 ...
Page 44: ...45 PART II Technical Reference ...
Page 45: ...46 ...
Page 85: ...Chapter 8 The NAT Configuration Screens OX253P User s Guide 86 ...
Page 117: ...Chapter 10 The Certificates Screens OX253P User s Guide 118 ...
Page 127: ...Chapter 11 The Firewall Screens OX253P User s Guide 128 ...
Page 171: ...Chapter 16 The Status Screen OX253P User s Guide 172 ...
Page 179: ...Chapter 17 Troubleshooting OX253P User s Guide 180 ...
Page 183: ...Chapter 18 Product Specifications OX253P User s Guide 184 ...
Page 215: ...Appendix B Setting Up Your Computer s IP Address OX253P User s Guide 216 ...
Page 227: ...Appendix C Pop up Windows JavaScripts and Java Permissions OX253P User s Guide 228 ...
Page 278: ...Index OX253P User s Guide 279 ...
Page 279: ...Index OX253P User s Guide 280 ...