46 |
Persona The Personalized Knee
Surgical Technique
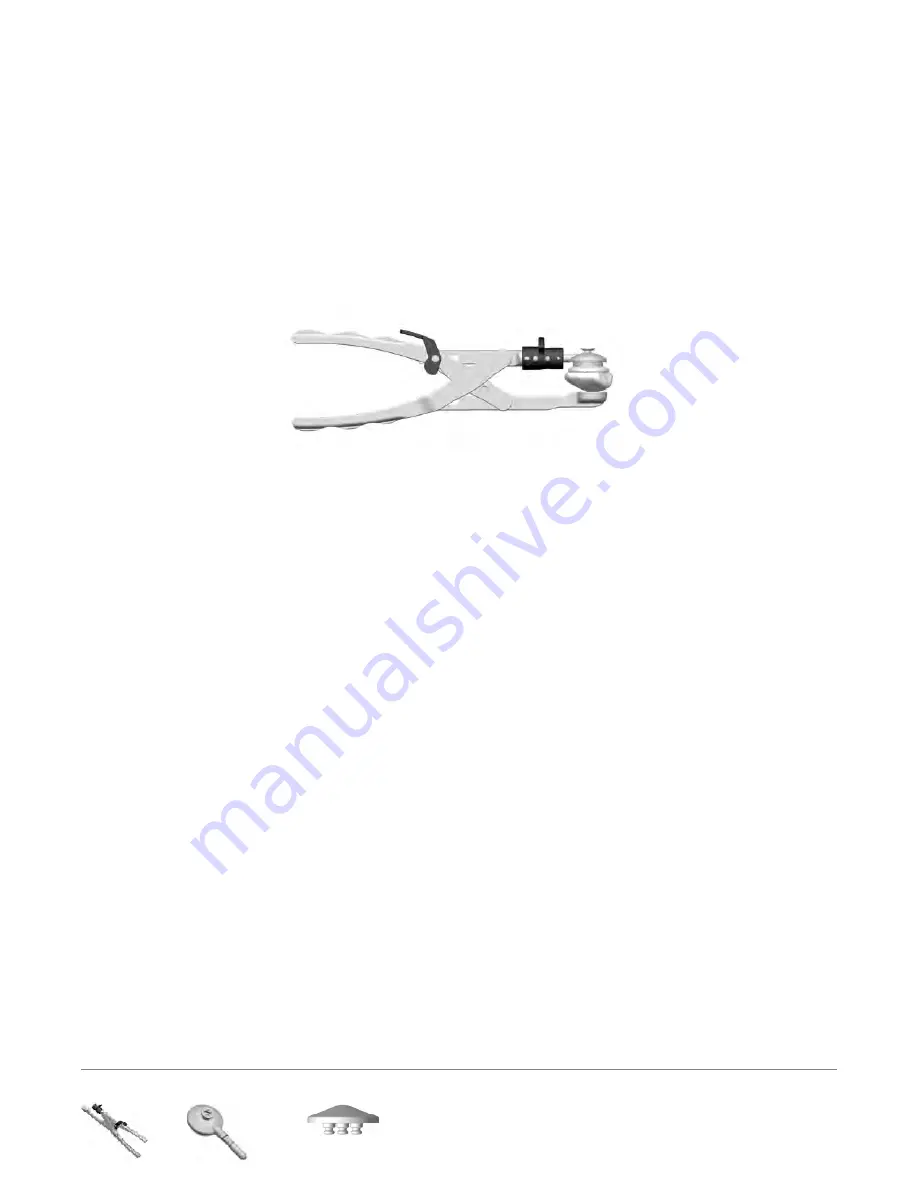
Patella Clamp
00-5903-020-00
Patella Clamp Head
00-5903-021-00
Persona All-poly Patella Size 32 mm
42-5400-000-32
Implant Components
(cont.)
Patellar Component
Please refer to the appropriate surgical technique
if other patella instrumentation is to be used to
accomplish the patella implantation.
All-Polyethylene Patella
With the knee in 70 degrees – 90 degrees of flexion,
apply cement to the anterior surface and pegs of the
patellar component while in a doughy consistency.
Alternatively, this step can be performed with the
knee in full extension. Locate the drilled peg holes and
use the patella clamp assembly to insert and secure
the patella in place. Fully open the jaws of the patella
clamp and align the tooth to the anterior surface of
the patella and the patella clamp head to the posterior
surface of the implant (Figure 98). Use the patella
clamp to apply enough pressure to fully seat the
implant on the patellar surface. Remove any excess
cement in a thorough and consistent manner.
Figure 98
Close Incision
Freely irrigate the wound with the solution of choice to
assure unwanted debris is removed from the joint space
prior to closure. A drain may be placed intracapsularly.
Then close the wound with sutures and apply a
bandage. Please refer to package insert for complete
product information, including contraindications,
warnings, precautions, and adverse effects.
Surgeon Notes and Tips
Take care that the retractors do not inadvertently
dislodge the tibial baseplate, particularly on the
posterolateral corner. Verify that the femoral
component is fully seated before closing the wound.
Confirm that no portion of the quadriceps mechanism
has been pinned beneath the femoral component.


