DOC-USR-0214-04
___________________________________________________________________________________________
Z3 Technology, LLC
♦
100 N 8
th
ST, STE 250
♦
Lincoln, NE 68508-1369 USA
♦
+1.402.323.0702
47
A pop-up window appears to confirm the saving of these settings is complete. Click “OK”.
*
Note
:
The very first time settings are saved may take up to 30 seconds. This is due to some flash initialization
which occurs on the very first configuration save.
In order for changes to IP settings to take effect, the unit must be re-started. A prompt will appear
requesting a reboot. Click “Ok” and wait 20-30 seconds for the unit to boot.
Using a Static IP Address
The encoder supports DHCP (Dynamic Host Configuration Protocol). This is enabled by default, allowing
the encoder to dynamically receive an IP address at startup. The IP address that is assigned can be seen
through using ZFinder. If you prefer, you can set your encoder to a static IP address. If you would like
to have your PC set to a static IP address, you will need to set your encoder to a static IP address as
well in order for it to be discoverable by ZFinder.
To set your unit to a static IP address, complete the following steps:
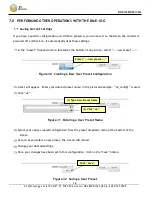
First, you will need to set up a custom configuration so that the manual networking settings are
used the next time the system boots up. To do this, see Section 7.1.
Select your newly created configuration from the “preset” dropdown menu at the bottom of the
screen. As soon as you select your configuration, the screen will reload.
Return to the System Setup tab.
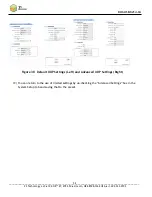
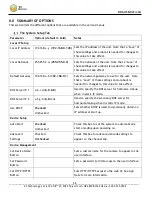
Un-check the “Use DHCP” box.
Enter in your desired network settings including “Local IP Address”, “Local Netmask”, “Default
Gateway”, “DNS Server IP 1”, and “DNS Server IP 2”.
Click on the “Save” button.

