3.
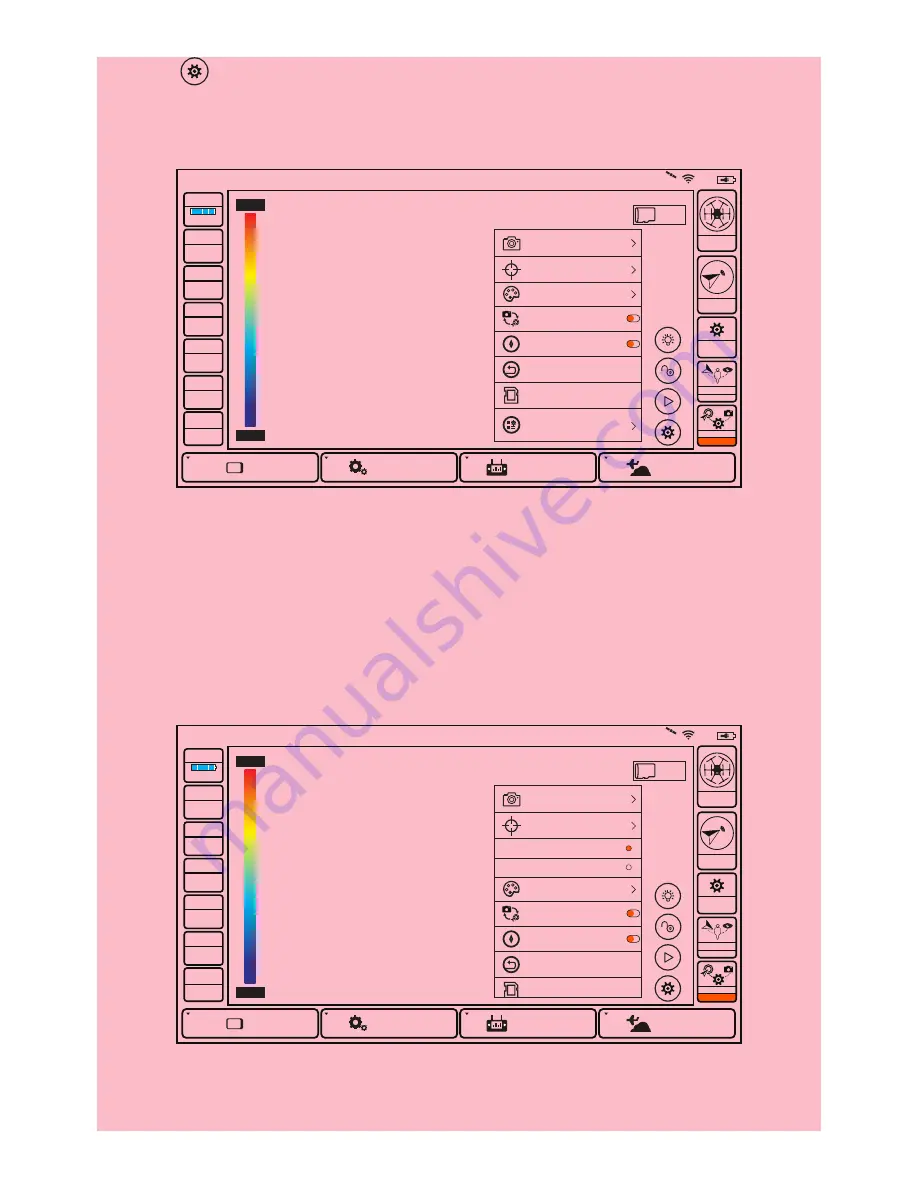
Tap [ ] icon and choose “System” , you can have several setting options.
For instance: “Photo” , “ROI” , “Palette” , “Auto Calibrate” , “Reset” , “Format
Sdcard” , etc.
1) "Photo":
Tap the "Photo" button and you can manually set the shooting intervals.
2) “ROI” :
Touch the “ROI” button and you can have two options: “Spot” and
“Center Area” . The default mode is “Spot” . When you choose “Spot” , the cen-
ter-point temperature will be shown on the screen; When you choose “Center
Area” , the average temperature of the center area (The center area takes up
1/16 of the infrared image) will be shown on the screen.
Model: Typhoon H
Welcome,Pilot
1:39 AM 0
System Settings
Pad
Channel Settings
Model Select
TASK
CAMERA
GPS
CALIBRATION
NOT
AVAILABLE
Disabled
OBS.
7%
SD 7.23G
N/A
Photo
ROl
Spot
Center Area
Palette
Single/Team
Auto Calibrate
Reset
Format Sdcard
Measurement
Corrections
43.9 C
41.3 C
VOLTS
GPS
SAT
POS
ALT
G-SPD
DIS
15.6V
Ready
0
0.0000 E
0.0000 N
-0.0 m
0.0 KPH
N/A m
Model: Typhoon H
Welcome,Pilot
1:39 AM 0
System Settings
Pad
Channel Settings
Model Select
TASK
CAMERA
GPS
CALIBRATION
NOT
AVAILABLE
Disabled
OBS.
7%
SD 7.23G
N/A
Photo
Palette
Single/Team
Auto Calibrate
Reset
Format Sdcard
Measurement
Corrections
ROl
43.9 C
41.3 C
VOLTS
GPS
SAT
POS
ALT
G-SPD
DIS
15.6V
Ready
0
0.0000 E
0.0000 N
-0.0 m
0.0 KPH
N/A m
3) “Palette” :
The color of the infrared images can be adjusted to 5 types: Fusi-
non, Rainbow, Globow, Icefire, Ironblack.
18


