<7. Startup>
7-12
IM 11M12A01-04E
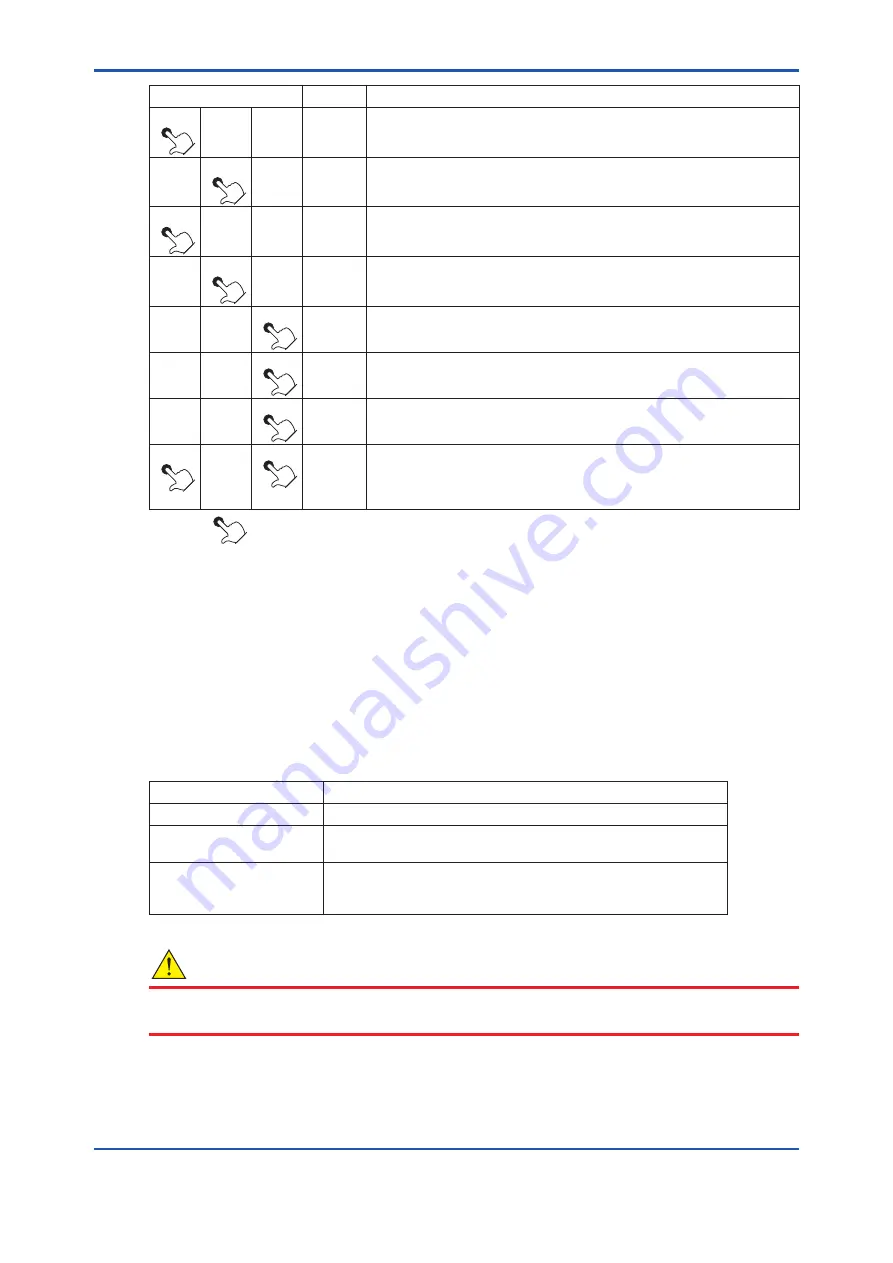
Switch operation
Display
Description
>
∧
ENT
025
Touch the [>] key to move the position of the digit that is flashing to the
right.
>
∧
ENT
0
8
5
Touch the [
∧
] key to change the number 2 in C25 to “8.”
>
∧
ENT
08
5
Touch the [>] key to move the position of the digit that is flashing to the
right.
>
∧
ENT
08
0
Touch the [
∧
] key to change the number 5 in C85 to “0.” The number
changes from 5 to 6 . to 9 to 0.
>
∧
ENT
080
If you touch the [ENT] key, all the digits flash.
>
∧
ENT
080
Touch the [ENT] key again to stop the flashing.
>
∧
ENT
C
14
Touch the [ENT] key once again to switch to the parameter code selection
display.
>
∧
ENT
Basic
panel
display
Touch the [>] key together with the [ENT] key to return to the basic panel
display. (This is not required if you proceed to make another setting.)
(The displayed numeric characters indicate the measurement gas
concentration.)
The symbol [
] indicates that the key is being touched. Light characters indicates that the digits are flashing.
7.8
Setting Display Item
7.8.1
Oxygen Analyzer - Setting Display Item
Display items are defined as items displayed on the basic panel display.
Parameter code “A00” or “F08” is used to set the display items as shown in Table 7.7. The
oxygen concentration is set at the factory before shipment. In addition, if the data initialization is
performed, the oxygen concentration will be set.
Table 7.7
Display Item
Values set with A00 or F08
Items displayed on the basic panel display
0
Indicates the oxygen concentration.
1 or 2
For humidity analyzers only. (if 1 or 2 is set for the oxygen analyzer,
"0.0" is only displayed on the basic panel display.)
3
Displays an item for the current output.
If the output damping has been set for the current output, values
involving the output damping are displayed.
CAUTION
If you set “3” in the parameter code “A00” or “F08”, be sure to select “Oxygen Concentration” in
the following mA output setting (see Section 8.1, “Current Output Setting”).
11th Edition : Jul. 19, 2017-00
Summary of Contents for EXAxt ZR402G
Page 9: ...Blank Page...
Page 51: ...Blank Page...
Page 151: ...Blank Page...
Page 165: ......
Page 167: ......


