


20
Chapter 4:
Settings
Settings Menus Overview
The P51-870 TITAN® settings menus are separated into four menus: unit settings, refrigerant
settings, device settings, and general settings. While on any modes screen or the modes menu,
the general settings menu can be quickly accessed by tapping the gear icon in the top right corner.
Unit and refrigerant settings can also be accessed by tapping the buttons in the bottom left and
right-hand corners of each modes screen.
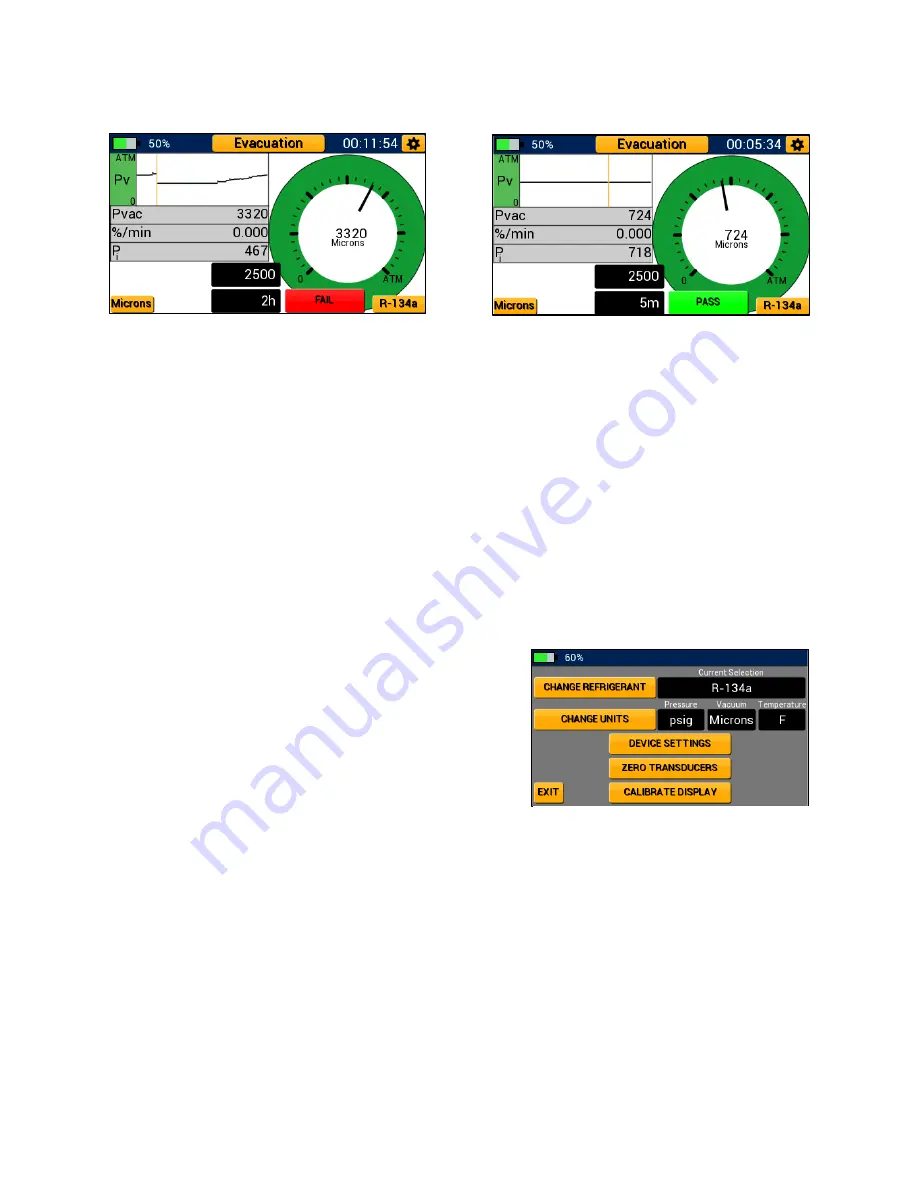
General Settings Menu
The general settings menu, shown in Figure 30, allows
the user to adjust system refrigerant, enter the units and
device settings menus, zero the pressure transducers,
and calibrate the touchscreen display. To access either
the units or device settings menus, tap on the
appropriate button. The exit button in the bottom left
corner can be used to return to the previous screen at
any time.
Zeroing the Pressure Transducers:
To ensure accurate pressure readings, the pressure transducers should be re-zeroed before every
job. To correctly zero the pressure transducers, first remove any pressure from the manifold and
ensure all knobs are open such that the manifold is at current atmospheric pressure. Next,
navigate to the general settings menu and tap the “Zero Transducers” button.
If the zeroing was successful, the button will flash green. If the zeroing was unsuccessful the
button will flash red. A common issue when zeroing transducers is residual positive pressure
within the manifold. The P51-870 TITAN® will not zero transducers if the manifold contains
pressure exceeding 30 psia.
Figure 28: Pressure Rise Test - FAIL
Figure 29: Pressure Rise Test - PASS
Figure 30: General Settings Menu
Summary of Contents for 40870
Page 31: ...28...


