ALTERNATOR
11-14
3TNV88F Service Manual
Alternator
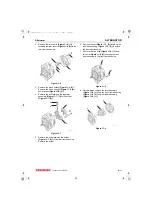
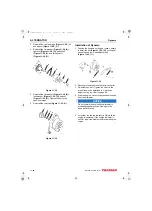
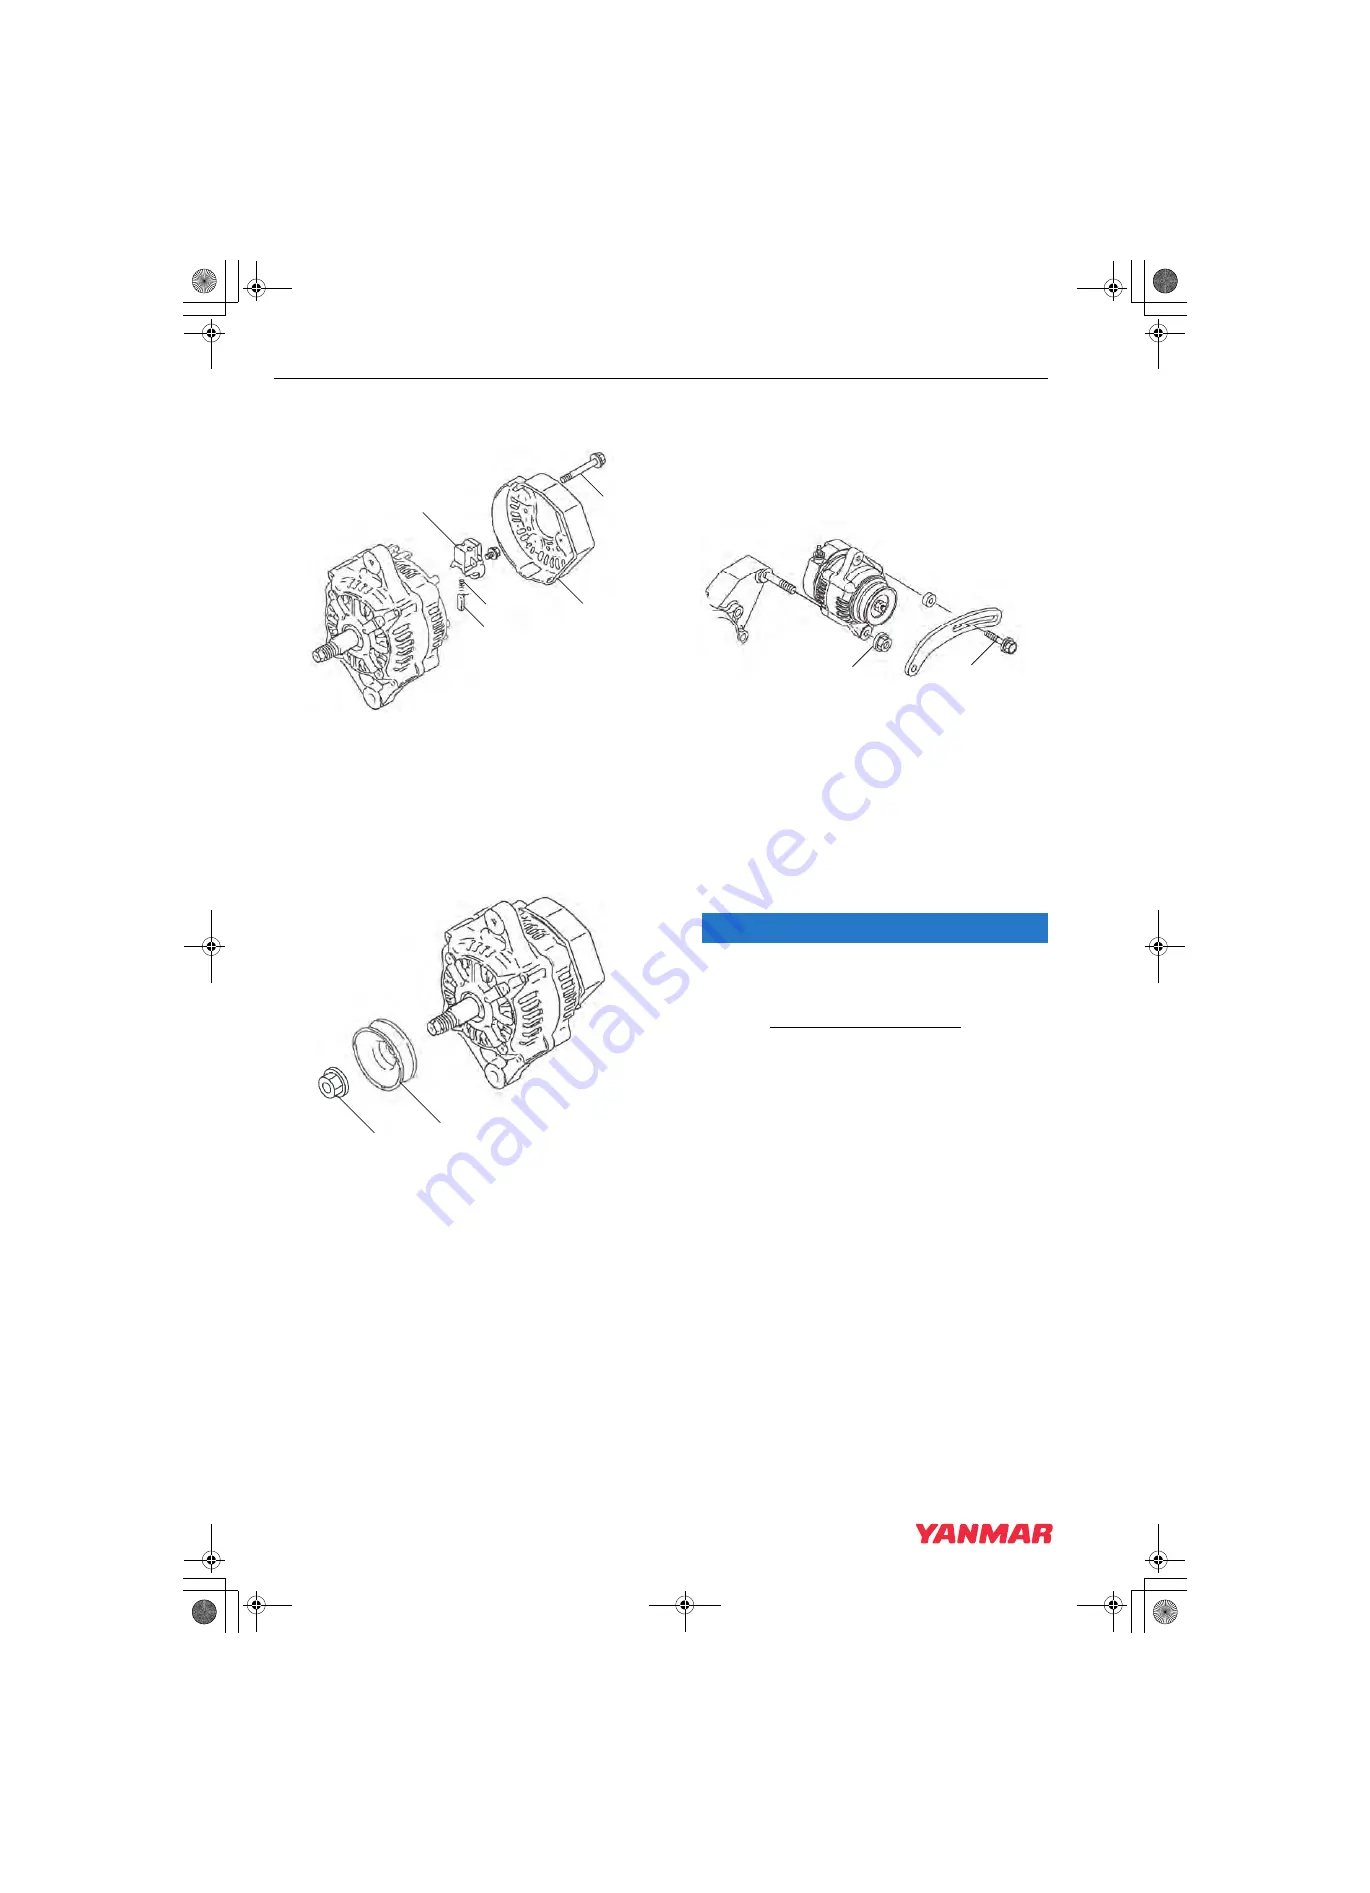
9. Reattach the regulator assembly and holder to
the rear frame housing.
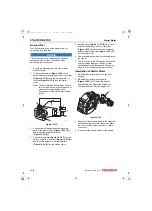
Figure 11-17
10. Reinstall the rear cover
(Figure 11-17, (2))
to
the rear frame housing with three bolts
.
11. Reassemble the pulley
(Figure 11-18, (2))
and
nut
(Figure 11-18, (1))
to the shaft of the rotor
assembly. Tighten the nut.
Figure 11-18
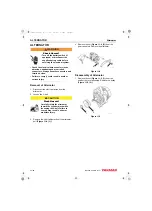
Installation of Alternator
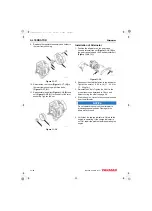
1. Position the alternator on the gear case.
Loosely reinstall the nut
on
the gear case stud and the V-belt adjuster bolt
(Figure 11-19, (1))
.
Figure 11-19
2. Reconnect the electrical wires to the alternator.
Tighten the nuts to 15 - 20 in.-lb (1.7 - 2.3 N·m;
17 - 23 kgf·m).
3. Reinstall the V-belt. Tighten the V-belt to the
proper tension as described in
adjust cooling fan V-belt on page 5-9.
4. Start the engine. Listen for any unusual sounds
from the alternator.
NOTICE
Do not operate the engine if the alternator is
producing unusual sounds. Damage to the
alternator will result.
5. Verify that the charge indicator is ON while the
engine is operating. If the charge indicator is
not ON, repair the problem before operating the
engine.
3
4
5
1
2
K0000257A
K0000256
1
2
1
2
K0000264
3TNV88F_SVM_A4.book 14 ページ 2012年7月26日 木曜日 午後6時4分

