STARTER MOTOR
10-18
3TNV88F Service Manual
Starter Motor
No-load Test
Test the characteristics of the starter motor by
performing a no-load test.
NOTICE
The starter motor can be damaged if operated
continuously longer than 10 seconds while
performing the no-load test.
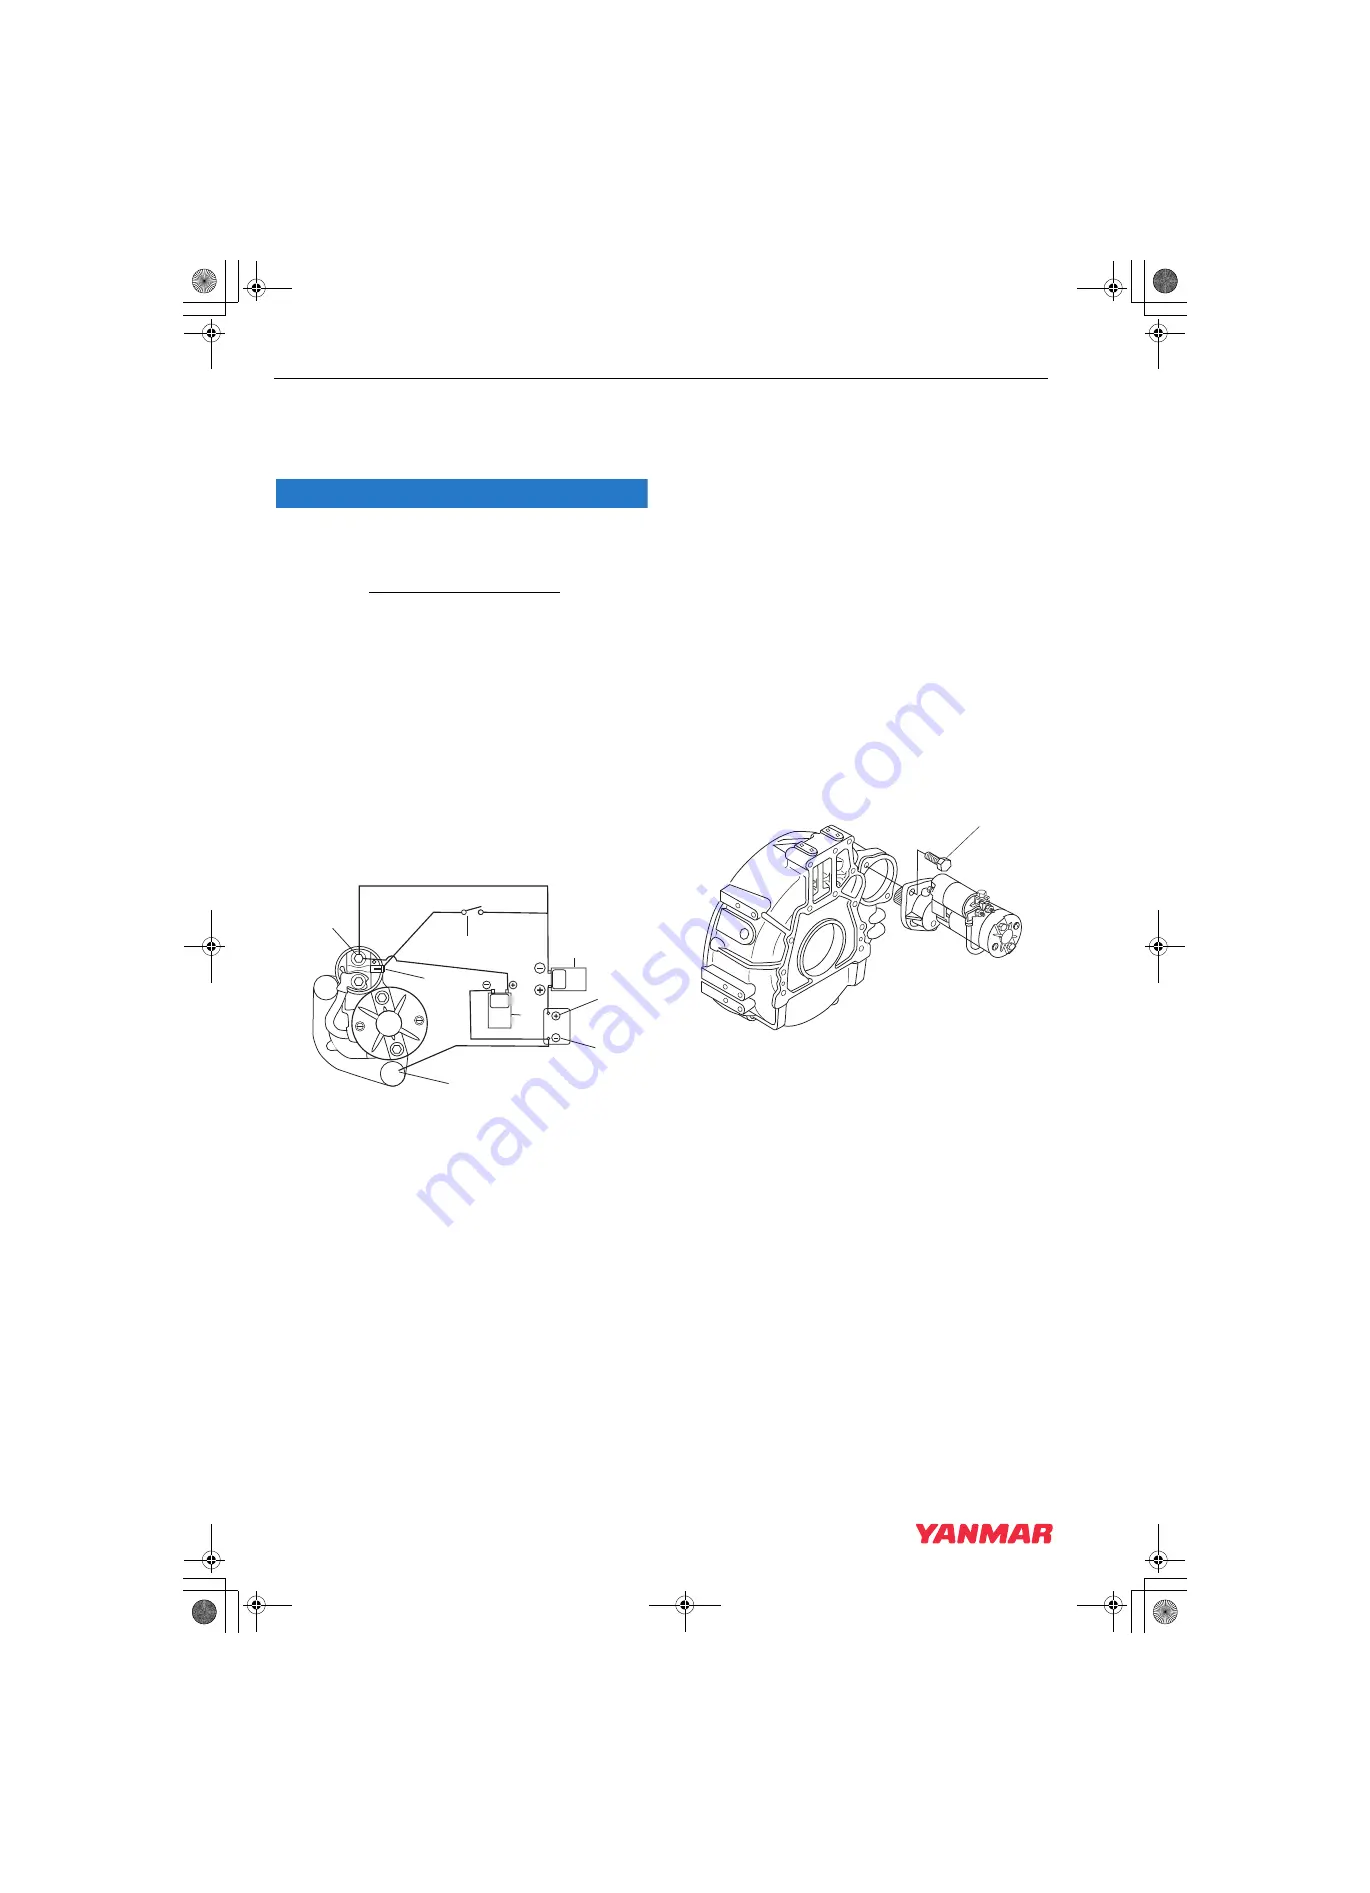
1. Secure the starting motor in a vise or other
suitable fixture.
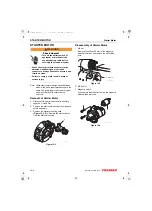
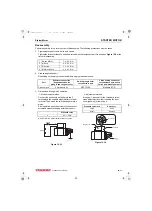
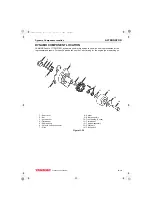
2. Connect an ammeter
(Figure 10-35, (1))
in
series between the battery positive (+) terminal
and the main positive (+)
terminal
(Figure 10-35, (3))
on the starter
motor.
Note: The ammeter and all wire leads used in
this test must have a capacity equal to or
greater than the amperage draw
specification for the starter motor being
tested.
Figure 10-35
3. Connect a wire lead between the mounting
base of the starter motor
and the battery negative terminal
.
4. Connect a voltmeter
(Figure 10-35, (7))
to the
battery negative (-) terminal
and the main positive (+) battery terminal
on the starter motor.
5. Install a switch
in a circuit
between the battery positive (+) terminal
(Figure 10-35, (2))
and the starter magnetic
switch (solenoid) terminal
on the starter motor.
6. Use a suitable tachometer to monitor the rpm of
the starter.
7. Turn the switch to the ON position. Monitor the
rpm, amperage draw and voltage. For test
specifications,
see
for the appropriate starter motor.
Installation of Starter Motor
1. Reinstall the starter motor to the flywheel
housing.
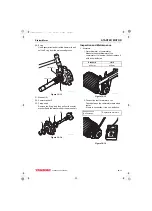
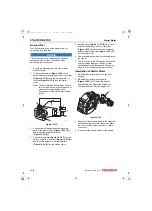
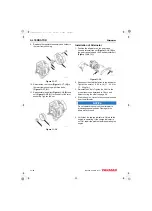
2. Reinstall the starter mounting bolts
(Figure 10-36, (1))
. Tighten the bolts to
specification.
Standard Bolts and Nuts on page 4-25
.
Figure 10-36
3. Reconnect the electrical wires to the magnetic
switch assembly (solenoid). Be sure to place
the cover over the battery positive (+) cable
connection.
4. Reconnect the battery cables at the battery.
M
8
3
6
1
2
5
7
4
K0002127A
1
K0002126
3TNV88F_SVM_A4.book 18 ページ 2012年7月26日 木曜日 午後6時4分

