8-13
8
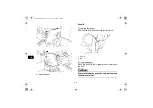
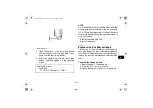
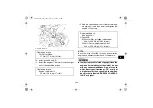
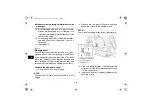
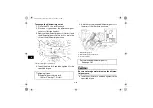
To install the panel
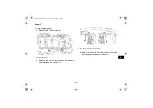
1. Place the panel in the original position, and
then install the quick fastener screws.
2. Place the carrier in the original position, and
then install the carrier bolts under the fenders.
3. Install the carrier top bolts, and then tighten all
bolts to the specified torques.
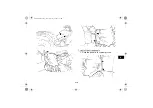
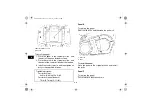
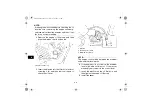
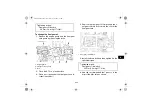
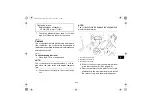
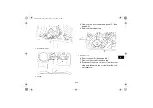
Panel E
To remove the panel
Remove the bolts, and then take the panel off.
To install the panel
Place the panel in the original position and install
the bolts.
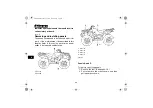
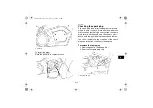
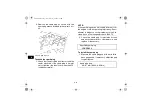
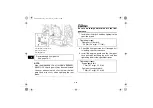
Panel F
To remove the panel
Pull outward on the areas shown.
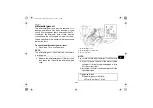
1. Quick fastener screw
2. Panel C
Tightening torques:
Carrier bolt (top):
34 Nm (3.4 m·kgf, 24 ft·lbf)
Carrier bolt (under fenders):
7 Nm (0.7 m·kgf, 5.1 ft·lbf)
1. Panel E
2. Bolt
U17S10E0.book Page 13 Friday, July 6, 2007 1:37 PM
Summary of Contents for YFM45FGX
Page 2: ...EBU17091 U17S10E0 book Page 1 Friday July 6 2007 1 37 PM ...
Page 16: ...2 3 2 U17S10E0 book Page 3 Friday July 6 2007 1 37 PM ...
Page 17: ...2 4 2 U17S10E0 book Page 4 Friday July 6 2007 1 37 PM ...
Page 63: ...7 1 7 EBU21131 RIDING YOUR ATV U17S10E0 book Page 1 Friday July 6 2007 1 37 PM ...
Page 83: ...7 21 7 U17S10E0 book Page 21 Friday July 6 2007 1 37 PM ...
Page 87: ...7 25 7 U17S10E0 book Page 25 Friday July 6 2007 1 37 PM ...
Page 89: ...7 27 7 U17S10E0 book Page 27 Friday July 6 2007 1 37 PM ...
Page 174: ...11 9 11 EBU26132 U17S10E0 book Page 9 Friday July 6 2007 1 37 PM ...
Page 178: ...B6 yoko fm Page 1 Wednesday March 8 2006 10 46 AM ...
Page 179: ...B6 yoko fm Page 1 Wednesday March 8 2006 10 46 AM ...
Page 181: ......
Page 182: ......

