Using
Your Instrument with
Other Devices
PSR-OR700 Owner’s Manual
177
MIDI Settings
Voice Allocation Format
With MIDI, Voices are assigned to specific numbers,
called “program numbers.” The numbering standard
(order of voice allocation) is referred to as the “voice
allocation format.”
Voices may not play back as expected unless the voice
allocation format of the song data matches that of the
compatible MIDI device used for playback. The PSR-
OR700 is compatible with the following formats.
n
Even if the devices and data used satisfy all the conditions above,
the data may still not be completely compatible, depending on the
specifications of the devices and particular data recording meth-
ods.
●
GM System Level 1
This is one of the most common voice allocation for-
mats.
Many MIDI devices are compatible with GM System
Level 1, as is most commercially available software.
●
GM System Level 2
“GM System Level 2” is a standard specification that
enhances the original “GM System Level 1” and
improves Song data compatibility. It provides for
increased polyphony, greater voice selection, expanded
voice parameters, and integrated effect processing.
●
XG
XG is a major enhancement of the GM System Level 1
format, and was developed by Yamaha specifically to
provide more Voices and variations, as well as greater
expressive control over Voices and effects, and to
ensure compatibility of data well into the future.
Song data recorded on the PSR-S900/S700 using Voices
in the XG category is XG-compatible.
●
DOC (Disk Orchestra Collection)
This voice allocation format is compatible with many of
Yamaha’s MIDI devices, including the PSR-OR700
series instruments.
●
GS
GS was developed by the Roland Corporation.
In the same way as Yamaha XG, GS is a major enhance-
ment of the GM specifically to provide more Voices and
Drum kits and their variations, as well as greater expres-
sive control over Voices and effects.
MIDI Settings
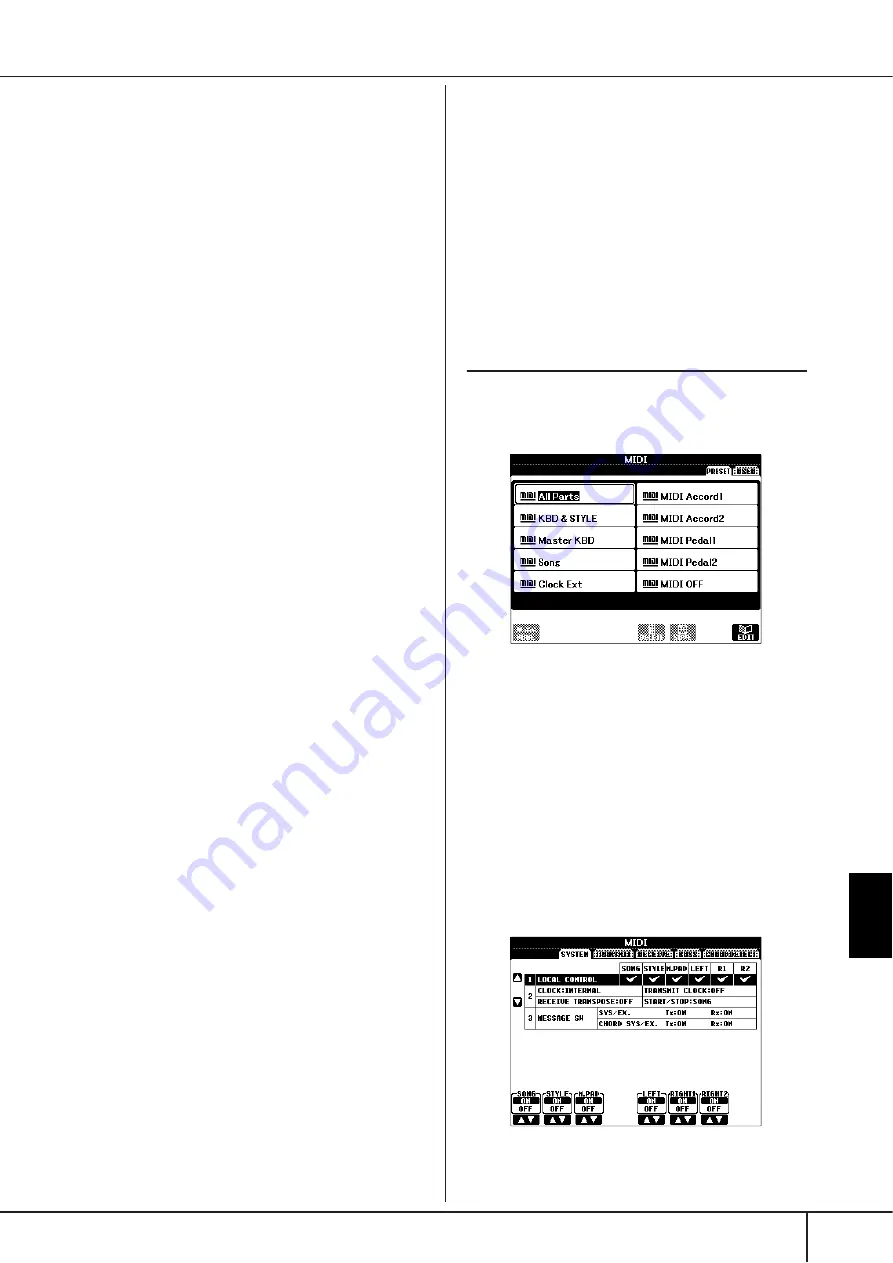
In this section, you can make MIDI-related settings for
the instrument. The PSR-OR700 gives you a set of ten
pre-programmed templates that let you instantly and
easily reconfigure the instrument to match your particu-
lar MIDI application or external device. Also, you can
edit the pre-programmed templates and save up to ten
of your original templates to the USER display. You can
then save all these original templates as a single file to
USB storage devices, in the MIDI SETUP selection dis-
play (called up by pressing [FUNCTION]
→
[J] UTILITY
→
TAB [
√
][
®
] SYSTEM RESET).
Basic Operation
1
Call up the operation (MIDI template selection)
display.
Function
→
[I] MIDI
2
To use the pre-programmed templates or to edit
them
Press the TAB [
√
] button to select the PRESET dis-
play. Press one of the [A]-[J] buttons to select a MIDI
template.
To use the templates already saved to the USER
display or to edit them
Press the TAB [
®
] button to select the USER display.
Press one of the [A]-[J] buttons to select a MIDI tem-
plate.
3
To edit a template, press the [8
†
†
†
†
] (EDIT) but-
ton to call up the MIDI display for editing.
The individual parameters settings are shown for the
selected template. Here you can edit each parame-
ter.


