mLAN Driver/mLAN Tools Installation Guide
10
Starting up the Installer
The installer will install the following two software compo-
nents to your computer.
• mLAN Tools 2.0
• mLAN Applications for Yamaha
NOTE
• Use the Cancel button or Close button to quit the installation.
Quitting by using the [Ctrl] + [Alt] + [Delete] buttons or by turn-
ing off the power while installation is in process can result in
problems since the installation is terminated without performing a
proper uninstall.
10
After the downloaded compressed file is prop-
erly extracted, double-click the “setup.exe”
file.
NOTE
• If the “User Account Control” window appears, click [Con-
tinue].
• If n Driver, AI Driver, or mLAN Driver/mLAN Tools has
already been installed on your computer, a software main-
tenance window appears. Follow the instructions in the
window to remove the software and install the new soft-
ware. For more information on removing the software,
refer to
11
A confirmation message appears. If there are
no problems, click [OK] to close the dialog
box.
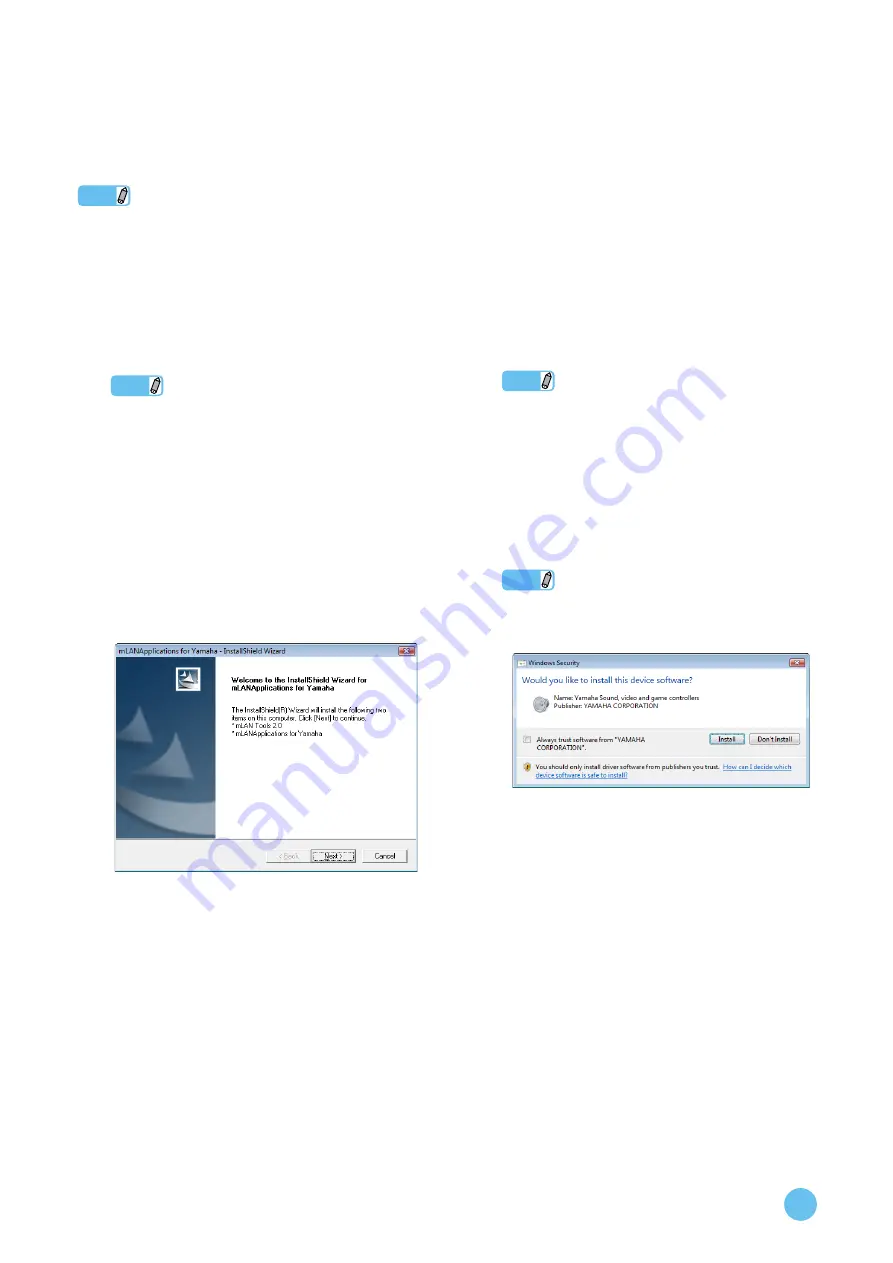
When preparations for installation are finished, the
“Welcome...” window appears.
Installing mLAN Tools 2.0
12
Click [Next].
The first screen in the procedure to install mLAN Tools
appears.
13
Click [Next].
The “Choose Destination Location” window appears.
14
Confirm or select the desired drive and folder
name for installing mLAN Tools, then click
[Next].
The destination directory is automatically set; however,
if you wish to change it, click the [Browse] button and
select the desired folder (drive:\folder name).
NOTE
• In general, there is no need to change the destination direc-
tory.
15
Confirm the drive and folder name and click
[Next] to start installation.
16
When installation is finished, a “Completed”
message appears.
Click [Finish].
NOTE
• If the “Windows Security” window appears, confirm that
the publisher is “YAMAHA CORPORATION,” then click
[Install].


