49
English Chapter 8: Editing T
racks
5
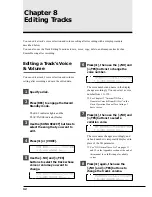
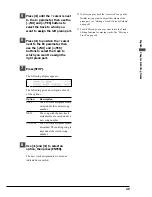
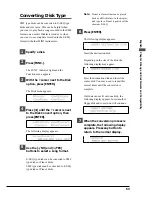
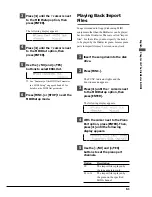
Press [
>
] until the
c
cursor is next
to the L= parameter, then use the
[–/NO] and [+/YES] buttons to
select the track to which you
want to assign the left piano part.
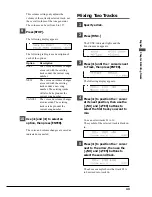
6
Press [
>
] to position the
c
cursor
next to the R= parameter, then
use the [–/NO] and [+/YES]
buttons to select the track to
which you want to assign the
right piano part.
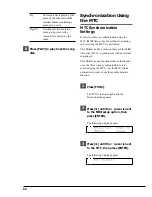
7
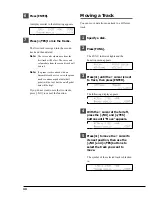
Press [STOP].
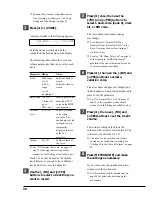
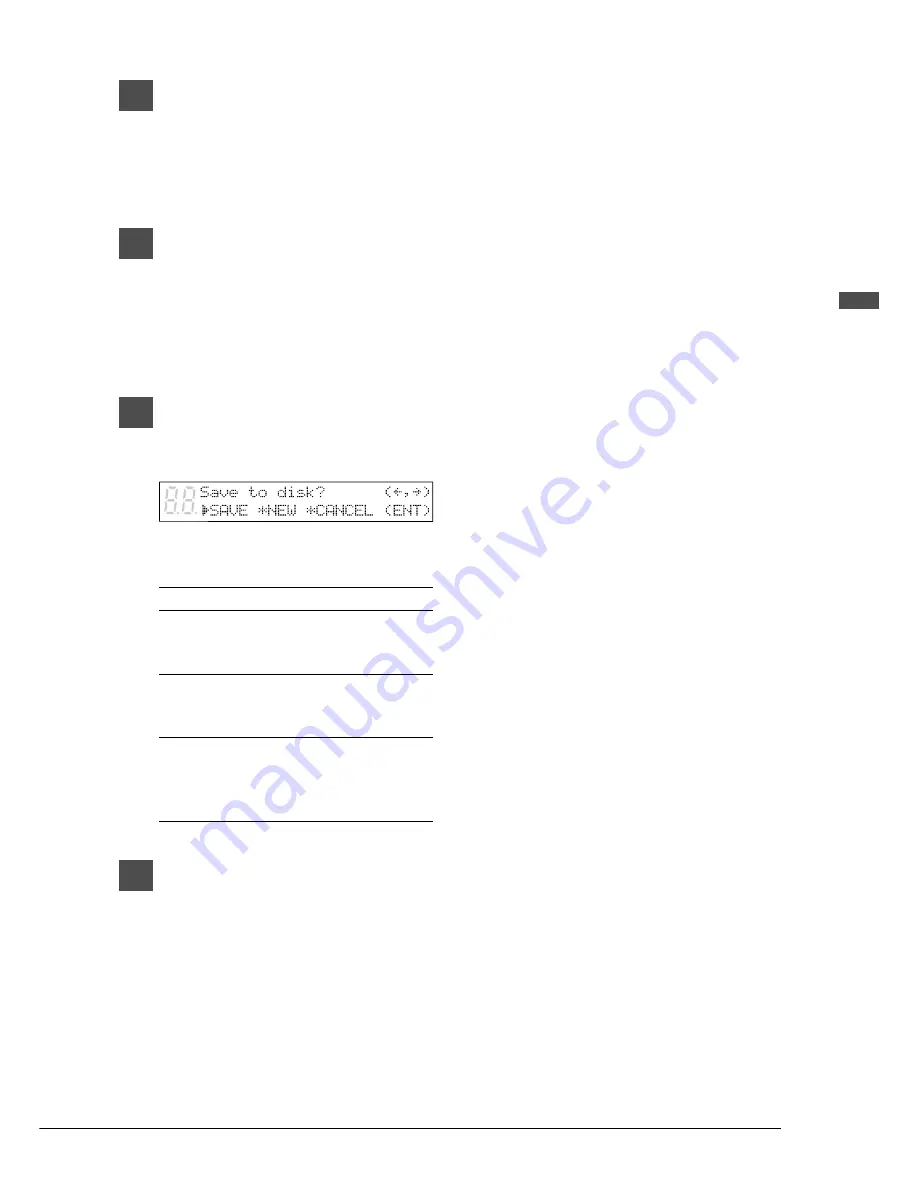
The following display appears.
The following gives a description of each
of the options.
Option
Description
SAVE
The new track assignments are
saved under the current song
number.
NEW
The song with the new track
assignments are saved under a
new song number.
CANCEL
The new track assignments are
discarded. The existing song is
kept under the current song
number.
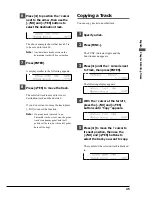
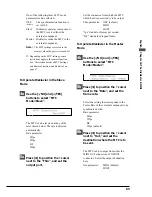
8
Use [
<
] and [
>
] to select an
option, then press [ENTER].
The new track assignments are saved as
indicated or canceled.
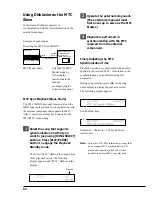
☛
If, after you play back the “corrected” song on the
Disklavier, you want to adjust the volume of the
piano part, see “Editing a Track’s Voice & Volume”
on page 42.
☛
For E-SEQ songs, you may want to use the Track
Editing function for moving tracks. See “Moving a
Track” on page 44.
Summary of Contents for Disklavier
Page 1: ......
Page 2: ...Mark III Series Full Function Models B Advanced Operation Manual English ...
Page 3: ......
Page 96: ...Appendix Mark IIISeries Full Function Models Appendix MIDI Data Format ...
Page 97: ......
Page 119: ......
Page 121: ......

