


5
4
Sound Source
You can change the position and orientation of the sound source.
However, orientation is not displayed for an omni directional sound source.
(For information about directivity, see the
“DIRECT.CHARACTER/[SRC TYPE] Knob” on page 6
.)
Changing the Position and Orientation of the Sound Source
If you press the <Shift> key, a plus (+) sign is added beside the mouse cursor, and you can simultaneously select multiple Key Points,
the sound sources or listener. You can then move them all simultaneously as a group by dragging only one of them.
If you drag the mouse while holding down the <Ctrl> key (<command> key on the Macintosh), you can move in a straight line while still
maintaining the angle to the listener.
If you drag the mouse while holding down the <Alt> key (<option> key on the Macintosh), you can move in a circle while still
maintaining the distance to the listener.
The sound source cannot be placed outside the room.
For information about changing the position and orientation of the sound source, see
5
Listener
You can change the position and orientation of the listener.
Changing the Position and Orientation of the Listener
If you press the <Shift> key, a plus (+) sign is added beside the mouse cursor, and you can simultaneously select multiple Key Points,
the sound source or the listener. You can then move them all simultaneously as a group by dragging only one of them.
If you drag the mouse while holding down the <Ctrl> key (<command> key on the Macintosh), you can move in a straight line while still
maintaining the angle to the sound source.
If you drag the mouse while holding down the <Alt> key (<option> key on the Macintosh), you can move in a circle while still
maintaining the distance to the sound source.
The listener cannot be placed outside the room.
For information about changing the position and orientation of the listener, see
2
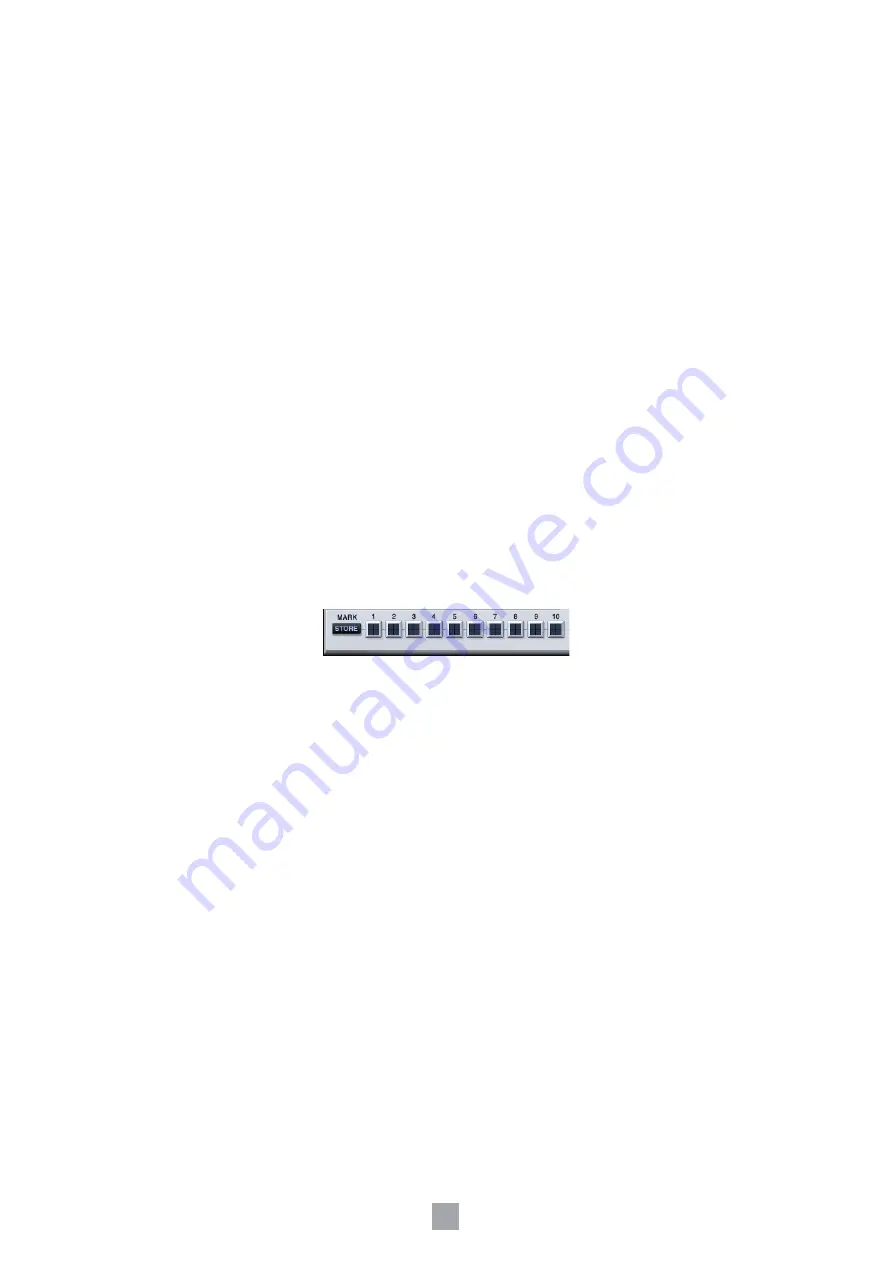
MARK
You can record and display Key Points, the sound source, or listener.
The recorded location is displayed with a plus (+) symbol.
However, the Mark information is erased when the editor is closed.
Furthermore, if multiple Room ER effects are running, the Mark information is shared, and each reflects the other.
[STORE] Button
Records the position of the selected Key Point, sound source, or listener.
When you press this button, it causes the buttons [1] through [10] to blink. Record the object by selecting the button where
you want to record it.
[1] through [10] Buttons
Press one of these buttons after pressing the [STORE] button records the position of the selected Key Point, sound source,
or listener.
The buttons can be turned ON or OFF, but the plus
(+)
marks showing the recorded positions are displayed only when the
buttons are ON or the mouse is over the button.


