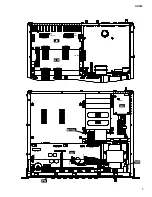
Fig. 10
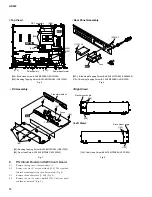
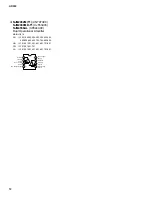
Battery VN103500
VN103600(Battery holder for VN103500)
Notice for back-up battery removal
Push the battery as shown in figure,
then the battery will pop up.
Druk de batterij naar beneden zoals
aangeven in de tekening, de batterij
springt dan naar voren.
Battery
Battery holder
MAIN
[80]
PN
SW
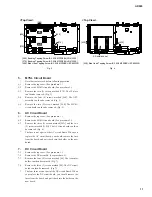
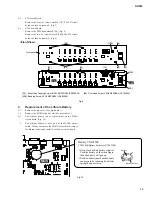
[80]: Oval Head Screw 4.0X8 MFZN2BL (VS153600)
Fig. 9
[30]: Bind Head Tapping Screw-B 3.0X6 MFZN2BL (EP600230)
[50B]: Bonding Screw 3.0X6 MFZN2BL (VS863000)
<Front View>
[80]
[30]
[50B]
[50B]
[30]
[80]
[80]
[110B]
[90]
Front panel
[30]
AD824
13
8-5
PN Circuit Board:
Remove the four (4) screws marked [30]. The PN circuit
board can then be removed. (Fig. 9)
8-6
SW Circuit Board:
Remove the PSW knob marked [90]. (Fig. 9)
Remove the two (2) screws marked [50B]. The SW circuit
board can then be removed. (Fig. 9)
9.
Replacement of the Lithium Battery
9-1
Remove the top cover. (See procedure 1.)
9-2
Remove the MAIN circuit board. (See procedure 2.)
9-3
The lithium battery can be replacement on the MAIN
circuit board. (Fig. 10)
*
The lithium battery is not a part of the MAIN circuit
board. When you replace the MAIN circuit board, remove
the lithium battery and install it in the new circuit board.
Summary of Contents for AD824
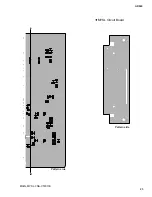
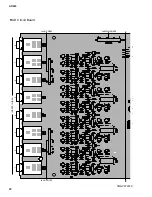
Page 22: ...MAIN Circuit Board B B 3NA V579130 AD824 22 ...
Page 23: ...E B B MAIN MYSL 3NA V579130 MYSL Circuit Board AD824 23 Pattern side Pattern side ...
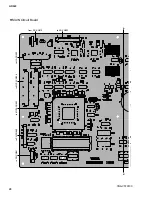
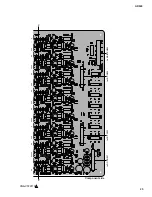
Page 24: ...3NA V579110 INPUT BAL 1 2 3 4 5 6 7 8 1 HA Circuit Board C C AD824 24 ...
Page 25: ...AD824 25 3NA V579110 to MAIN CN903 1 C C to JK CN202 to JK CN102 to DC CN007 Component side ...
Page 26: ...HA Circuit Board 3NA V579110 1 D D AD824 26 ...
Page 27: ...3NA V579110 1 D D AD824 27 Pattern side ...
Page 30: ...AD824 30 AD Circuit Board 3NA V579120 F F ...
Page 31: ...AD824 31 JK Circuit Board F F AD JK 3NA V579120 Pattern side Pattern side ...
Page 33: ...PN Circuit Board 3NA V579100 1 H H H H AD824 33 Pattern side ...

