ACD1 Reference Manual
9
Panel operations
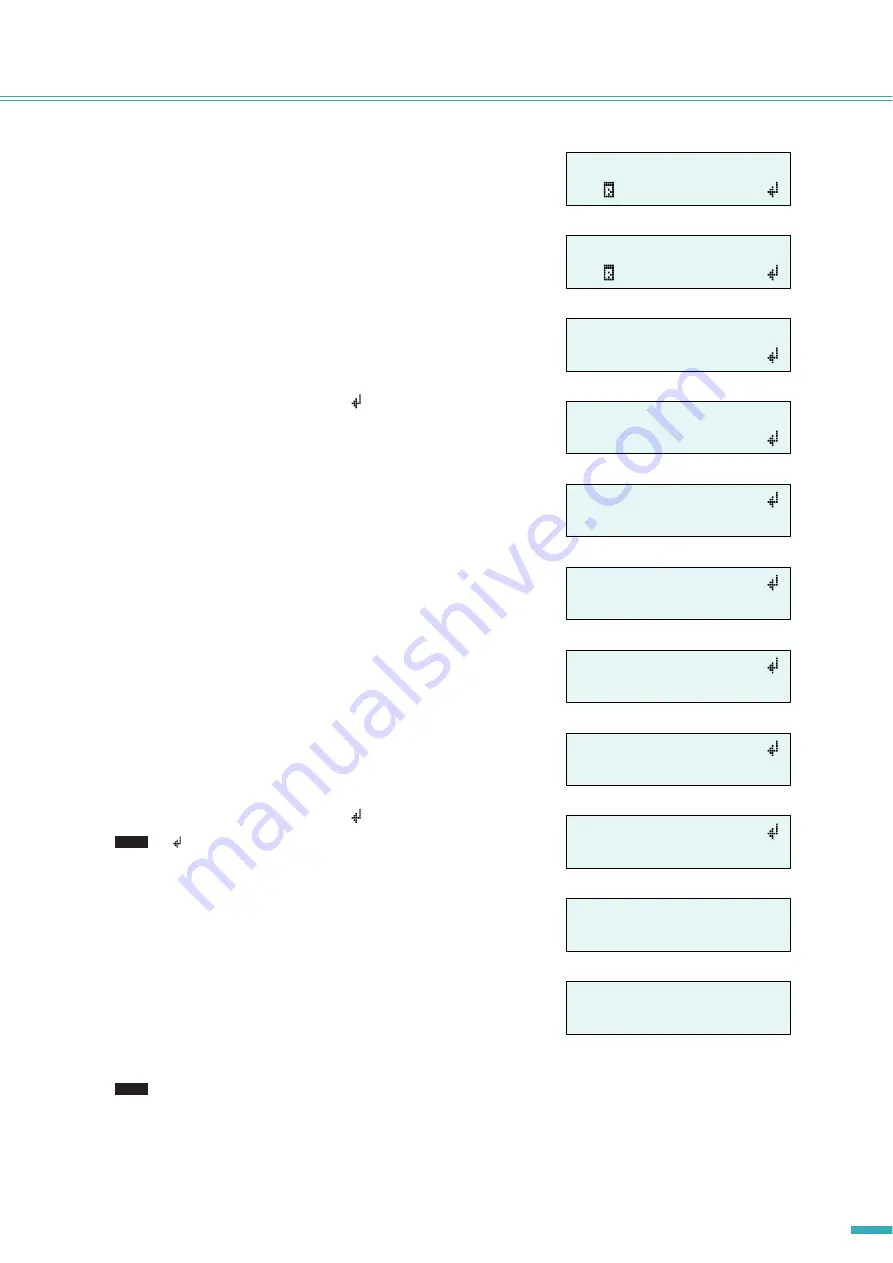
5.
Use the [
▲
INC/YES] / [
▼
DEC/NO] buttons to select the ID of
the amplifier for which you want to store settings.
6.
Press the [NEXT] button to move to the scene number.
7.
Use the [
▲
INC/YES] / [
▼
DEC/NO] buttons to select the scene
number that you want to store.
8.
Press the [NEXT] button to move to
.
9.
Press the [
▲
INC/YES] button to move to the screen where you
can specify the scene name.
10.
Use the [
▲
INC/YES] / [
▼
DEC/NO] buttons to edit the first
character of the scene name.
11.
Press the [NEXT] button to move to the next character of the
scene name.
12.
Repeat steps 10 and 11 to edit the scene name.
13.
Press the [NEXT] button to move to
.
•
indication is not shown for display-only parameters, or for
parameters that reflect changes in realtime.
14.
Press the [
▲
INC/YES] button to move to the confirmation
screen.
15.
Press the [
▲
INC/YES] button to execute the Store operation.
Do not turn off the power while the “Do not turn off!” indication is
shown.
If you press the [
▼
DEC/NO] button, you will return to step 13 without
storing.
• If the display indicates “Parameter Locked!”, Panel Operation is set to “View Only.” To temporarily defeat the panel lock,
hold down both the [
▲
INC/YES] / [
▼
DEC/NO] buttons for at least three seconds. To disable the panel lock, first defeat it
temporarily, and then turn the Panel Operation setting Normal
• If the screen indicates “Scene Store: XX Overwrite?”, scene data has already been stored in the selected scene. If you
want to overwrite the existing data, press the [
▲
INC/YES] button. If you want to store the settings to a different scene
number without overwriting, return to step 7, and re-select the scene number for storing.
å
Amp ID:
02
00 Initial Data
å
Amp ID:
02
00 Initial Data
å
Amp ID:
02
03:NO SCENE
å
Amp ID:
02
03:NO SCENE
å
03:Initial Data
å
03:1nitial Data
å
03:1nitial Data
å
03:1stStage 01
å
03:1stStage 01
NOTE
03:1stStage 01
Are You Sure?
File writing
Do not turn off!
NOTE


