240
Chapter 17—Remote Control
DM1000 Version 2—Owner’s Manual
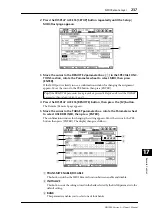
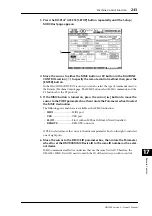
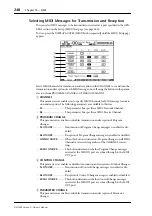
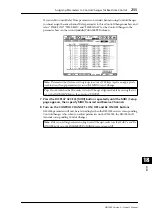
6 Press and hold down the MIDI keyboard foot switch.
The MIDI Hold On message is assigned in the DATA parameter box.
MIDI messages are described below:
•
00–7F
............................. MIDI messages are expressed in hexadecimal.
•
END
............................... This message indicates the end of MIDI messages. Subsequent
messages assigned in the DATA parameter boxes will be
ignored.
•
–
...................................... This message indicates that no messages are assigned to the
DATA parameter boxes.
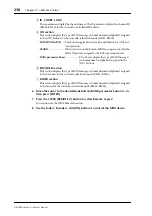
7 While continuing to hold down the foot switch, turn off the LEARN button.
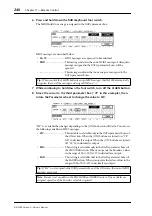
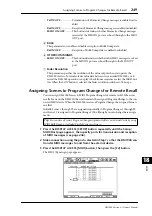
8 Move the cursor to the third parameter box (“7F” in this example), then
rotate the Parameter wheel to change the value to SW.
“SW” is a variable that changes depending on the [ON] button’s on/off status. You can use
the following variables in MIDI messages.
•
SW
.................................. This variable is selectable only in the DATA parameter boxes of
the ON section. When the [ON] buttons are turned on, “7F”
(127 in decimal) is output. When the [ON] buttons are turned
off, “00” (0 in decimal) is output.
•
ENC
................................ This setting is selectable only in the DATA parameter boxes of
the ENCODER section. When you operate the Encoders, values
in the range of 00 to 7F (0–127 in decimal) are output.
•
FAD
................................ This setting is selectable only in the DATA parameter boxes of
the FADER section. When you operate the faders, values in the
range of 00 to 7F (0–127 in decimal) are output.
Tip:
When you click the LEARN button to assign MIDI messages, the DM1000 automatically
recognizes the end of the messages and assigns END and “–.”
Tip:
If “SW” is not assigned in the DATA parameter boxes of the ON section, the current MIDI
messages are output.
Note:
Be sure to set variables in the ENCODER and FADER sections. If no variables are
assigned, operation of the Encoders or faders is ignored.
Summary of Contents for 006IPTO-F0
Page 42: ...42 Chapter 3 Operating Basics DM1000 Version 2 Owner s Manual ...
Page 52: ...52 Chapter 4 Connections and Setup DM1000 Version 2 Owner s Manual ...
Page 92: ...92 Chapter 7 Bus Outs DM1000 Version 2 Owner s Manual ...
Page 108: ...108 Chapter 8 Aux Sends DM1000 Version 2 Owner s Manual ...
Page 146: ...146 Chapter 11 Surround Functions DM1000 Version 2 Owner s Manual ...
Page 214: ...214 Chapter 16 Automix DM1000 Version 2 Owner s Manual ...
Page 385: ...DM1000 Block Diagram ...

