background image

Apr.  2017

P 14

da Vinci  

Jr.1.0A

INFO

STATISTICS        

SYSTEM VERSION

SPOOL  INFO        

LEVELING INFO

NOZZLE INFO

MORE INFO        

MONITOR MODE       

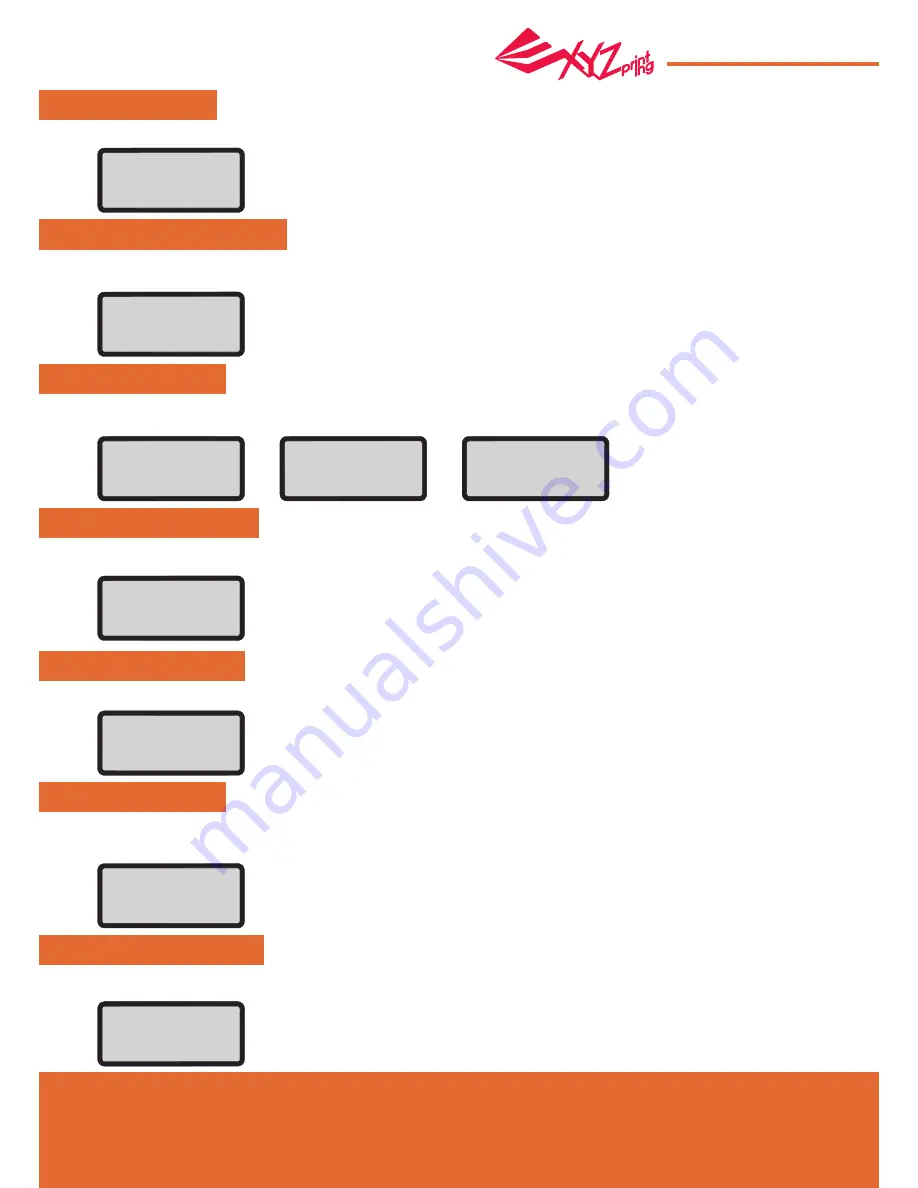
In “STATISTICS”, you can check the accumulated print time and last print time.

Firmware version is shown here. For stable printing performance, it is advised to keep the firmware up to date. To check 

for firmware updates, please go to XYZscan/XYZware.

“SPOOL INFO” provides the information on cartridge level (see REMAINING), and the capacity, color and material of the 

filament. Press to “OK” to the second page.

“LEVELING INFO” function shows print bed leveling data and press “OK” to change the setting.

If the detection result is "FAIL" when you use CALIBRATE function and contact our customer service to inform the measurement data.

 "NOZZLE INFO" shows nozzle information and lifetime. If you want to change setting, please press"OK".

You may go to the XYZprinting website for the latest information, product documents, tutorial video and more

When the security door function is turned on, open the front door of the printer and the printing will stop. The function of safety door 

turned on as default, or you can turn off this function.

"MONITOR MODE" shows the temperature of the extruder. See below for the working temperature for the parts in 

different modes.

STATISTICS      

LIFETIME            00007h

LAST TIME         07h45m

[ OK ]   TO  RETURN

SYSTEM VERSION      

0.1.3

[ OK ]   TO  RETURN

SPOOL INFO

REMAINING          000m

CAPACITY             100m

[ DOWN ]  NEXT  PAGE

A   0246   0256   0260

B   0232   0243   0250 

C   0219   0227   0235

[ OK ]  TO  RETURN

TYPE  :  EXTRUDER

DIAMETER  :  0.4mm

LIFETIME       00007h

[ OK ]  TO   RETURN

MORE INFO

www.xyzprinting

.com

[ OK ]  TO  RETURN

MONITOR  MODE

EXTRUDER         024

C

[ OK ]  TO  RETURN

COLOR

BLUE

[ DOWN ] NEXT PAGE

MATERIAL

PLA

[ OK ] TO  RETURN

Summary of Contents for da Vinci Jr.1.0A

Page 1: ...Apr 2017 P 1 da Vinci Jr 1 0A da Vinci Jr 1 0A User Manual da Vinci Junior 1 0A 3D Printer...

Page 2: ...with XYZprinting you will receive latest technical supports and updates To register simply click Register Now to begin You may use XYZware to initiate manual updates to the printer firmware and softwa...

Page 3: ...be used to clean the specified parts of the machine and should not be used for the cleaning of other parts to prevent damaging the machine Do not place the printer in humid or dusty environment such a...

Page 4: ...e shafts 4 6 8 Remove the tape and paper cardboard on the removal print bed Romove the tape on printing moduel 1 2 3 5 7 Open the box and then remove the accessories and cushions Remove the plastic ba...

Page 5: ...dule To finish the installation insert the guide tube downward firmly Note Please insert the tube remover A into the guide tube B which assist to the guide tube installation and remove Please keep the...

Page 6: ...e detach the black connector and press the black disengage button to remove extruder module Please gently push the tube remover into the extruder module port then pull up the guide tube to remove from...

Page 7: ...chip and then install the sensor chip Please note the direction of the mounting hole on the chip to attach the chip correctly Insert the spool ring from both sides of the new filament spool Tighten th...

Page 8: ...nction BUILD SD CARD UTILITIES SETTINGS INFO MONITOR MODE Description Sample print from SD card Features such as filament replacement module replacement and print bed calibration Settings such as lang...

Page 9: ...al Top Menu CHANGE SPOOL BUZZER STATISTICS LANGUAGE SYSTEM VERSION ENERGY SAVE SPOOL INFO AUTO LEVEL LEVELING INFO DOOR SAFETY NOZZLE INFO RESTORE DEFAULT MORE INFO HOME AXES Z OFFSET JOG MODE CALIBRA...

Page 10: ...mperature and load the filament Wait for the extruder to heat up and unload filament Press OK and pull out the filament Confirm that the filament is flowing out from the extruder If the filament flows...

Page 11: ...e the calibration function on your printer Results displayed after the print bed calibration A If the printer shows CALIB COMPLETED and AUTO LEVELING IS DISABLED NOW is displayed on the 3rd line it in...

Page 12: ...feeding path cleaning pin into the feeding path as far as it can go and stick it back and forth to remove the carbon deposits and dirt completely After cleaning insert the guide tube onto the nozzle...

Page 13: ...e printing quality with slower printing speed You may switch off the function if necessary To change the setting of auto level When the security door function is turned on open the front door of the p...

Page 14: ...t data NOZZLE INFO shows nozzle information and lifetime If you want to change setting please press OK You may go to the XYZprinting website for the latest information product documents tutorial video...

Page 15: ...on the gear you can insert the filament back and enjoy printing Use the UNLOAD function to loosen and remove the filament 1 3 2 CHANGE SPOOL LOAD UNLOAD B Screwdriver T10 for standard cleaning proced...

Page 16: ...time place the leveling tool onto the bed right under the Z axis 1 2 3 JOG MODE X AXIS Y AXIS Z AXIS Z AXIS OK EXIT 0 1mm 001mm 010mm HOME AXES ARE YOU SURE NO YES Preparation of Tools Loosen the 5 m...

Page 17: ...Diameter 1mm Processing Area 17 x 16 cm File Types JPG PNG GIF BMP Operation Mode CW Continuous Wave 1 Recommended laser engraving materials are paper cardboard leather wood and plastic Please avoid u...

Page 18: ...r engraver module 3 Press black button on the top of the laser engraver module then remove it 4 Please keep laser engraver module in proper storage after you module detachment Guided Setup TURN OFF PO...

Page 19: ...with 4GB DRAM for Mac PLA filaments are made using polymerized lactic acid which is extracted from corn sugarcane or other sugar containing crops and is regarded as the most environmentally friendly 3...

Page 20: ...rror Internal communication error Internal communication error Extruder storage error Unable to detect extruder Computer and printer connection error SD card error SD card error File format is not sup...

Page 21: ...aused by falls or blows burnt circuits resulting from actions form the user broken or bent interface or pins or any other physical damage to the product caused by misuse Incompatibility issues anythin...

Page 22: ...use harmful interference to radio communications However there is no guarantee that interference will not occur in a particular installation If this equipment does cause harmful interference to radio...

Reviews: