NOTICE:
Make sure that all replacement parts are available before you disassemble the pump for
overhaul.
6.6.2 Drain the pump
CAUTION:
• Allow all system and pump components to cool before you handle them to prevent
physical injury.
1. Close the isolation valves on the suction and discharge sides of the pump.
You must drain the system if no valves are installed.
2. Open the drain valve.
Do not proceed until liquid stops coming out of the drain valve. If liquid continues to
flow from the drain valve, the isolation valves are not sealing properly and you must
repair them before you proceed.
3. Leave the drain valve open and remove the drain plug located on the bottom of the
pump housing.
Do not reinstall the plug or close the drain valve until the reassembly is complete.
4. Drain the liquid from the piping and flush the pump if it is necessary.
5. Disconnect all auxiliary piping and tubing.
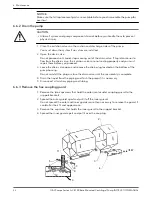
6.6.3 Remove the hex coupling guard
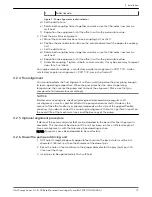
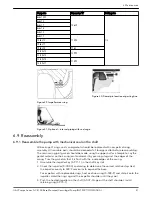
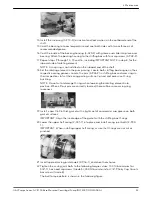
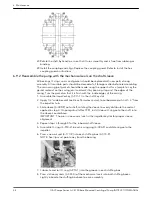
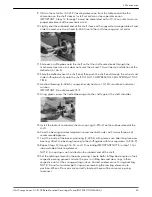
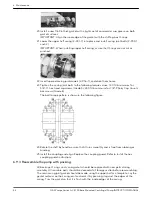
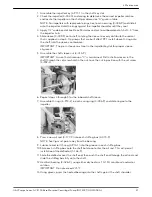
1. Remove the two capscrews that hold the outer (motor side) coupling guard to the
support brackets.
2. Spread the outer guard apart and pull it off the inner guard.
Do not spread the outer and inner guards more than necessary to remove the guard. It
could alter their fit and appearance.
3. Remove the capscrew that holds the inner guard to the support bracket.
4. Spread the inner guard apart and pull it over the coupling.
1
2
3
4
5
6
12
10
9
8
7
11
6 Maintenance
32
G&L Pumps Series A-C 8100 Base Mounted Centrifugal Pump INSTRUCTION MANUAL


