


13
7. Network
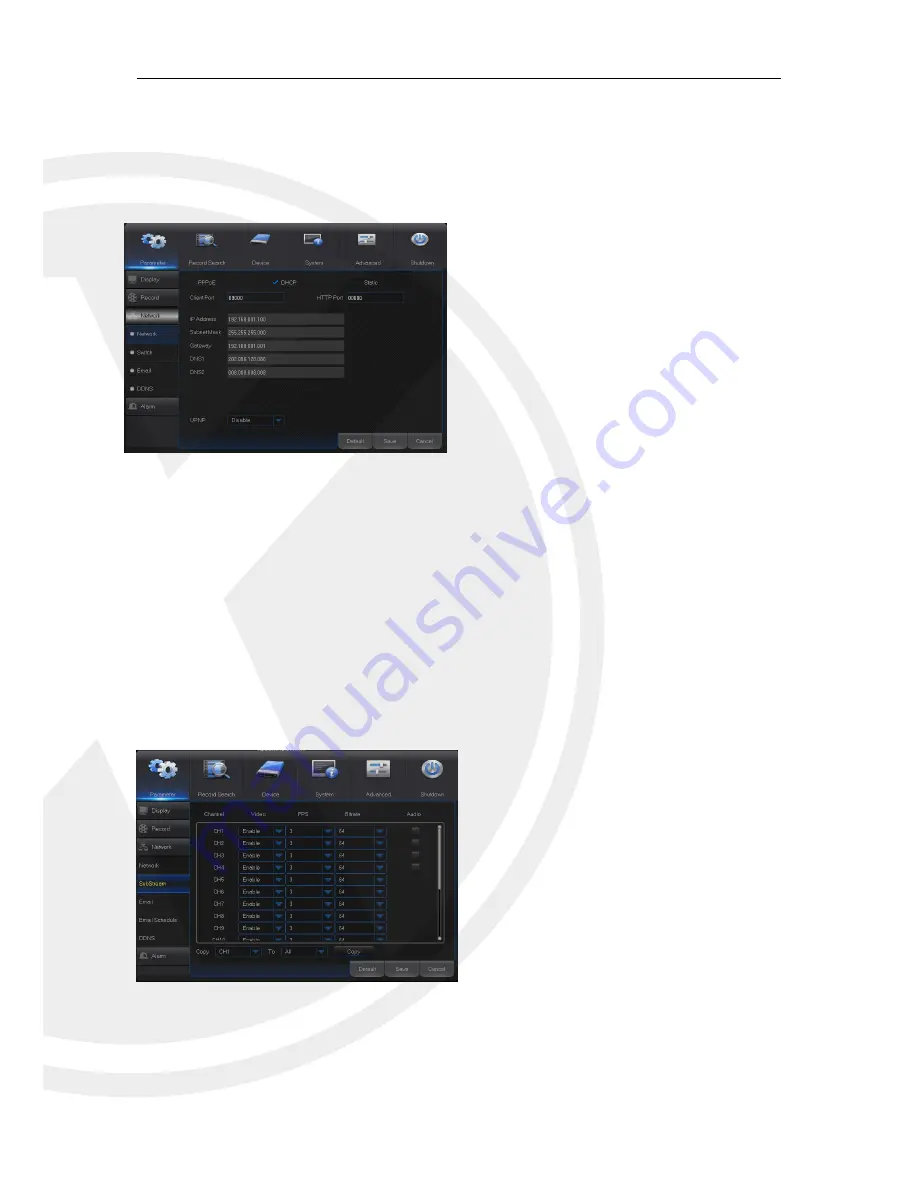
Go to “Main Menu” → “Parameter” → “Network” → “Network” to enter the interface shown as
Picture 5-11.
Select a kind of network connection (PPPOE, DHCP, and Static) and set Port, and user may
remotely control the monitoring, recording, playback or backup of XHRDVR through network
Picture 5-11
The XHRDVR units support P2P, so there is no need for port forwarding on your router.
Note:
Please save after changing any settings. If there are multiple XHRDVR
’s in a LAN,
make sure their IP addresses are different (Refer to System), for help with Network setup please
contact your System Administrator.
8. Sub stream
Go to “Main Menu” → “Parameter” → “Network” → “Sub stream” to enter into the interface
shown as Picture 5-12.
Picture 5-12
Take DHCP as an example. In this mode,
the router automatically assigns IP address for
DVR. After restarting DVR or DHCP server, the
IP address obtained by DVR may be different. As
a result, user shall check IP address and port
number for each remote access of DVR. The
operation procedure is as follows:
1. Select DHCP, click Save and refresh DVR.
Input Client Port and HTTP Port (the two
values must not be the same).
2. Set obtained IP address of DVR and the
mapping port. Refer to section 4.2.4.2.
3. Remotely visit DVR by IP address:
http://Public network IP: Web port number
(such as 00080)
http:// Intranet IP: Web port number (such as
00080) (Only available in the same LAN)
Video:
Sub stream switch. Select enable to
preview the sub stream in the client, so as
to ensure smooth playing; If Disable is
selected, the client can only choose
mainstream preview.
FPS:
FPS for network transmission. User
may select value in the drop-down list.
Bitrate:
Bitrate for network transmission.
User may select value in the drop-down list.
Audio:
Click
√ and audio will play during
network transmission.
Synchronous transmission.


