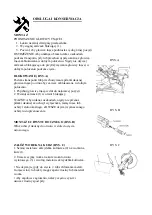
INSTALL EXTENSION WINGS (FIG.D)
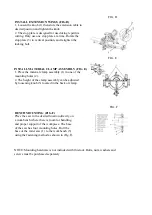
1. Loosen the knob (1) then slide the extension table to
desired position and tighten the knob.
2. The stop plate is designed for use during repetitive
cutting. Only use one stop plate at a time. Rotate the
stop plate (3) to vertical position, and retighten the
locking bolt.
FIG. D
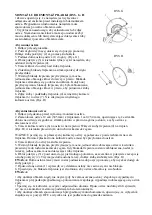
INSTALL MATERIAL CLAMP ASSEMBLY (FIG. E)
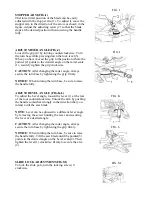
1. Place the material clamp assembly (1) in one of the
mounting holes (2).
2. The height of the clamp assembly can be adjusted
by loosening knob (5) located in the back of clamp.
FIG. E
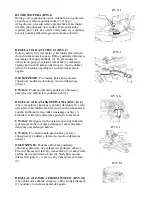
BENCH MOUNTING (FIG.F)
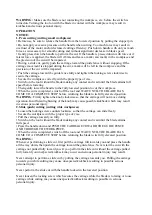
Place the saw in the desired location directly on
a workbench where there is room for handling
and proper support of the workpiece. The base
of the saw has four mounting holes. Bolt the
base of the miter saw (1) to the workbench (5)
using the fastening method as shown in (Fig.F).
NOTE: Mounting hardware is not included with this tool. Bolts, nuts, washers and
screws must be purchased separately.
FIG. F


