x0xio Installation
Product Name
x0xio
Instruction ver
1.06
Step 16 -
CV In & Gate In(Cont)
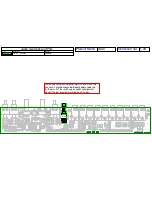
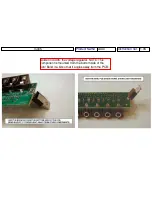
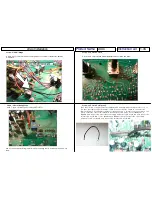
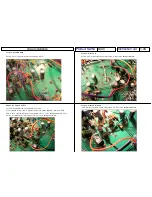
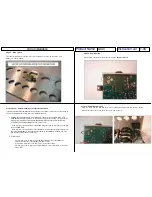
If you are installing the I/O kit only cut a 9” piece of red wire and connect pad Z to IC12 Pin
8:
Step 16 -
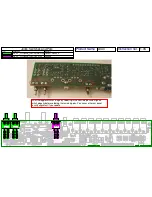
CV In & Gate In(Cont)
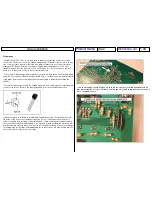
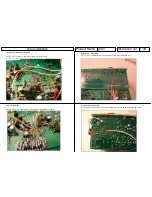
Cut an 10“ piece of black wire and connect pad AA to the base of Q37:
Step 17 -
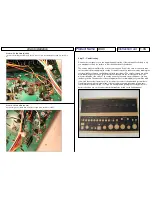
Panel Overlay
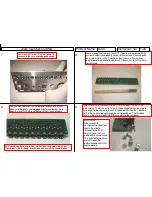
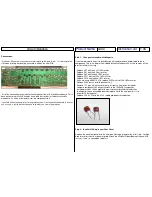
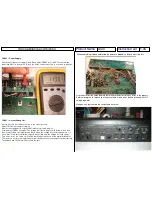
Remove the rear panel so you can apply the panel overlay. If the rear panel looks dirty or oily
you may want to clean the surface so that the adhesive will stick better.
The overlay may come without the hole cutouts removed. If this is the case it is easier to take
out the cutouts before applying the overlay. I found it is easiest to take them out by bending the
overlay slightly so that you can pull them out with your fingers. The smaller cutouts are a little
more difficult to get out. Leave in the two tiny cutouts and use the screw to push them out
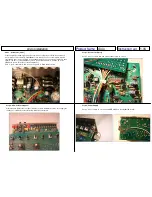
when installing the slide switch. The overlay is exactly the same size as the panel - line it up
the best you can. The adhesive is fairly strong but will not set immediately so you will be able
to un-stick the overlay if necessary. I try to start at the center of the panel and go from there.
One thing to keep in mind is that many of the cutouts are covered by screws, plastic nuts,
control knobs, or power switch – so if you are having trouble getting the overlay perfect it is
better to keep an eye on the cutouts that will actually be visible on the finished panel.

