fuel consumption.
Service limit
0.05mm
CYLINDER
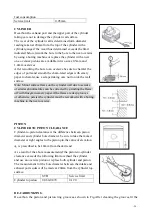
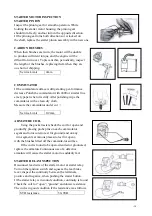
Decarbon the exhaust port and the upper part of the cylinder.
taking care not to damage the cylinder wall surface.
The wear of the cylinder wall is determined form diameter
reading taken at 20mm from the top of the cylinder with a
cylinder gauge.if the wear thus determined exceeds the limit
indicated below,rework the bore to the bore to the next oversize
by using a boring machine or replace the cylinder with a new
one. oversize pistons are available in two sizes:0.5mm and
1.0mm oversizes.
After reworking the bore to an oversize.be sure to chamfer the
edges of ports and smooth the cham-fered edges with emery
paper.to chamfer,use a scraper,taking care not to nick the wall
surface.
Note: Minor surface flaws on the cylinder wall due to seizure
or similar abnormalities can be corrected by grinding the flaws
off with finegrain emery paper.if the flaws are deep grooves
or otherwise persist,the cylinder must be reworked with a boring
machine to the next oversize.
PISTON
CYLINDER TO PISTON CLEARANCE
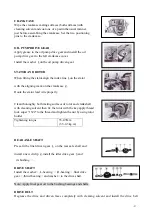
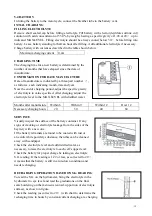
Cylinder-to-piston clearance is the difference between piston
diameter and cylinder bore diameter. be sure to take the miked
diameter at right angles to the piston pin.the value of elevation
○
A is prescribed to be 14mm from the skirt end.
As a result of the above measurement,if the piston-to-cylinder
clearance exceeds the following limit.overhaul the cylinder
and use an oversize piston.or replace both cylinder and piston.
The measurement for the bore diameter between the intake and
exhaust ports sides will be made at 20mm from the cylinder top
surface.
STD
Service
limit
Cylinder to piston
0.060-0.070
0.120
DE-CARBONIZING
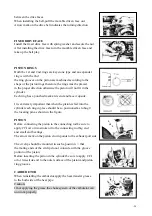
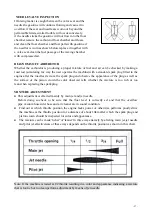
De-carbon the piston and piston ring grooves,as shown in Fig.After cleaning the grooves,fit the
- 20 -

