Jobs
Xerox Phaser 4600/4620
User Guide
48
Saved Jobs
Saved Jobs
is a standard feature on machines which have been configured with the optional Hard Disk
Drive. It enables you to retrieve jobs which have been stored on the machine using the printer driver.
Prior to using the
Saved Jobs
option, a job must be saved to a folder on the machine. For instructions,
refer to
Saving a Job
on page 49.
Jobs are placed into a folder located on the machine and can be accessed and retrieved for printing at
a later date. Jobs can be recalled and printed as many times as you need. The user can access and
manage their jobs from CentreWare Internet Services and the machine control panel. For information
about using CentreWare Internet Services
,
refer to
Saved Jobs
on page 48.
Printing a Saved Job
To access the
Saved Jobs
option:
1.
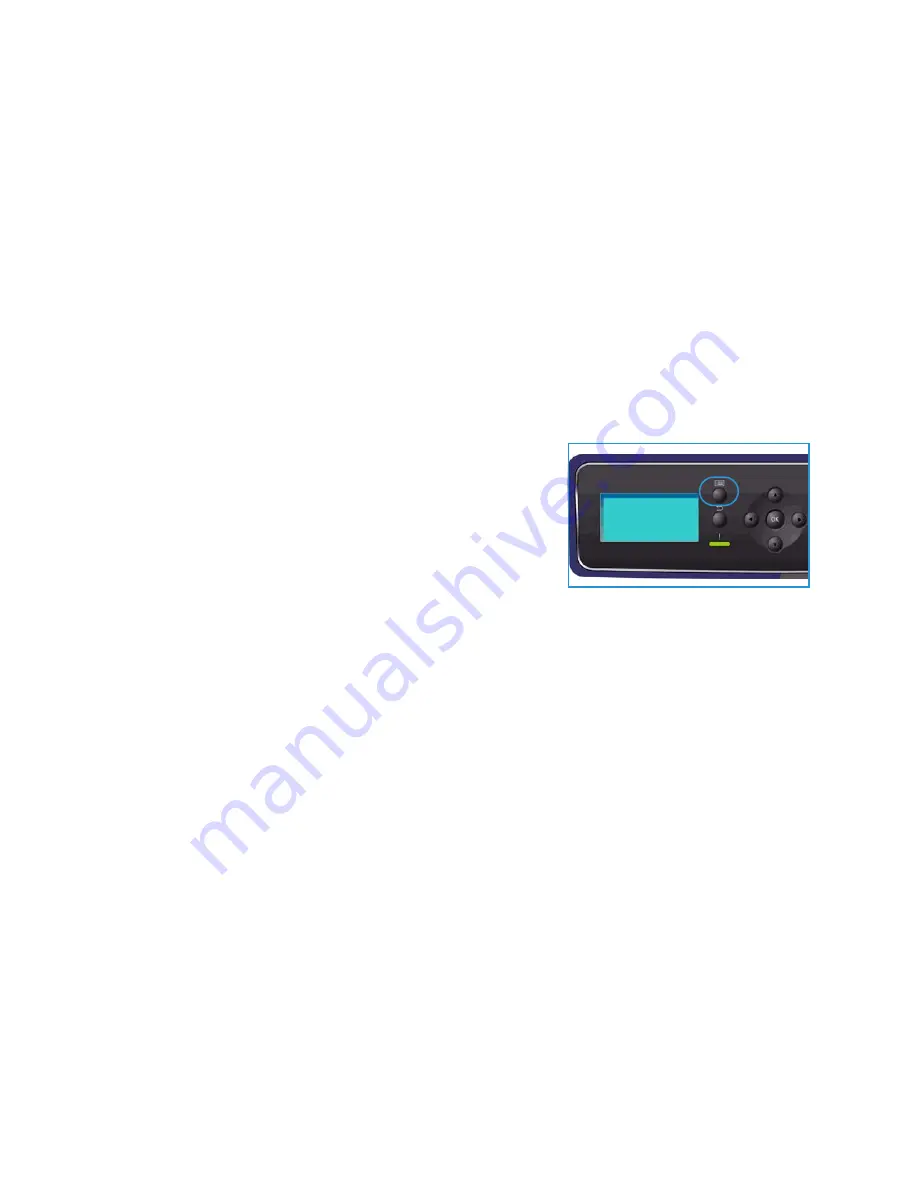
Press the
Menu
button on the control panel.
2.
Press the up/down arrows to highlight the
Jobs
option and
press
OK
.
3.
Press the up/down arrows to highlight the
Saved Jobs
option
and press
OK
.
A list of available folders is displayed.
4.
Select the folder required and press
OK
.
5.
If a
User Folder
is selected, enter the passcode using the keypad and press
OK
. The jobs in the
folder are displayed.
•
To print all the folder jobs, select
Print All
and press
OK
. At the
Print All?
prompt, use the left
arrow to select
Yes
and press
OK
.
•
To delete all the folder jobs, select
Delete All
and press
OK
. At the
Delete All?
prompt, use the
left arrow to select
Yes
and press
OK
.
•
To print an individual job, select the job required and select
. Press
OK
. At the
Print?
prompt, use the left arrow to select
Yes
and press
OK
.
•
To delete an individual job, select the job and select
Delete
. Press
OK
. At the
Delete Job?
prompt, use the left arrow to select
Yes
and press
OK
.
If a
Public Folder
is selected, the jobs in the folder are displayed.
•
To print an individual job, select the job required and select
. Press
OK
. At the
Print?
prompt, use the left arrow to select
Yes
and press
OK
.
•
To delete an individual job, select the job and select
Delete
. Press
OK
. At the
Delete Job?
prompt, use the left arrow to select
Yes
and press
OK
.
Summary of Contents for Phaser 4600
Page 1: ...Version 1 0 November 2010 Xerox Phaser 4600 4620 User Guide ...
Page 26: ...Getting Started Xerox Phaser 4600 4620 User Guide 26 ...
Page 44: ...Print Xerox Phaser 4600 4620 User Guide 44 ...
Page 54: ...USB Flash Memory Xerox Phaser 4600 4620 User Guide 54 ...
Page 64: ...Paper and Other Media Xerox Phaser 4600 4620 User Guide 64 ...
Page 76: ...CentreWare Internet Services Xerox Phaser 4600 4620 User Guide 76 ...
Page 120: ...General Care and Troubleshooting Xerox Phaser 4600 4620 User Guide 120 ...
Page 128: ...Specifications Xerox Phaser 4600 4620 User Guide 128 ...
Page 138: ...Safety Xerox Phaser 4600 4620 User Guide 138 China RoHS Regulation ...
Page 144: ...Safety Xerox Phaser 4600 4620 User Guide 144 ...


