11
4-Mbyte RAM SIMM Installation — (4690F4M)
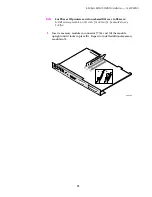
When properly inserted, a tab on each end of the connector slips into a
hole on each end of the memory module. Also, a pawl on each end of
the connector latches around each end of the memory module to lock
it in place.
Note
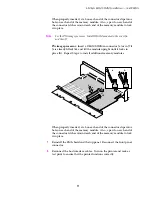
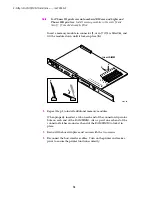
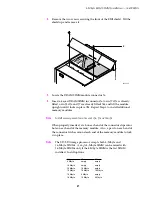
For the PXi image processor: Install DRAM modules in the order J6
and then J7.
PXi image processor:
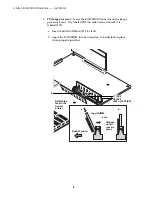
Insert a DRAM SIMM in connector J6 (or in J7 if
J6 is already filled) (
a
), and tilt the module upright until it locks in
place (
b
). Repeat Step 6 to install additional memory modules.
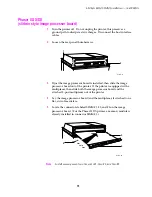
When properly inserted, a tab on each end of the connector slips into a
hole on each end of the memory module. Also, a pawl on each end of
the connector latches around each end of the memory module to lock
it in place.
7.
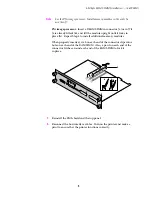
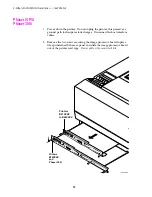
Reinstall the EMI shield and the top panel. Reconnect the front panel
connector.
8.
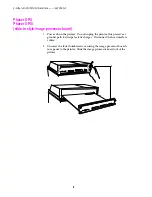
Reconnect the host interface cables. Turn on the printer and make a
test print to ensure that the printer functions correctly.
6
b
a
J7
J6
a
b


