


Xerox DocuMate 3460
User’s Guide
112
Scanning to Multiple Destinations
Scanning to multiple destinations works the same as when scanning to a single destination, One Touch
simply distributes the final scan to several destinations. This option is enabled separately for each
One Touch button.
1.
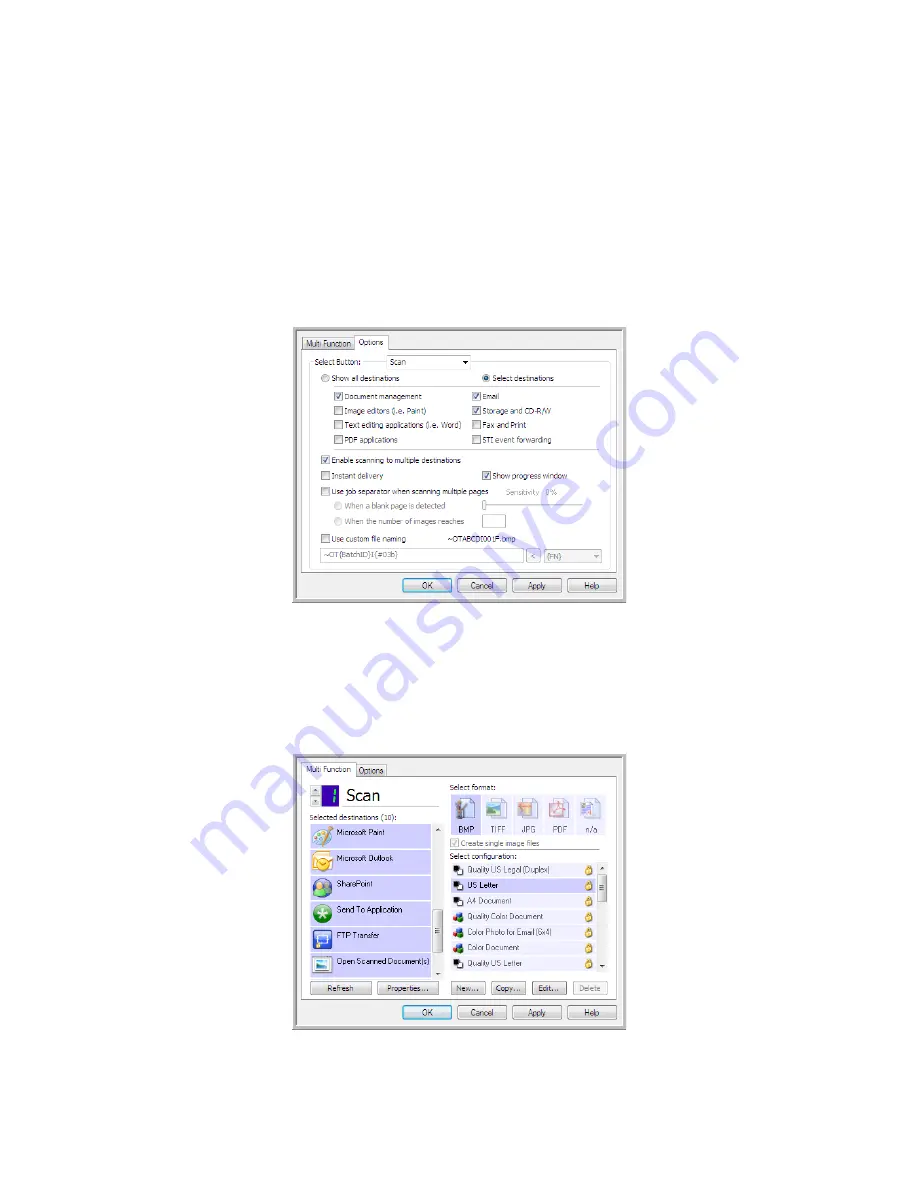
Open the One Touch Properties window and click on the
Options
tab.
2.
Select
Enable scanning to multiple destinations
, then click back on the configuration tab.
3.
Click each destination where you want to send the scanned image in the
Selected destinations
(#)
list. Click again to deselect a destination.
As you click on each destination, the Selected destinations number will count so you know how
many applications are selected to receive the image.
Summary of Contents for DocuMate 3460
Page 1: ...DocuMate 3460 One Touch 4 6 August 2010 05 0807 000 User s Guide...
Page 46: ...Xerox DocuMate 3460 User s Guide 46...
Page 142: ...Xerox DocuMate 3460 User s Guide 142...
Page 180: ...Xerox DocuMate 3460 User s Guide 180...
Page 185: ......


