Page 29
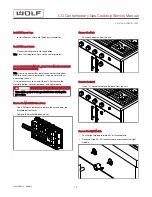
Uninstall the Unit
Remove the unit from the installation.
Remove the Manifold Harness
1
Disconnect the spade terminals from each valve switch.
2
Disconnect the manifold harness from the AC-DC rectifiers.
3
Twist the nine-pin connector counterclockwise, and remove
the nine-pin connector from the front panel.
4
Remove the manifold wire harness.
White
MANIFOLD HARNESS INSTALLATION
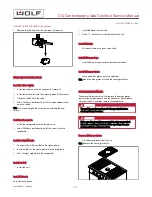
Install the Manifold Harness
1
Install the manifold wire harness into the unit.
2
Connect the nine-pin connector to the front panel.
3
Twist the nine-pin connector clockwise.
4
Connect the AC-DC rectifiers.
5
Connect the spade terminals to each valve switch
according to the wiring diagram.
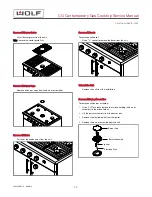
Install the Unit
Install the unit.
Install All Bezels
To install each bezel:
1
Insert the bezel into the unit.
2
Use a
3
/
4
" socket to install the bezel on the unit.
Install All Knobs
Push each knob onto each valve shaft.
Install All Burner Caps
Install all burner caps onto the burner assemblies.
Install All Burner Grates
Place all burner grates onto the cooktop.
TIP: Place the side grates first and the center grate last.
ELECTRODE WIRE REMOVAL
To remove the electrode wire, first remove the burner grate,
burner cap, and burner assembly. Then, lower the spark module
panel.
WARNING
Turn off the power to the product before starting this
procedure.
Remove the Burner Grate
Lift the burner grate from the unit.
CG Contemporary Gas Cooktop Service Manual
service.subzero.com
828389 REV. A 06/2018
28


