background image


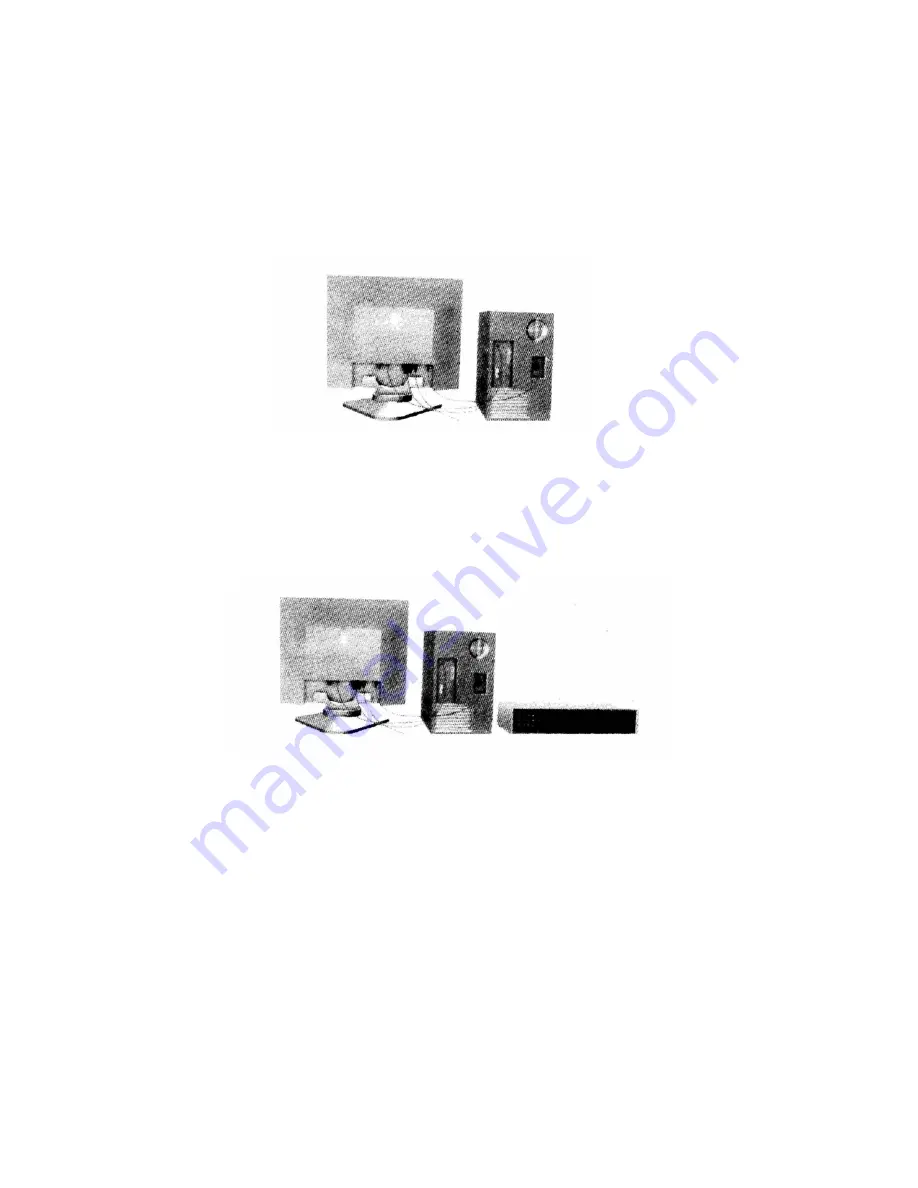
(Optional) Connect one end of Video Cable to LCD Monitor and other end to the DVD; 
Connect one end of Audio Cable to LCD Monitor and other end to the DVD; Connect the 
AC plug of Adapter into AC outlet. Plug the DC12V output of Adapter into DC12V 
socket. Please refer to the connector configuration.


4. Adjust the round desk 

Adjust the panel the by adjusting the round desk for our maximum viewing comfort. 


Page 7 

Summary of Contents for 2K700

Page 1: ...TFT 15 LCD 2K700 USER MANUAL...

Page 2: ...ety Precautions 3 Installation Package Contents 4 Control Description 4 Connection with External Equipment 6 Adjust the round desk 7 Operation On Screen Display Menu Function Table 8 Power Management...

Page 3: ...x 768 non interlaced Its multiscan function automatically adjusts the monitor to the scanning frequency of your video card Its non interlaced and higher refreshing rate offers flicker free image whic...

Page 4: ...io frequency energy If not installed and used in accordance with the instructions it may cause interference to radio communications However there is no guarantee that interference will not occur in pa...

Page 5: ...irect sunlight Dusty surroundings Equipment that generates strong magnetic fields 2 Precautions Sit at least 18 from the TFT LCD Monitor Do not apply pressure to the screen The LCD screen is delicate...

Page 6: ...package includes the following 1 15 TFT LCD Monitor 2 Power Cord 3 VGA Cable 4 Audio Cable 5 User s manual 6 AC DC Adapter Video Cable optional S Video Cable Audio Cable optional Remote controller 2 C...

Page 7: ...on to exit or return to OSD main menu 4 Menu Down When the OSD On Screen Display menu is on the screen and one of the OSD control options is selected press this key can decrease the value 5 Menu Up Wh...

Page 8: ...S video cable TV system port optional Using coaxial cable with 75 ohm to obtain radio signal or TV cable signal If there is any technical change we will not inform 3 Connection with External Equipmen...

Page 9: ...dio Cable to LCD Monitor and other end to the DVD Connect the AC plug of Adapter into AC outlet Plug the DC12V output of Adapter into DC12V socket Please refer to the connector configuration 4 Adjust...

Page 10: ...ttings antonatically Brightness Controls the brightness of the LCD Use UP or DOWN button to increase or decrease the setting Contrast Controls the contrast of the LCD Use UP or DOWN button to increase...

Page 11: ...wing submenu Press the MENU button to select the item you wish to change Color temperature Provides two preset color adjustment 9300K and 6500K Select the preset by using MENU button and press EXIT bu...

Page 12: ...rmance Mode Resolution H Frequency v Frequency Khz Hz 1 640x350 31 849 70 2 640x350 37 861 85 3 640x350 37 861 65 4 720x400 31 469 70 5 720x400 37 927 85 6 640x400 24 83 56 7 640x480 31 469 60 8 640x4...

Page 13: ...Separate TTL level HFreq 31 60KHz v Freq 56 75Hz Power Supply Input DC 12V 1 5A Adapter Input AC 100V 240 47 63Hz Adapter Output DC 12V 2A Power Consumption On 20W Stand Suspend 3W Audio Peak Value 1...

Page 14: ...sitions When a resolution different from the native resolution is chosen the LCD monitor uses various interpolation methods to achieve the pseudo resolution To achieve the optimum viewing quality choo...

Page 15: ...UTOTUNE doesn t reduce such screen artifacts satisfactorily you may need to adjust the tuning functions manually First adjust the CLOCK Then adjust the PHASE Remove any devices from area around monito...

Reviews: