Page 7
The information contained in these documents is confidential, privileged and only for the information of the intended recipient and may
not be used, published or redistributed without the prior written consent of Wildlife Computers.
A magnet can be used to toggle the MiniPAT out of Start mode. This requires two specifically timed passes
of the magnet. First, swipe the magnet and wait for the tag to indicate its current state. At the end of the
blinking pattern (10 rapid blinks in a row if started) the indicator light will remain on for several seconds. If
the magnet is swiped a second time during the extended light-on stretch, the state will toggle. The second
swipe needs to happen in the window when the light is on.
If you Start a MiniPAT but do not deploy it on an animal, the tag will initiate a premature release according
to your settings (see page 10). Once premature conditions are met, the tag will then begin to transmit and
deplete the battery. Best practice is to not leave MiniPATs Started while off animals.
For the first five days of deployment, toggling with the magnet will switch the tag from Start state into
Auto-start state. This allows a tag to be redeployed without having to be plugged into Tag Agent. After five
days, the magnet toggle will put the MiniPAT in Shut-down mode. This is to avoid unintentional data
erasure. If a new deployment is started, the MiniPAT will write over data previously collected.
In addition to revealing the tag state, the LED also indicates the following conditions:
•
Erasing the archive—many rapid blinks with the LED mostly on indicate that the tag is clearing the
archive in preparation for a new deployment.
•
Sample rate—
o
MiniPATs with tagware 2.4p or older for the first two hours of a deployment (or until the tag
depth exceeds five meters) the tag will briefly blink at the sampling interval.
o
MiniPATs with tagware 2.4q or newer will NOT blink at the sampling interval after
deployment.
Configuring Tag Settings
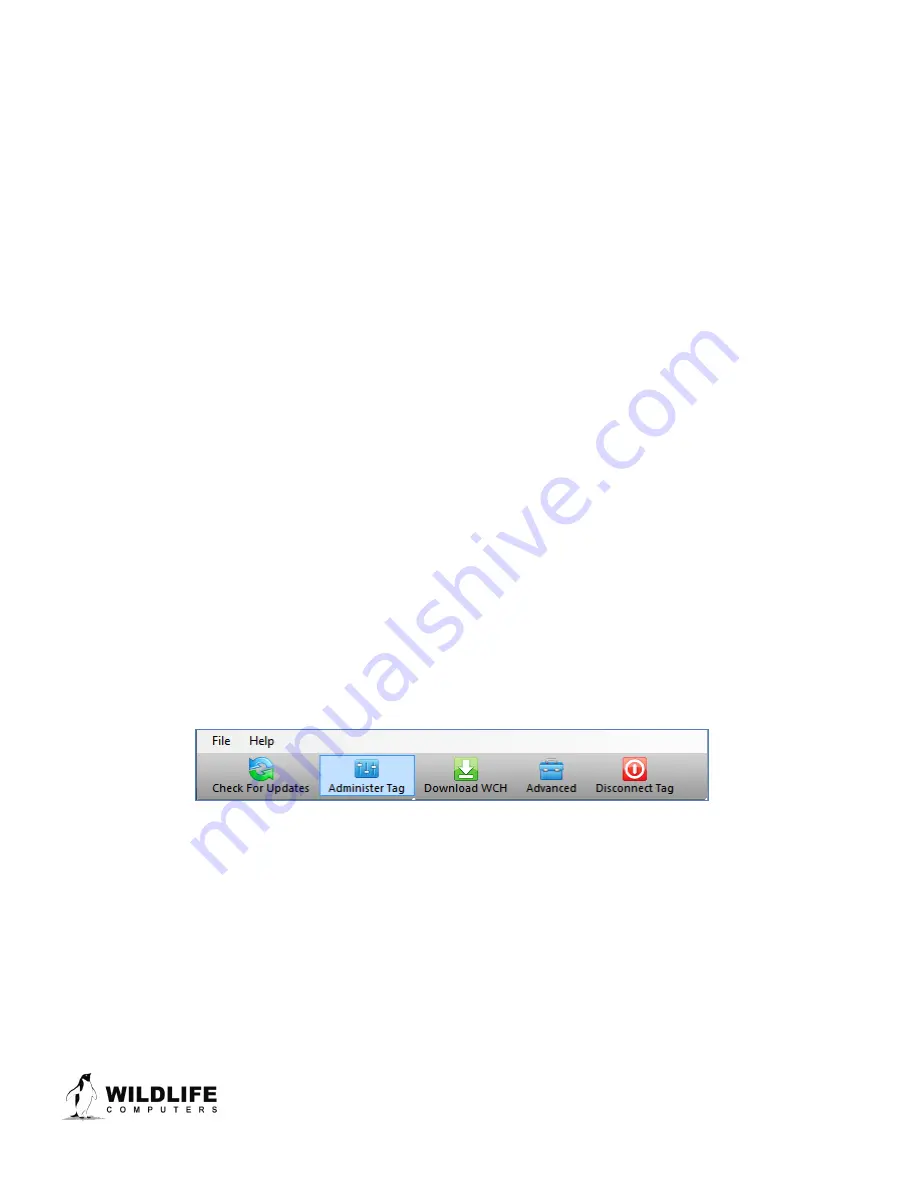
To configure tag settings within Tag Agent, select the Administer Tag button in the upper menu.
Figure 5—Tag Agent menu bar. Select Administer Tag to edit tag settings.
A new window will open revealing four sections: Tag Information, Tag Release Sequence, Data Product
Settings, and Transmission Settings.
Tag Information
Tag Details & Argos Settings
Tag administrators, tagware version, and tag type are displayed on the Tag Details tab (Figure 6). Tag
Name is an optional user-definable field which makes a tag, or tags, easy to find in the Tag Portal using the


