CLEANING KIT WELDKAR
INOX 1600 AC/DC
19
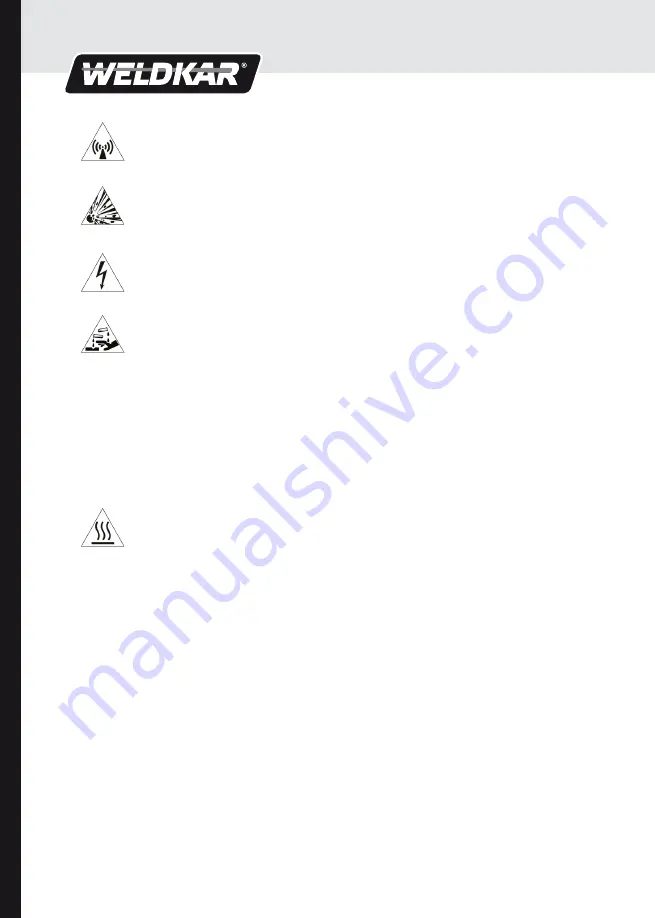
DANGER!
Electromagnetic fields.
Persons with pacemakers must not operate
the device or be in the vicinity of it.
DANGER!
Danger of explosion due to electric arcs in
with dust or solvent vapours.
Use the device only in well-ventilated, dry,
dust-free rooms.
DANGER!
Electric shock.
Before each use, check the unit, the cables
cables and switches for damage before
each use.
DANGER!
Handling electrolytes (phosphoric acid)
can be corrosive to metals.
Causes severe burns and eye damage.
- Observe EC safety data sheet and
instructions in safety section.
- Protect against harmful fumes with
personal protective equipment and ensure
adequate ventilation.
- Avoid contact with eyes. In case of
contact with eyes, rinse immediately with
plenty of water.
- Immediately wipe off splashes with plenty
of water.
- Wash hands thoroughly after work.
DANGER!
Hot surfaces.
The workpiece becomes hot during
machining, handle only with gloves.
1. Prepare the unit as described in Section 4.1.
2. Adjust the length of the carbon fibre brush tip
by rotating the carbon fix (Teflon twist sleeve) so
that it so that it extends approximately 5 - 10mm.
3. Fill the bottle with cleaning electrolyte - at least as
high as the carbon fibre brush tip. at least as high as
the carbon fibre brush tip is long.
4. Connect the carbon fibre brush to the workpiece
cable on the quick release skewer.
5. Attach the grounding clamp to the workpiece or the
conductive work table.
ATTENTION
Stains and damage due to unintentional current.
- Avoid contact of the carbon fibre brush with the work
piece or conductive work surface when not in use.
6. Switch on the unit (6).
- The status LED lights up white (3).
7. Status LED white (AC) is for signalling stainles
steel, status LED blue (DC) is for signalling
signalling aluminium (to do this, press push button
(2)).
8. Place the template on the workpiece.
9. Immerse the graphite anode with the felt into the
electrolyte in the wide neck vessel. The felt must be
thoroughly moistened to ensure good current
The felt must be very well wetted to ensure good
current flow.
10. Hold the stencil at an angle.
11. For small areas, press the graphite anode vertically
onto the stencil for 1.5 to 1.5 seconds. Vertically
onto the stencil for 1.5 to 2 seconds and move it
slightly. 2 seconds and move it slightly. For larger
areas, paint over them evenly with the with the
graphite anode.
12. Remove the stencil.
13. Spray the surface with water. For best results use
distilled or demineralised water. Demineralised
water.
14. Dry the surface with a dry cloth.
15. Clean the stencil with water.
16. Clean the graphite anode and the felt regularly and
replace dark felts as described in section 5.2.
TIP
- The result depends on several factors (see possible
errors and their causes in chapter 8), test the quality
of the type beforehand on a scrap piece.
- For optimum results, the surface to be glued should be
rubbed with a little drawing electrolyte beforehand.
- There are stencils for the short and long term,
These are also available from the dealer or
manufacturer.
- Do not brush the graphite anode over the edge of the
stencil (staining).
- Avoid long signing times, otherwise the stencil will
burn or be damaged.
5. Maintenance and cleaning
5.1 Cleaning and replacing carbon
fibre brushes replace
1. Detach the carbon fibre brush from the
workpiece line on the quick release skewer.
2. Rotate the Carbon-Fix (Teflon sleeve) until the hole
on the outside of the lower shaft is aligned with the
hole on the inside.
3. Insert the supplied disassembly/assembly
spanner supplied into the hole.
4. Unscrew the carbon fixer together with the carbon
brush out of the handle.
5. Pull the carbon brush out of the carbon holder .
6. Clean the carbon fibre brush, the carbon holder and
the handle thoroughly with water
If the fully extended carbon fibre brush
protrudes less than 5 - 10 mm from the carbon
replace the carbon fibre brush with a new one.
replaced with a new one.
7. Slide the cleaned or new brush through the front
opening of the front opening of the Carbon-Fix.
8. Screw the Carbon-Fix back onto the handle with the
disassembly/assembly key.


