background image

8 of 9

WX-501-0535 • 01.22

SmartSensor ID

Shows the ID number of the sensor with which the Click device is currently communicating. This 

only shows the number after you have autobauded the Click device; when the Click device is not 

communicating with a sensor, this option will display a 0. 

Server/Client

Allows you to set whether the device is a server or client in a point to multipoint setup (this option is 

not related to device autobauding). This option is currently not available.
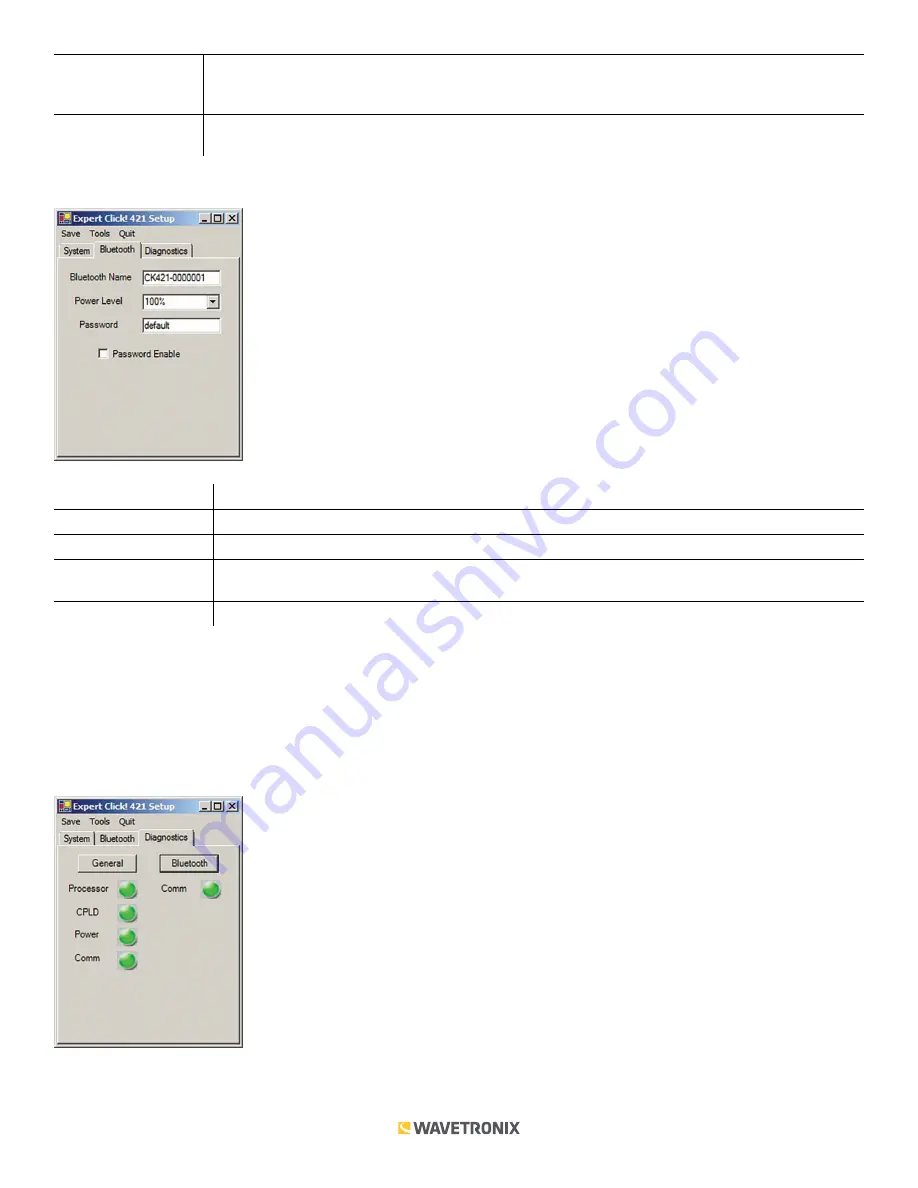
The 

Bluetooth

 tab allows you to configure your device’s Bluetooth communications (see the figure and table below).

Setting

Description

Bluetooth Name

Allows you to change the name of your Bluetooth device, which is broadcast with the Bluetooth signal.

Power Level

Lets you change the power level of the Bluetooth signal; the options are 25%, 50%, 75% and 100%.

Password

Provides a field to enter the password to be used, if you have enabled the use of a password on 

the Bluetooth signal.

Password Enable

Enables the use of a password on the signal.

Note. 

If you decide to password protect your Click 421, be sure to keep a good record of the password you 

choose. Wavetronix is not able to recover passwords or remove password protection from a device, so if the 

password is ever forgotten or lost, it will render the module unusable.

Under the 

Diagnostics

 tab, you can run diagnostics on your device. Click the 

General

 or 

Bluetooth

 buttons to run 

diagnostics on the items listed below each button. If a problem is detected, the program will display a red square 

next to the item in question. If no problems are detected, a green circle will appear.

Once you have finished, use the menu bar at the top of the screen to save your settings, return to the Select 

Summary of Contents for Click 421

Page 1: ...r LED Indicators Mode Switch RS 232 Connector RS 485 Connector TOP FRONT Communication Ports The back of the Click 421 features a 5 position connector that plugs into a T bus connector and provides po...

Page 2: ...t also has a push button labeled Mode Switch which is used to cycle the Click 421 through operation modes This will be discussed later in the On device Configuration section On device Configuration Th...

Page 3: ...g pushed to the laptop or handheld is good open a terminal emulation program such as HyperTerminal and connect to the Bluetooth signal Observe the data being received It should be the alphabet repeate...

Page 4: ...ttings on any driver and saving them to the Click device will change those settings on all drivers The Backups option can be used to read configurations that have previously been saved to file SmartSe...

Page 5: ...n Shows the version of firmware your device currently has installed If Click Supervisor detects a discrepancy between this version and the most current version it currently has access to you will be p...

Page 6: ...Expert driver allows you to see all possible settings and fields both those available in the SmartSensor driver and those available only through this driver The driver is divided into three tabs Syste...

Page 7: ...re handshaking This option is currently not available Parity Allows you to set parity error checking Stop Bits Allows you to set the number of stop bits Data Bits Shows you the number of data bits bei...

Page 8: ...the power level of the Bluetooth signal the options are 25 50 75 and 100 Password Provides a field to enter the password to be used if you have enabled the use of a password on the Bluetooth signal Pa...

Page 9: ...o a file Selecting this will open a directory box allowing you to name your settings file This file will always be saved in the Wavetronix folder created when you installed Click Supervisor under Wave...

Reviews: